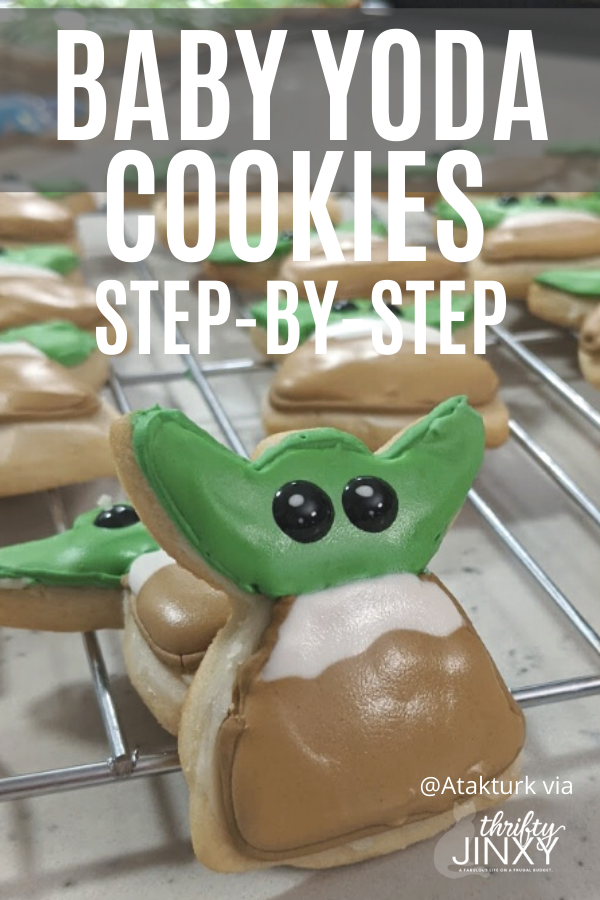
Make these adorable viral Baby Yoda Cookies with step-by-step instructions using an angel cookie cutter
For the last few days I have been seeing the Baby Yoda Cookies ALL OVER social media! They’re so adorable, and seemed easy to make with an angel cookie cutter, but I wanted to know EXACTLY how they were created.
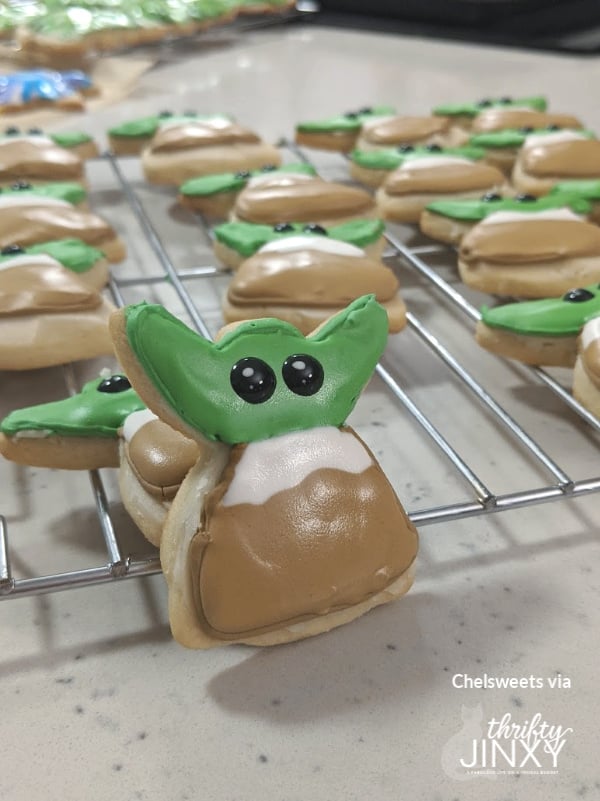
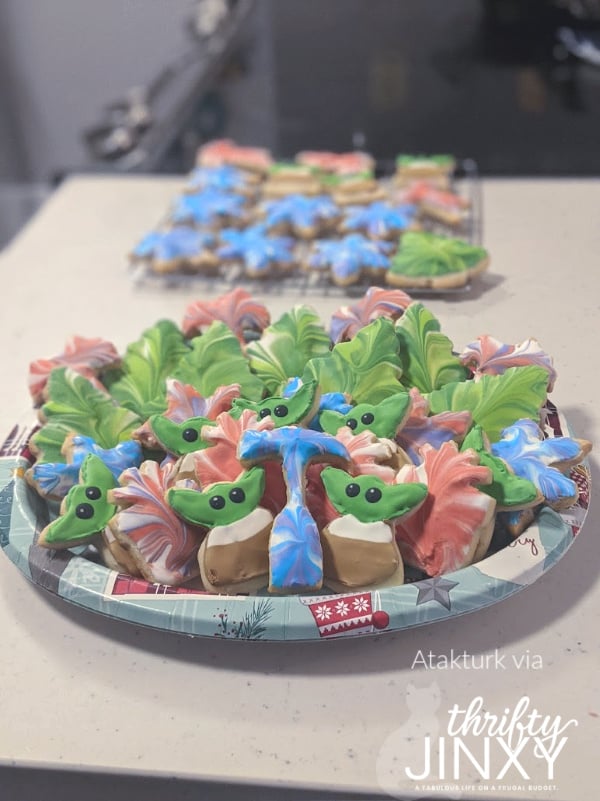
So, I tracked down the original creator of those viral Baby Yoda Cookie photos and got in touch with Instagram baker Atakturk (aka Katy), who created these fun Mandalorian Cookies after being inspired by Instagram baker Chelsweets, who develops mind-blowing culinary content and is the go-to person for all things buttercream and sweets.
Katy was nice enough to share with us her step-by-step instructions to create the cookies, as well as the recipes for the cookies and frosting.
The Baby Yoda frosted sugar cookie is a fun holiday-hack that anyone with an Angel cookie cutter can tackle on their own. A few key tips will help you achieve clean edges on your Baby Yoda cookie ears and allow you to reach the right flooding consistency for the Royal icing decor.
Baby Yoda Cookies Recipe
Here are all the ingredients you’ll need for each piece of your cookies. Then continue on for the detailed directions to make your Baby Yoda cookies!
Sugar Cookie Recipe (Adapted from Chelsweets)
3/4 cup unsalted butter (room temperature)
3/4 cup granulated sugar
1 large egg
2 teaspoons vanilla extract
2 and 1/4 cups all-purpose flour
1/2 teaspoon baking powder
1/4 teaspoon salt
Buttercream base (Adapted from Chelsweets)
1 cup unsalted butter, room temperature
4 1/2 cups powdered sugard
1/4 tsp salt
2 Tbsp heavy cream (or whipping cream)
1/2 Tbsp vanilla extract
Royal Icing Decore (Adapted from Wilton)
3 tbsp meringue powder
4 cups powdered sugar
6 Tbsp water, room temp
2 tsp. vanilla extract
additional water to bring to flooding consistency (I used about 5 Tbsp)
How to Make Baby Yoda Cookies
Get started with the dough and have your ingredients at room temperature for a perfectly smooth consistency. Most recipes call for chilling the dough before rolling it out, but we will delay this step until we’ve formed our precious cut-outs.
Cream the butter and sugar until well combined. Beat in one egg and add vanilla, baking powder, and salt. Add flour in ½ cup increments to avoid a kitchen-dust-storm (I’m very impatient and do this every time!).
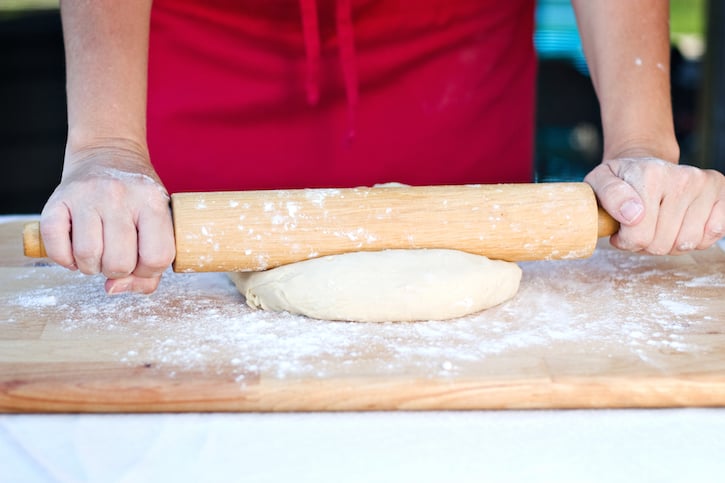
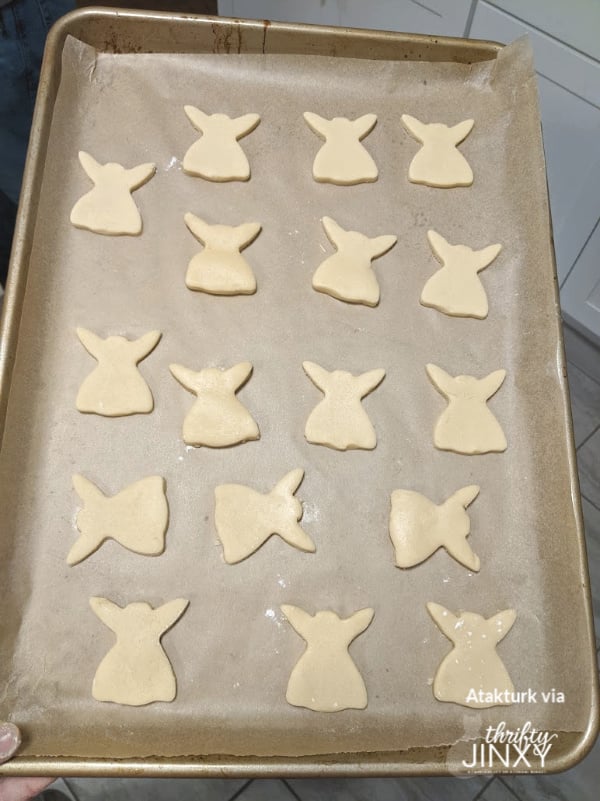
Once your dough is complete, generously flour your working surface and roll out your cookie dough to ¼ inch thick. Use a conventional Christmas angel cookie cutter to create your initial cut out, then transfer to a parchment-lined baking sheet.
Now it’s time for the dramatic battle scene, take your lightsaber (or a butter knife will do) and chop off the angel’s head and smooth the edges to form a mound (the top of Yoda’s head).
The essential next step is to freeze your cookie dough for at least 15 minutes. That’s right FREEZE it. This will help the dough keep its well-defined shape in the oven. Pop it into the oven at 350 degrees and bake for 10 minutes. It might help to rotate the tray halfway through to ensure you get an even bake.
While the cookies bake, you can get started on the frosting options. Although not essential, I added a buttercream frosting base because I love the flavor it brings to each bite. Once the Baby Yoda cookies are cooled out of the oven, I gave each a thin base layer of buttercream to build my canvas.
Next comes the Royal Icing, a surprisingly versatile frosting. Beat the powdered sugar, water, and meringue powder on medium-high speed for about 3 minutes when stiff peaks start to form. Add the first 6 tablespoons of water to get your piping icing ready.
I recommend setting aside a ¼ cup of the piping icing for each major color you plan to outline on your cookie. Place the piping icing into a plastic sandwich bag that you can ultimately add colors to and pipe from.
Now comes the tricky part: finding the right consistency for the flooding icing so it will fill in your Yoda cookie with a flat matte finish. Add a ½ tablespoon of water at a time (mine took 5 tablespoons total) until you can draw a figure 8 in the frosting with a knife that takes exactly 8 seconds to disappear back into the frosting.
Once your desired consistency is reached, partition the frosting into plastic sandwich bags and create your Yoda-green and space towel-brown colors with a gel coloring pack. Create a single bag with 1 tablespoon of flooding icing to make cute black eyes and keep at least a teaspoon of white flooding icing for the detailed specks on the eyes.
Start with the piping the outline of your Baby Yoda, which will likely set in about 5 to 10 minutes. By the time you’ve outlined your Yodas, you’ll be ready to fill them in with the color flood icing to match. The flood icing may take longer to set.
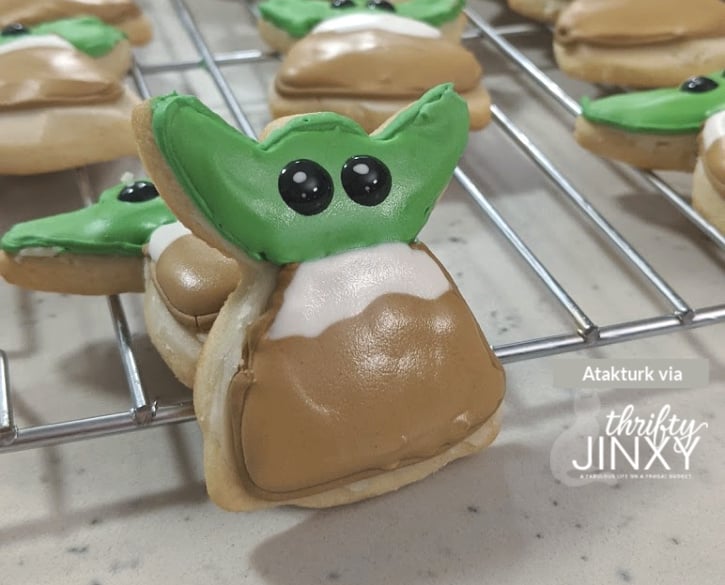
Once you’ve filled out the head and body of the cookie, you can return to complete the finishing touches. Using the small bag of black icing drop a small dot for each eye. It should spread slightly, so make start small and add more if needed. Finish off each eye with a few tiny white specks placed with a toothpick dipped back into the original white frosting bowl.
And voila! You’ve now created a tasty bundle of joy ready to share with your fellow Mandalorian friends this holiday season.
Serve them up with a delicious cup of cocoa made with our Star Wars Hot Chocolate recipe.
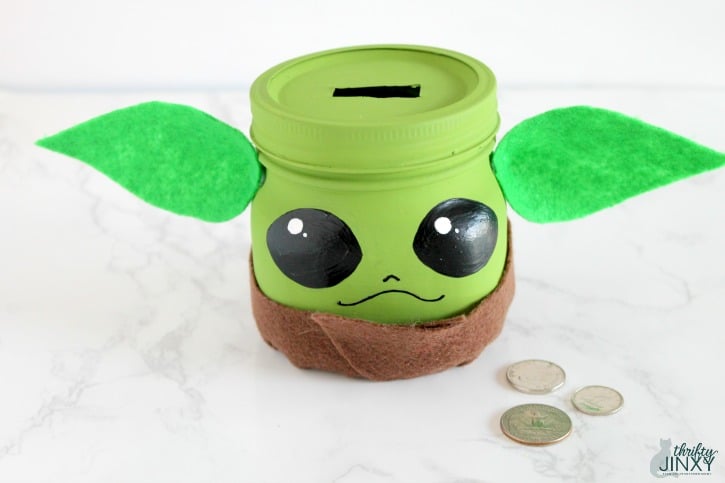
Once you’re done with your Baby Yoda cooking, try some Baby Yoda crafting and make this fun and adorable Baby Yoda Mason Jar Bank Craft!

Baby Yoda Cookies
Equipment
Ingredients
Sugar Cookies
- 3/4 cup unsalted butter room temperature
- 3/4 cup granulated sugar
- 1 large egg
- 2 teaspoons vanilla extract
- 2 and 1/4 cups all-purpose flour
- 1/2 teaspoon baking powder
- 1/4 teaspoon salt
Buttercream base
- 1 cup unsalted butter room temperature
- 4 1/2 cups powdered sugard
- 1/4 tsp salt
- 2 Tbsp heavy cream or whipping cream
- 1/2 Tbsp vanilla extract
Royal Icing Decore
- 3 tbsp meringue powder
- 4 cups powdered sugar
- 6 Tbsp water room temp
- 2 tsp. vanilla extract
- additional water to bring to flooding consistency I used about 5 Tbsp
Instructions
- Get started with the dough and have your ingredients at room temperature for a perfectly smooth consistency. Most recipes call for chilling the dough before rolling it out, but we will delay this step until we’ve formed our precious cut-outs.
- Cream the butter and sugar until well combined. Beat in one egg and add vanilla, baking powder, and salt. Add flour in ½ cup increments to avoid a kitchen-dust-storm (I’m very impatient and do this every time!).
- Once your dough is complete, generously flour your working surface and roll out your cookie dough to ¼ inch thick. Use a conventional Christmas angel cookie cutter to create your initial cut out, then transfer to a parchment-lined baking sheet. Now it’s time for the dramatic battle scene, take your lightsaber (or a butter knife will do) and chop off the angel’s head and smooth the edges to form a mound (the top of Yoda’s head).
- The essential next step is to freeze your cookie dough for at least 15 minutes. That’s right FREEZE it. This will help the dough keep its well-defined shape in the oven. Pop it into the oven at 350 degrees and bake for 10 minutes. It might help to rotate the tray halfway through to ensure you get an even bake.
- While the cookies bake, you can get started on the frosting options. Although not essential, I added a buttercream frosting base because I love the flavor it brings to each bite. Once the Baby Yoda cookies are cooled out of the oven, I gave each a thin base layer of buttercream to build my canvas.
- Next comes the Royal Icing, a surprisingly versatile frosting. Beat the powdered sugar, water, and meringue powder on medium-high speed for about 3 minutes when stiff peaks start to form. Add the first 6 tablespoons of water to get your piping icing ready.
- I recommend setting aside a ¼ cup of the piping icing for each major color you plan to outline on your cookie. Place the piping icing into a plastic sandwich bag that you can ultimately add colors to and pipe from.
- Now comes the tricky part: finding the right consistency for the flooding icing so it will fill in your Yoda cookie with a flat matte finish. Add a ½ tablespoon of water at a time (mine took 5 tablespoons total) until you can draw a figure 8 in the frosting with a knife that takes exactly 8 seconds to disappear back into the frosting.
- Once your desired consistency is reached, partition the frosting into plastic sandwich bags and create your Yoda-green and space towel-brown colors with a gel coloring pack. Create a single bag with 1 tablespoon of flooding icing to make cute black eyes and keep at least a teaspoon of white flooding icing for the detailed specks on the eyes.
- Start with the piping the outline of your Baby Yoda, which will likely set in about 5 to 10 minutes. By the time you’ve outlined your Yodas, you’ll be ready to fill them in with the color flood icing to match. The flood icing may take longer to set.
- Once you’ve filled out the head and body of the cookie, you can return to complete the finishing touches. Using the small bag of black icing drop a small dot for each eye. It should spread slightly, so make start small and add more if needed. Finish off each eye with a few tiny white specks placed with a toothpick dipped back into the original white frosting bowl.












VICKIE HEITMAN says
It’s always great to have new ideas of cookies to make with the little ones
Brittany Raisor says
How adorable, and what a creative way to use the angel cookie cutter! I can see the kids helping to decorate these.
Antoinette M says
These cookies are so cute! Great for a movie party!
Marisela Zuniga says
These are so adorable!! Cute idea
Donna says
These cookies are so adorable! Both of my children are big Mandalorian fans, so these would be fun to make for them!
christina moore says
These cookies are so cut, my granddaughter would love them
Shelly Peterson says
These are the cutest cookies ever.