
Plan a fun Finding Nemo and Dory themed Halloween with Halloween treats, party ideas and a Dory Pumpkin Stencil to make your own Dory pumpkin!
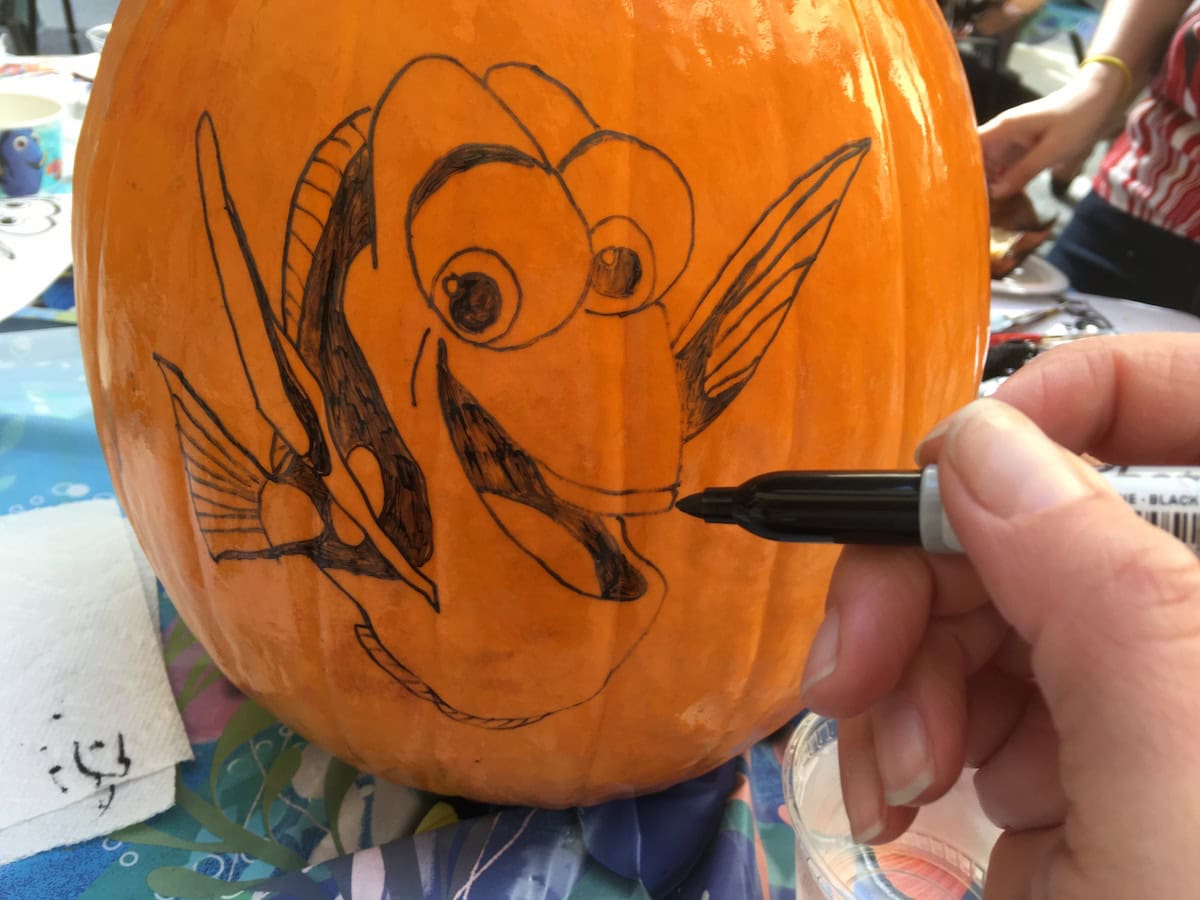

It’s hard to believe that Halloween is almost here! Disney and Halloween go hand in hand and it’s fun to celebrate with all our favorite Disney characters. This time we’re having fun with Finding Dory!
Last week, while visiting Disney Studios, I had a chance to learn how to use a Dory pumpkin stencil to carve an amazing Finding Dory pumpkin and we have the printable stencil and instructions for you to make one yourself!
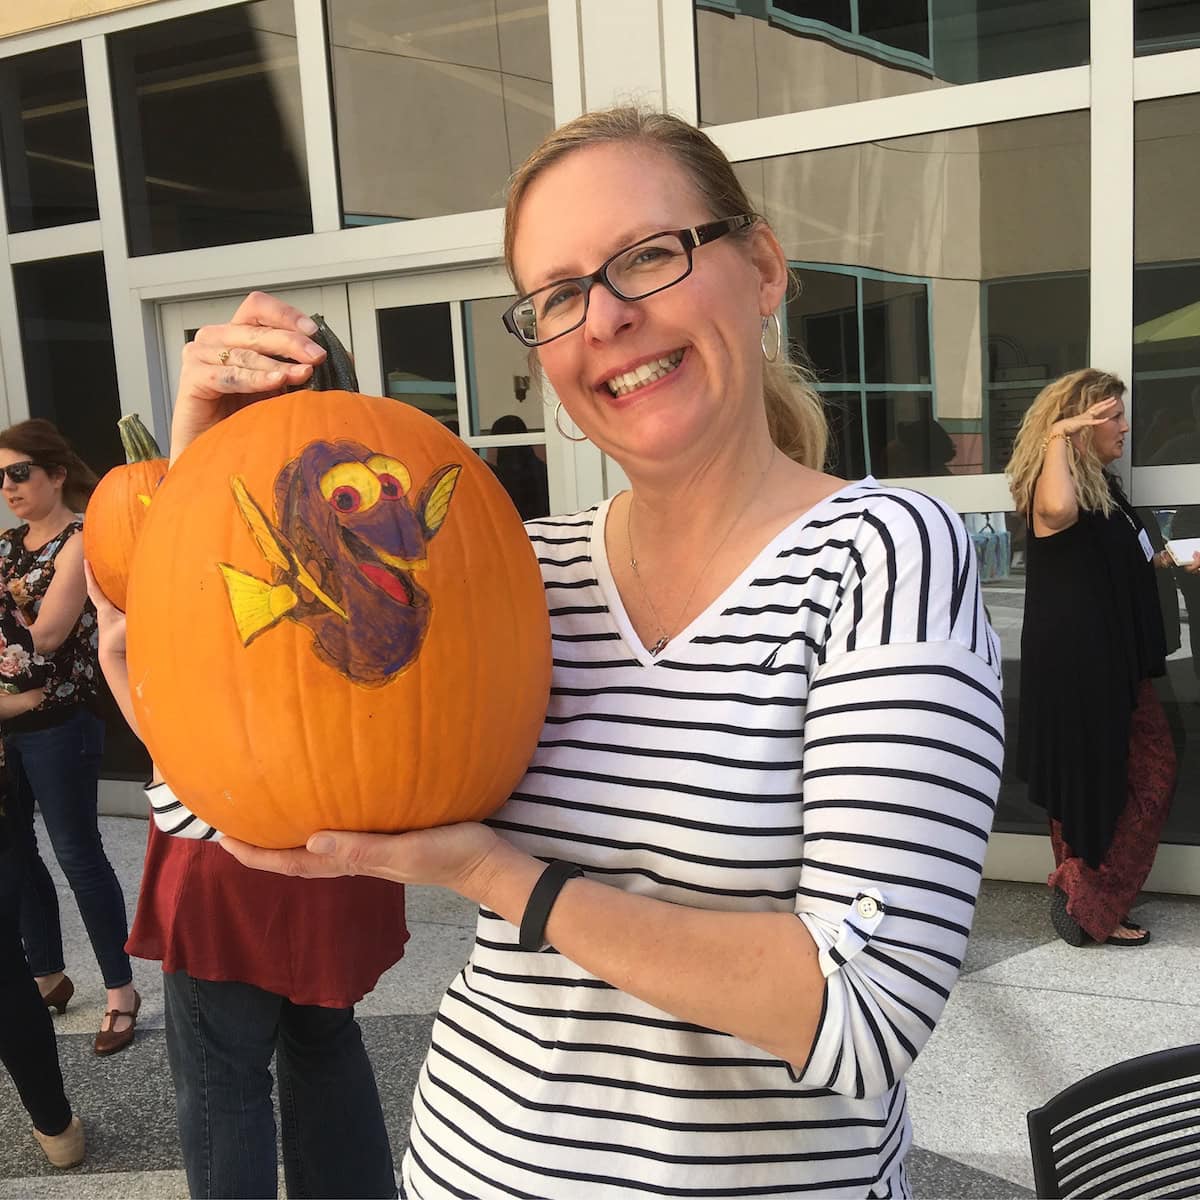
It’s the perfect activity to have at the center of a Dory-themed Halloween party. (Keep in mind that carving requires adult supervision, so you’ll want to be sure to have enough adults on hand to supervise and help out.)
Before you get started planning your Dory Halloween party, you’ll want to print out the Dory Halloween party planning items above. It includes the Dory pumpkin stencil and lots more!
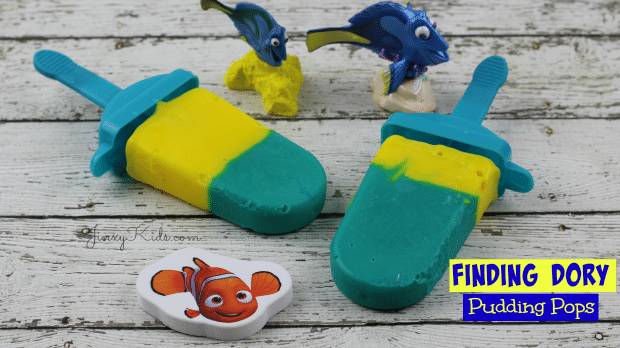
How about a treat for your pumpkin carving party?? You can opt for some Halloween-themed recipes, but I personally think these Finding Dory Pudding Pops are the perfect option.
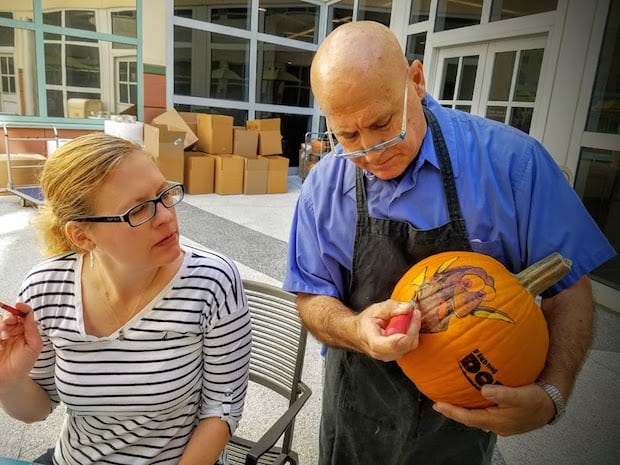
Now it’s time to move on to our main activity: carving a Finding Dory pumpkin! I had such a great time learning how to do this from Disney artist and Master Pumpkin Carver Joseph Yakovetic. BUT, with the instructions below and a quick watch of the video, you and your guests should be able to make your own Dory pumpkins too!
Before you get started with your pumpkin carving party, you’ll want to print out the Dory Halloween party planning items above. It includes the Dory pumpkin stencil and lots more!
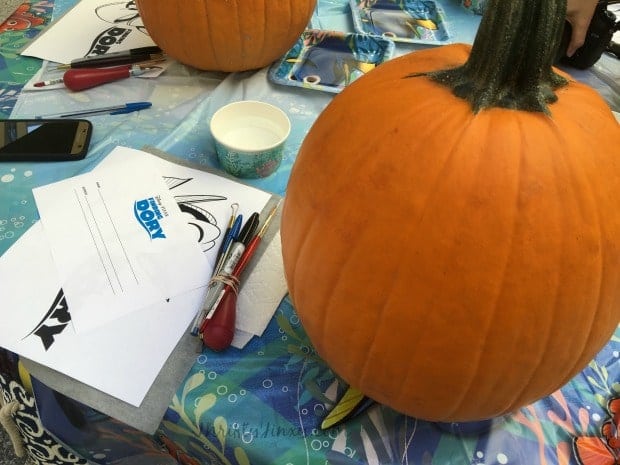
Finding Dory Pumpkin Stencil Carving Instructions
Supplies Needed
- Pumpkin
- Table Cover
- Printed Finding Dory Pumpkin Stencil
- Printer Paper
- Pen or Pencil
- Graphite Paper
- Paint
- Paint Brush
- Light
- Push Pins
- Linocut Tool
- Black Marker
- Old CD or DVD
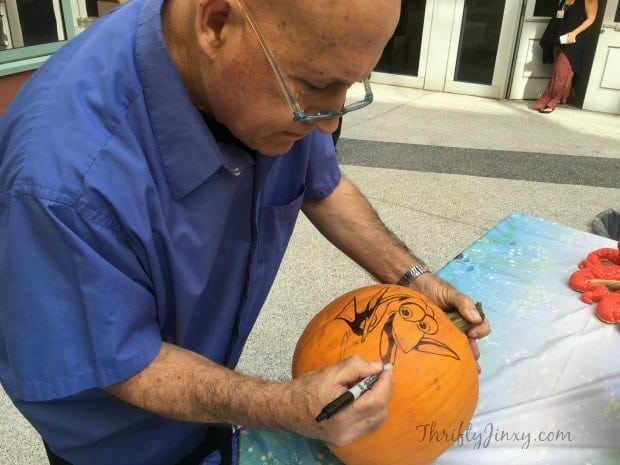
How to Use the Dory Pumpkin Stencil Template
1. Cut graphite paper to the size of the stencil.
2. Position and pin stencil with graphite paper under it to the pumpkin.
3. Trace over the lines of the stencil with a ballpoint pen or pencil.
4. Remove pins, stencil and graphite paper from pumpkin.
5. Copy over graphite lines with a black marker where black is indicated.
6. Mix paint with water to create a translucent color and brush in the desired colors in appropriate
areas.
7. When dry, use the linocut tool to etch out the white areas of the stencil (I.e. Whites of the eyes, the highlight in the pupil and around the outer edge of the character's outline).
8. Cut a square in the back of the pumpkin large enough to fit a CD and your light source.
9. Use a CD to gut the pumpkin, using the edge of the CD to skin away the debris from inside the pumpkin.
10. Clean up any design areas that are revealed with the light, touch up black lines or colors.
11. Pumpkin is ready for display, be sure to place on a trivet or stand so the underside of the pumpkin can breath.
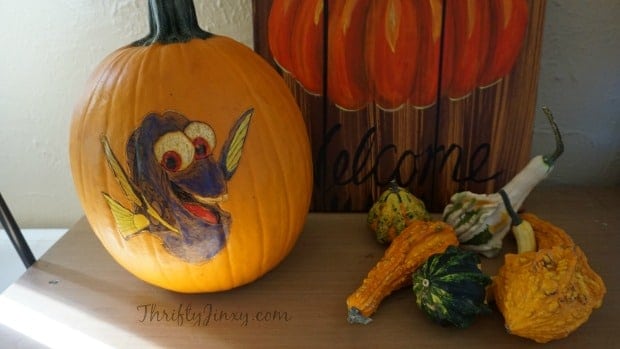
12. Place an LED light inside your pumpkin, turn out the lights and enjoy!
Use these helpful tips to learn how to make your pumpkin last until Halloween – or longer!




Janet W. says
This DVD would make a great stocking stuffer for my grandsons! What a fun party theme, too!
shelly peterson says
Finding dory is such a cute movie. I love all these ideas for a Dory party. This would be a good theme for my grandsons birthday party.