Last week I told you all about getting started as a beginner with the Cricut Explore Air 2. In the past week I have had so much fun learning how to make new things! It’s the perfect season to get started with so many gift-giving opportunities throughout the holidays.
One thing I have come to learn quickly is how helpful the Cricut EasyPress 2 in completing Cricut projects.
What is a Cricut EasyPress?
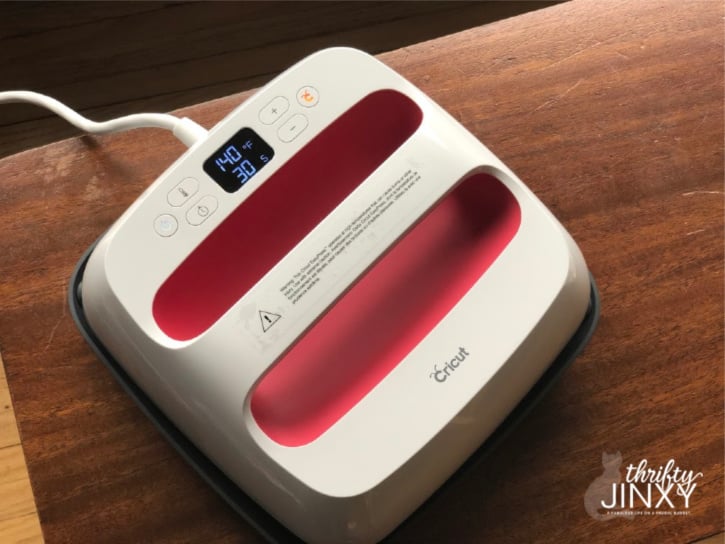
If you’re not familiar with it, the Cricut EasyPress 2 is your own professional-quality heat press that provides even heat from edge to edge with simple and easy-to-use controls.
What that means is you get top notch results when pressing your iron-on materials and they last! I love that I can make t-shirts, banners, totes and more – all that look beautiful and professionally made.
Cricut EasyPress vs. an Iron
Yes, you can use a household iron with Cricut iron-on materials, but you’re not able to set precise temperature or cover a wide area. It means having to move your iron around and hoping you are using the right temperature for your project.
Plus, if you want to try using Cricut Infusible Ink (like I did for a baby shower gift this weekend) you need a professional heat press that can get to a HIGH heat, something you can’t do with a household iron, AND you can’t move your heat source around while applying or it will ruin your design.
Here is the “official” info on the Cricut EasyPress 2:
- Advanced heat plate design. Ceramic-coated surface and two unique heating elements create edge-to-edge heat for pro-level transfers.
- Precise temperature control up to 400°F (205°C). Just enter the recommended time & temperature settings for your HTV or Infusible Ink project.
- Thoughtful safety features. Insulated Safety Base protects your work surface; auto shutoff feature turns it off after 10 minutes of inactivity.
- Works beautifully with Cricut smart cutting machines. Design and cut your own image, then transfer them perfectly. It’s as easy as that.
Getting Started with Cricut EasyPress 2:
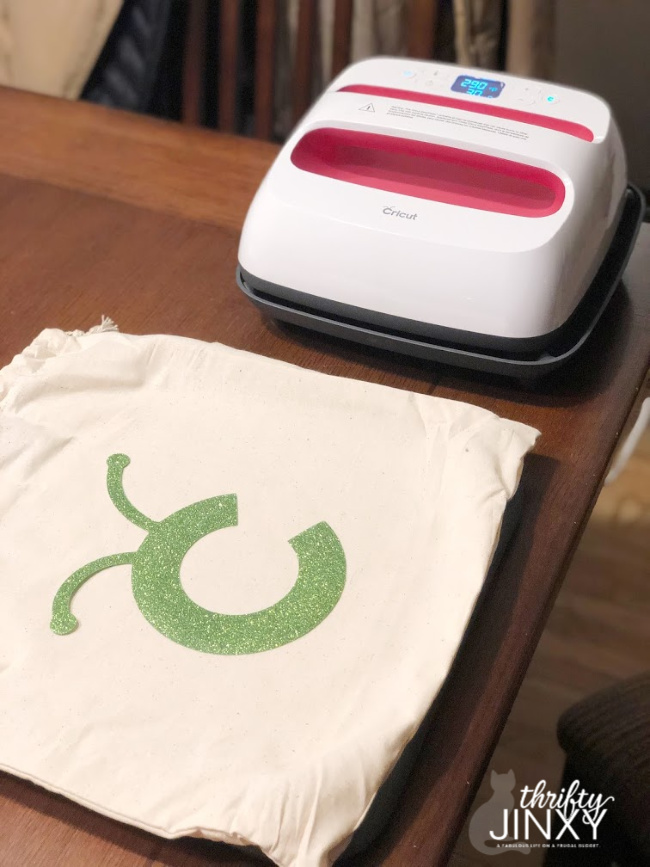
To practice using your Cricut EasyPress 2 when it first arrives, there is a ready-to-complete project right in the box! It’s also a very practical project because it is a drawstring bag that is just the right size to hold your EasyPress 2. (You can also buy an EasyPress Tote that includes convenient pockets and a carrying strap, but the drawstring bag can work until you decide to upgrade. That tote is on my wish list!)
Making this first project walks you through the steps of setting the temperature on your EasyPress 2, setting the timer, and then actually pressing your design onto your shirt, banner, or whatever you’re making.
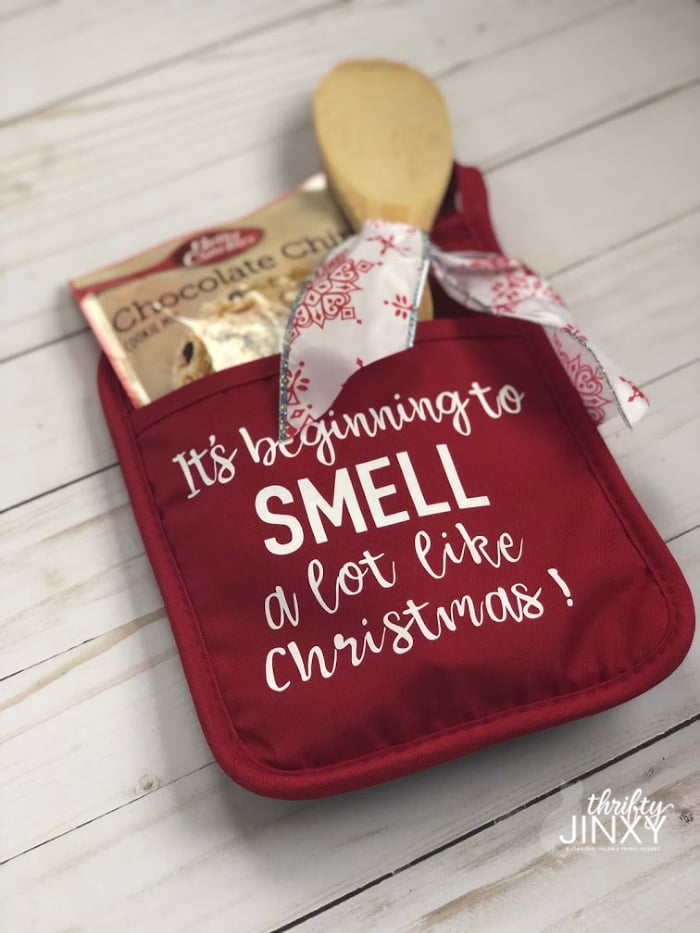
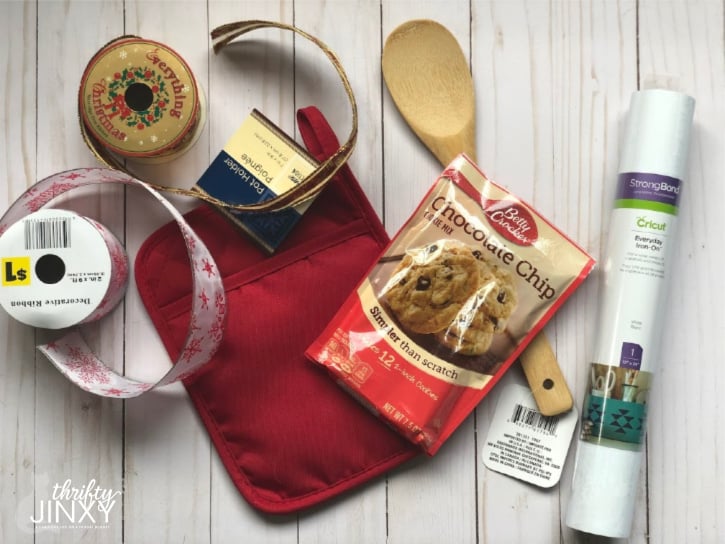
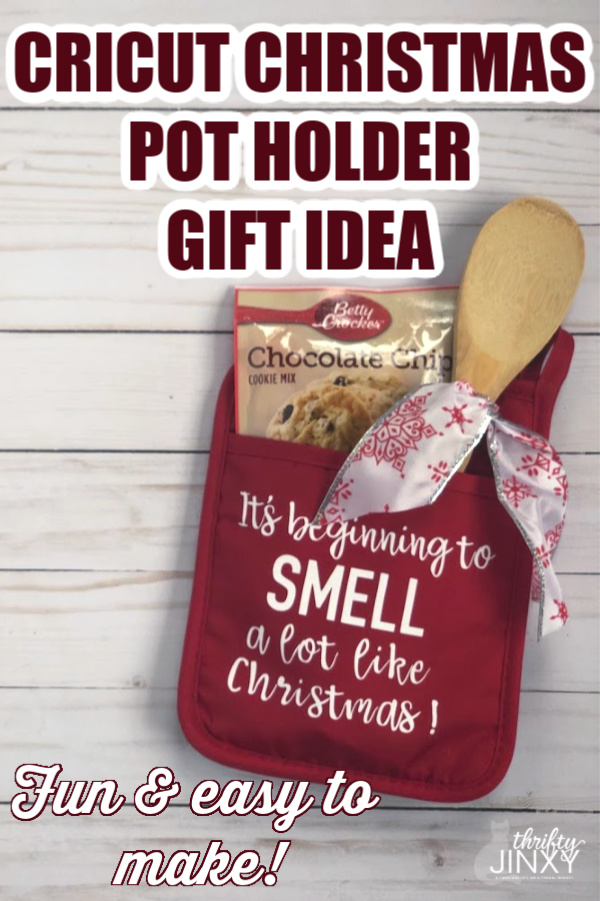
For another fun and easy project, I made Christmas potholders that will be perfect for gift giving. To make them, I started with $1 pot holders from Dollar Tree and grab a wooden spoon and baking mix to slide inside to make a more complete gift. Here’s how you can make yours:
Cricut Christmas Potholder Gift
Tools and Supplies:
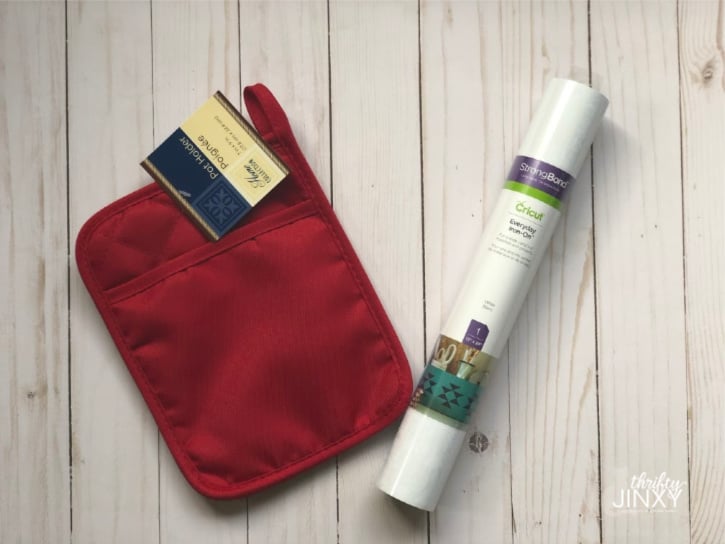
Pot Holder
Cricut Everyday Iron-on (I used white.)
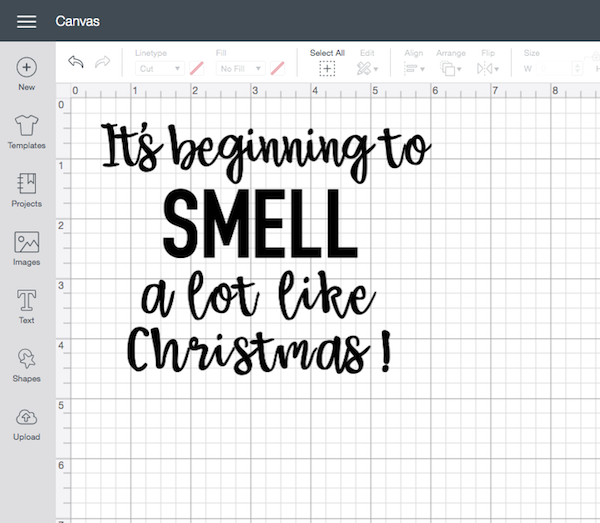
Christmas Potholder Design
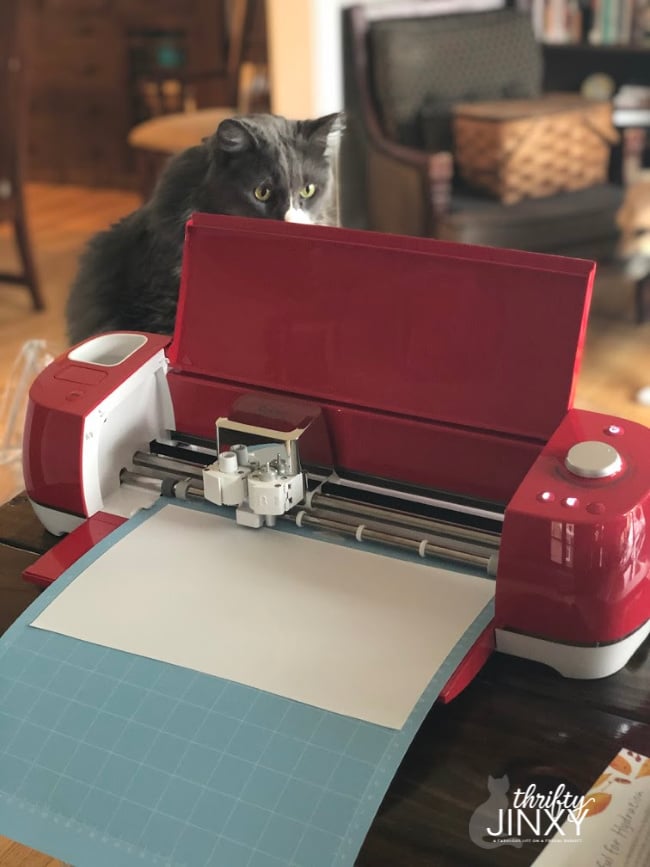
Cricut Explore Air 2
Cricut Weeder (Helpful but not obligatory.)
Gifts for in your potholder – cookie mix, utensils, spices, chocolate chips – you decide!
Ribbon
Start by making your design in Cricut Design Space. If you like my design, you can get it here. You can search and use one of the other pre-made designs, or create your own like I did. If you want to create a similar design, but with different words, the fonts I used are Babette and Din 1451.)
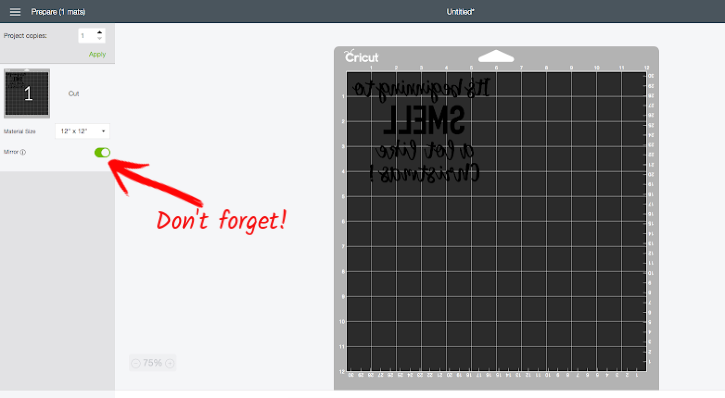
Load white iron-on into your machine and cut. Remember to put the iron-on material shiny side down on your mat. Be sure to reverse your image before cutting!
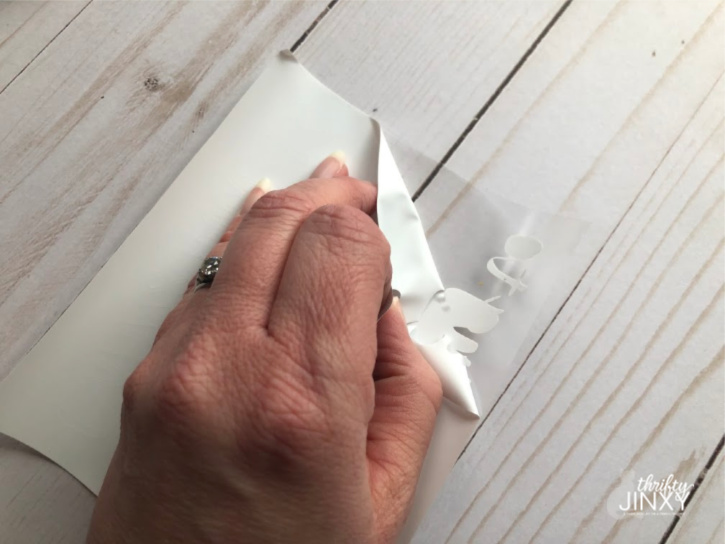
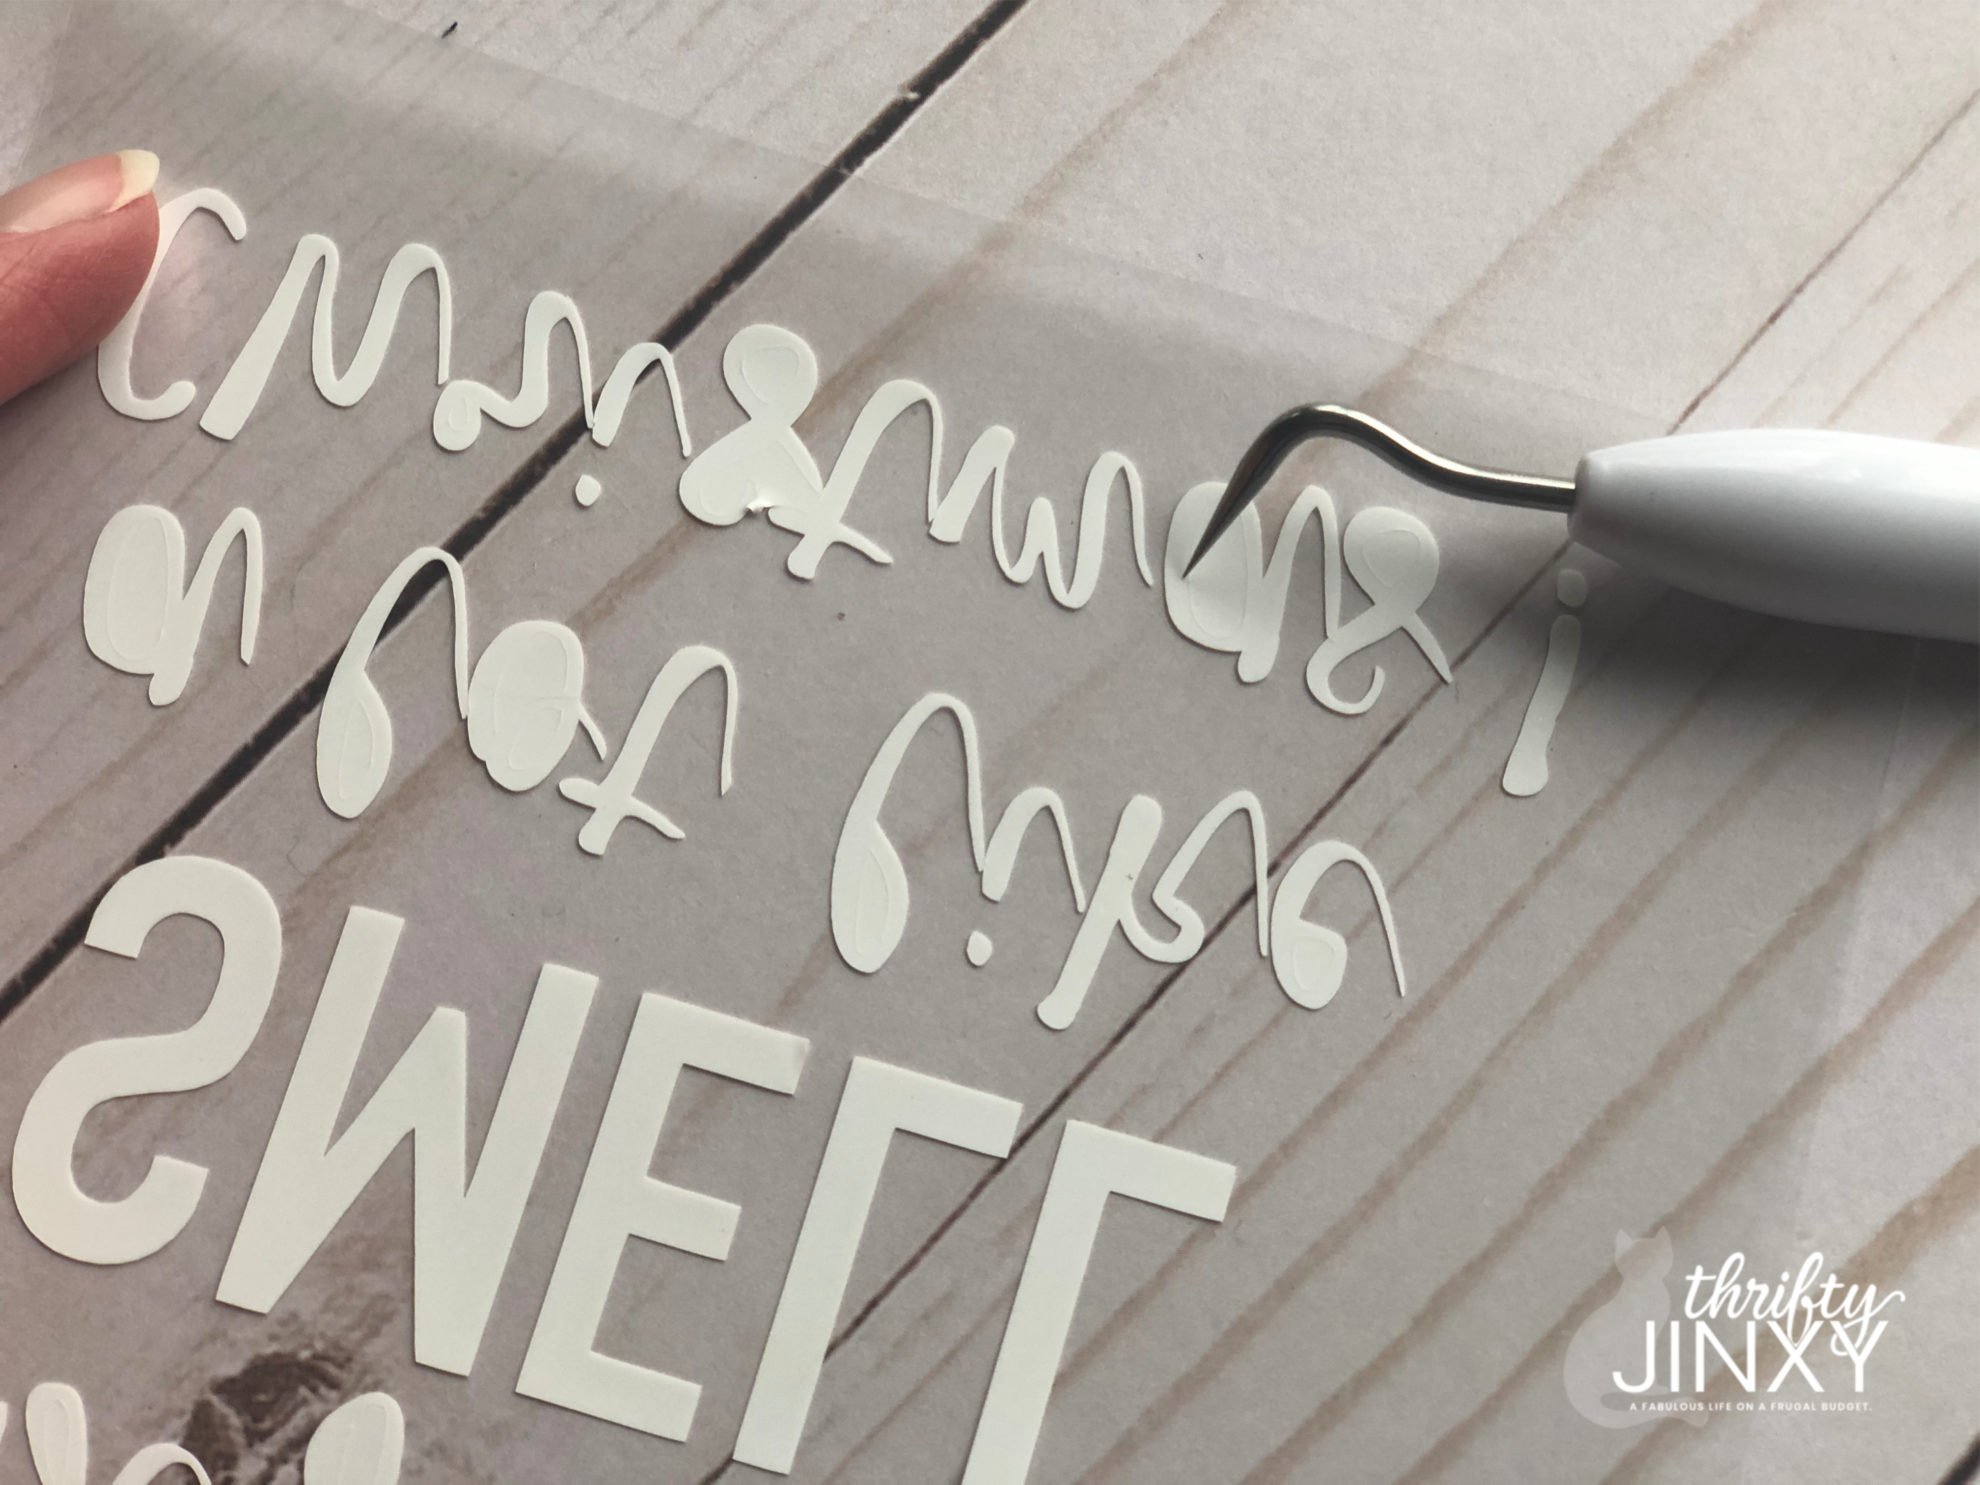
Once you have finished cutting, peel the backing away from your iron-on and weed out any remaining material.
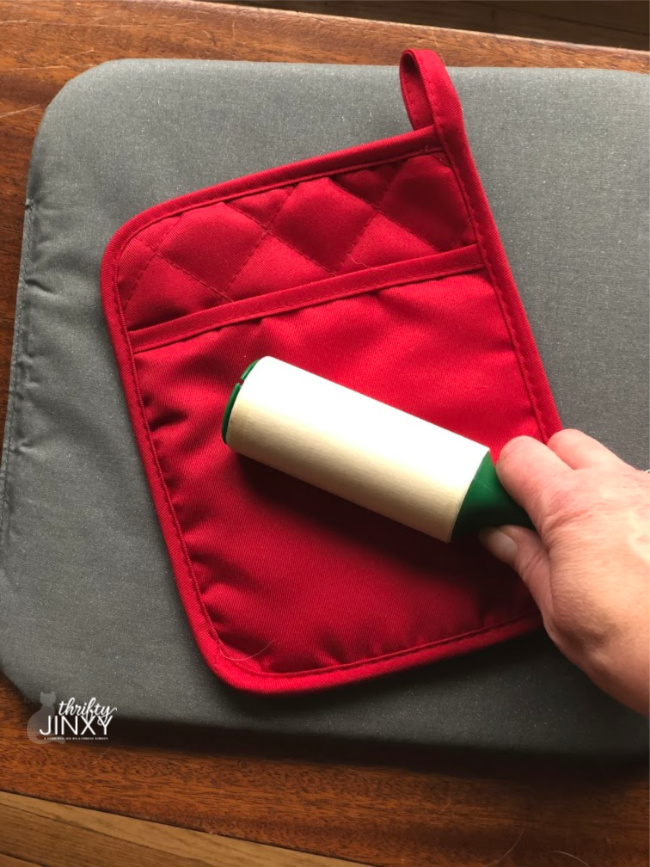
To prepare your pot holder for application, clean it with a lint roller. This is particularly important if you have cats invading your crafting area like I do.
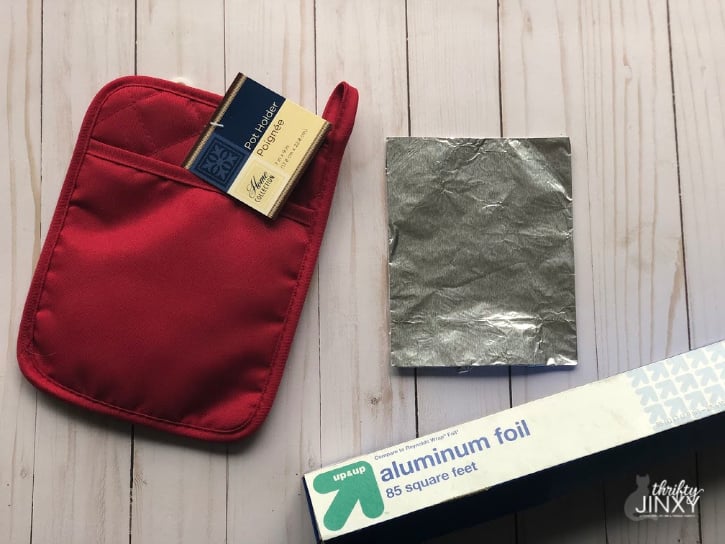
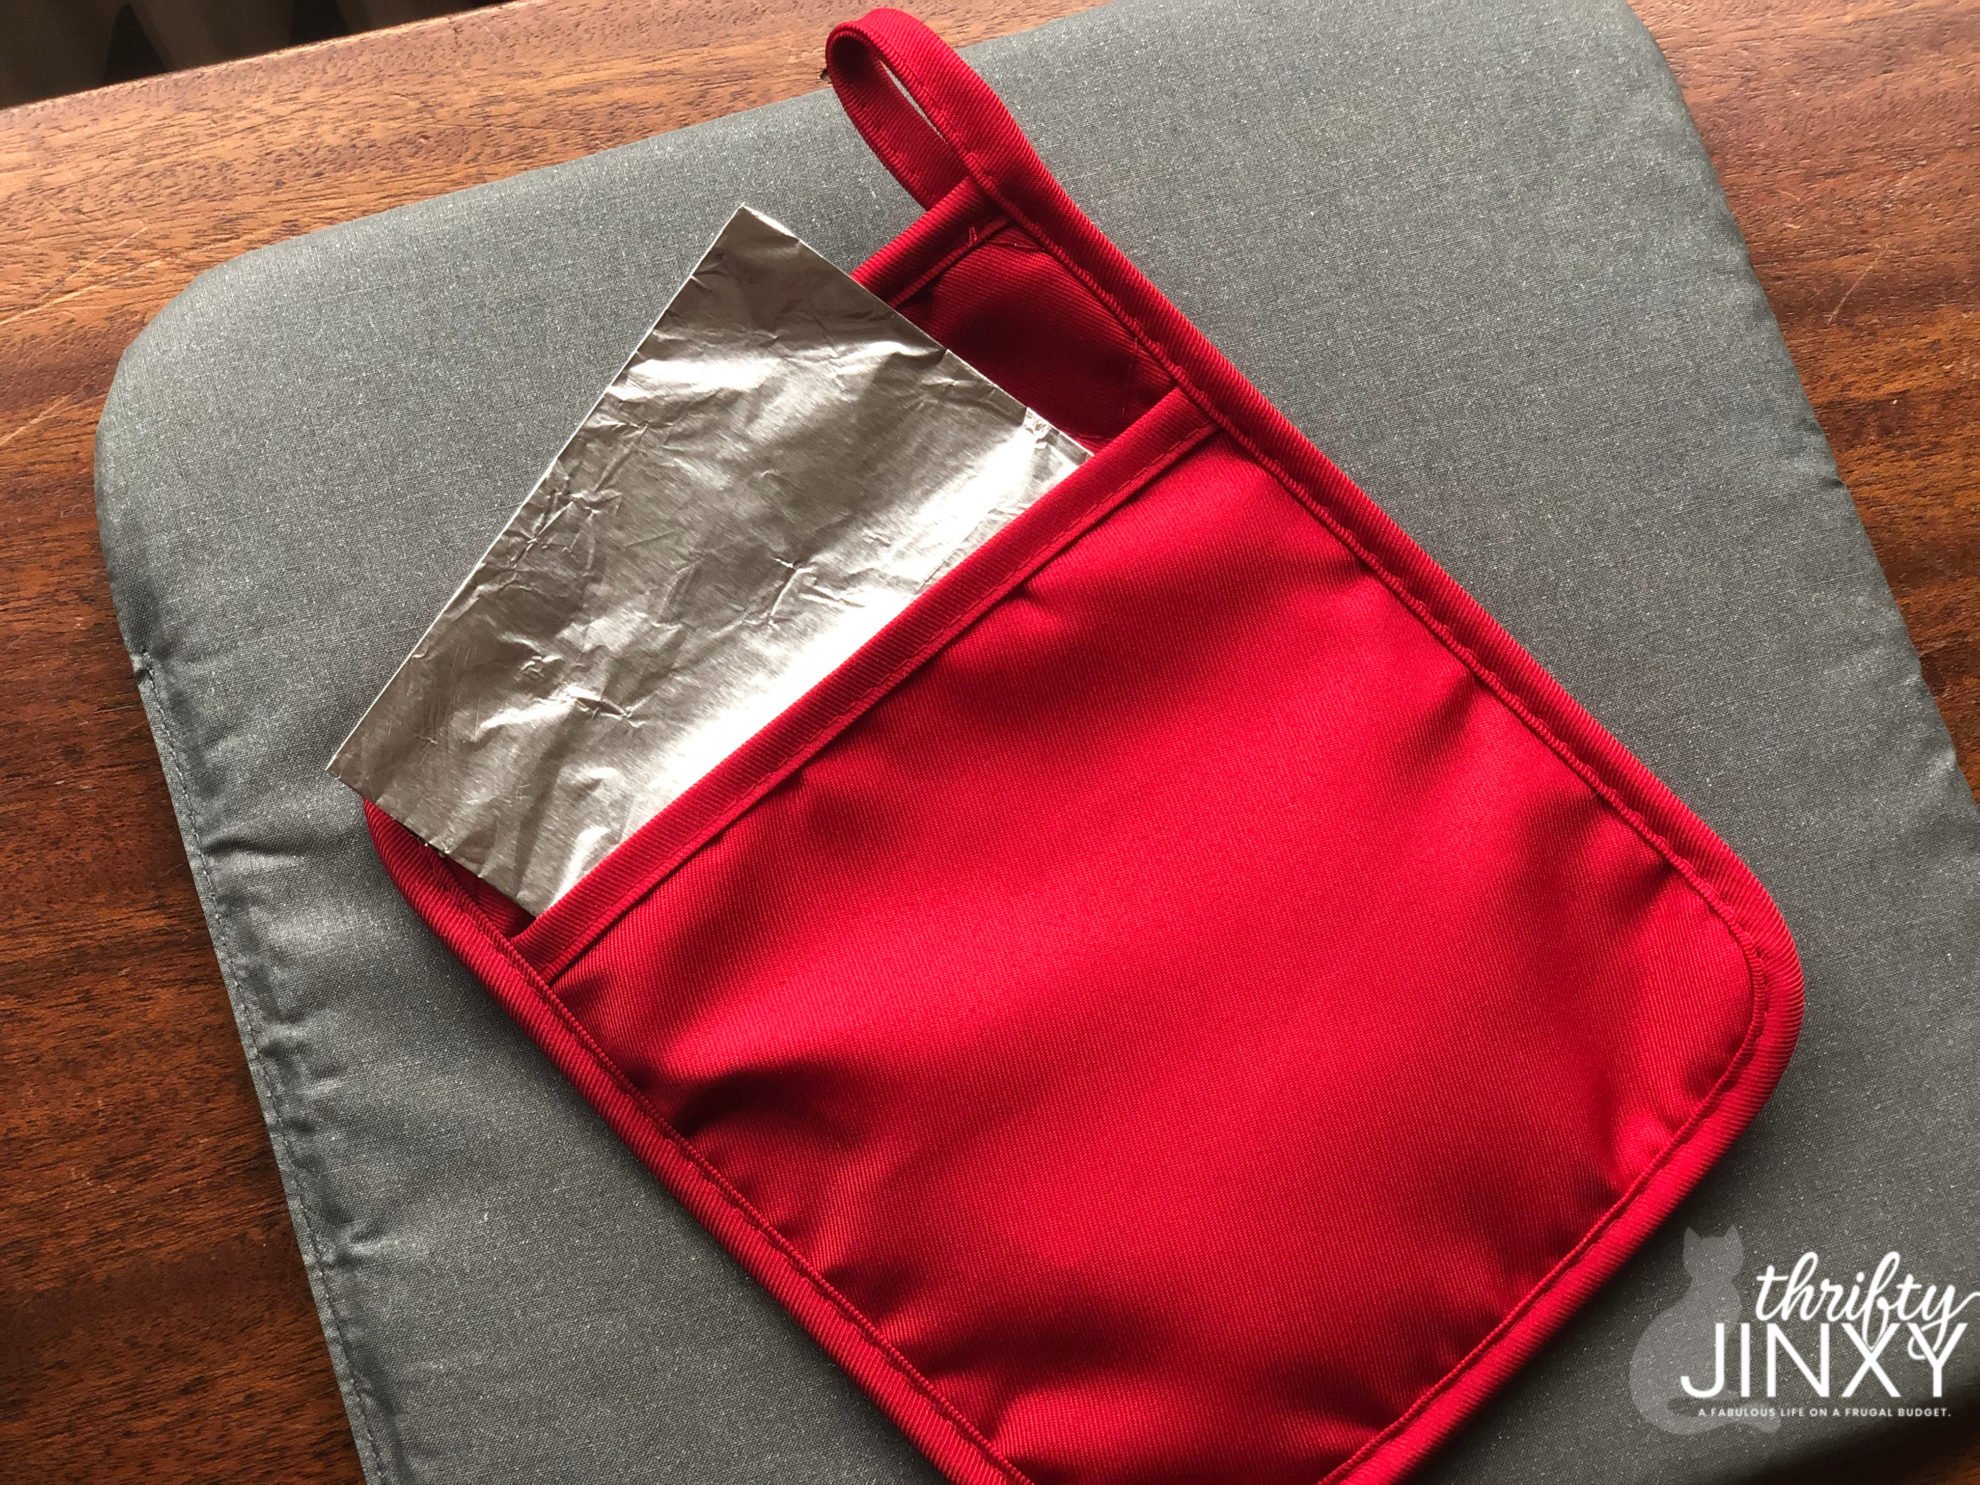
As iron-on application usually recommends pressing a bit on the back side as well a the front but this isn’t possible with a potholder that resists heat, I made a little workaround. I wrapped a small piece of cardstock in aluminum foil to tuck inside the pot holder so that the heat would be reflected a bit when pressing the front of the design. Place the prepared pot holder on an EasyPress Mat (recommended) or on top of a folded up towel.
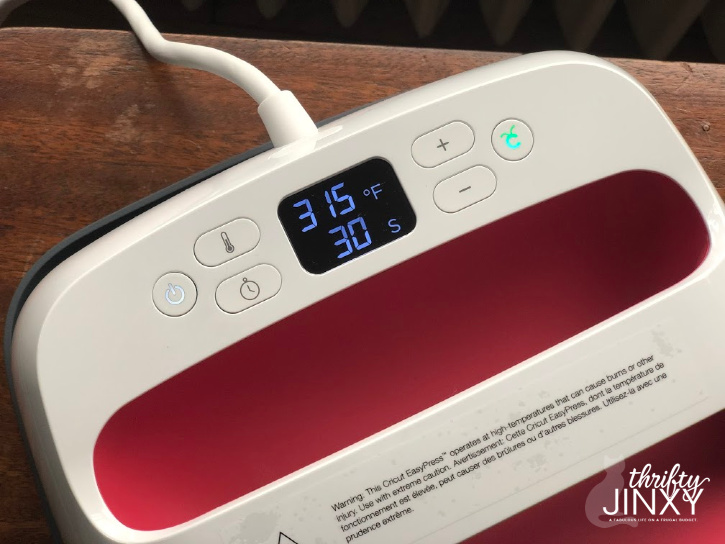
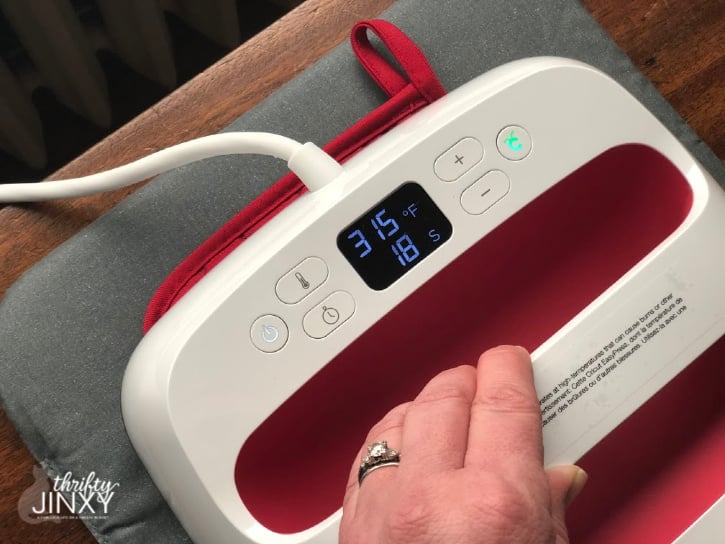
Now it’s time for the Cricut EasyPress 2. To get the correct temperature and time setting I referred to the EasyPress Heat Guide. For this polyester pot holder, set the temperature to 315° and the timer to 30 seconds and preheat.
Once it has reached temperature, preheat the pot holder for 5 seconds. Place iron-on face down on pot holder, liner side up. Press with light pressure at 315°F for 30 seconds.
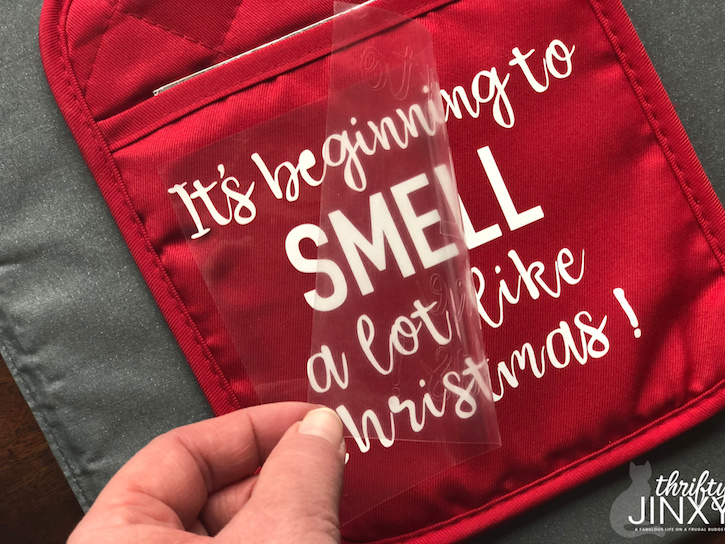
Slowly remove the liner while it is still warm. While removing, test to make sure everything is sticking and, if not, heat for another 5-10 seconds.
That’s it! Now all you have to do is fill your potholder with some goodies and prepare to make someone happy with this fun gift.
You can order your Cricut EasyPress 2 HERE!




Evelyn says
Do I have to put something on the pot holder to press on or can I just use the peer on with the plastic label I just don’t to burn the pot holder.
Chrysa says
I just press directly onto the potholder. They are meant to withstand high heat.
Antoinette M says
This is such an awesome tool! It would be great to make these for gifts.