


This is a sponsored conversation written by me on behalf of Cricut. The opinions and text are all mine.
I have been thinking about getting a Cricut machine for a LONG time! Two of my best friends have them and after being in the middle of lots of Cricut conversations and seeing all the amazing things they have made, I was ready to jump in and get started myself.
Even so, when my Cricut Explore Air 2 was delivered on my doorstep I worried that it might be difficult for a beginner like me to get started and I just had no idea where to start.
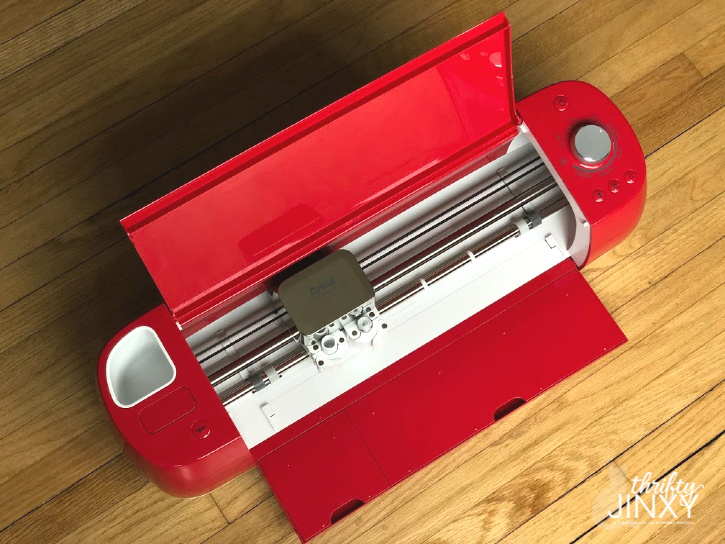
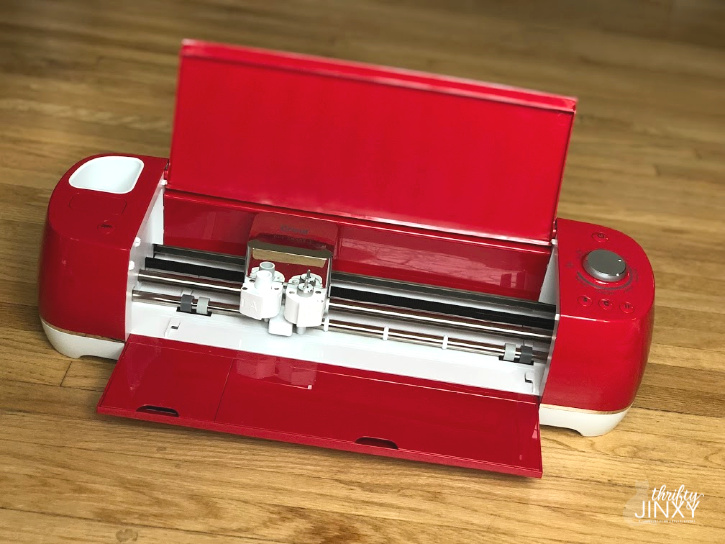
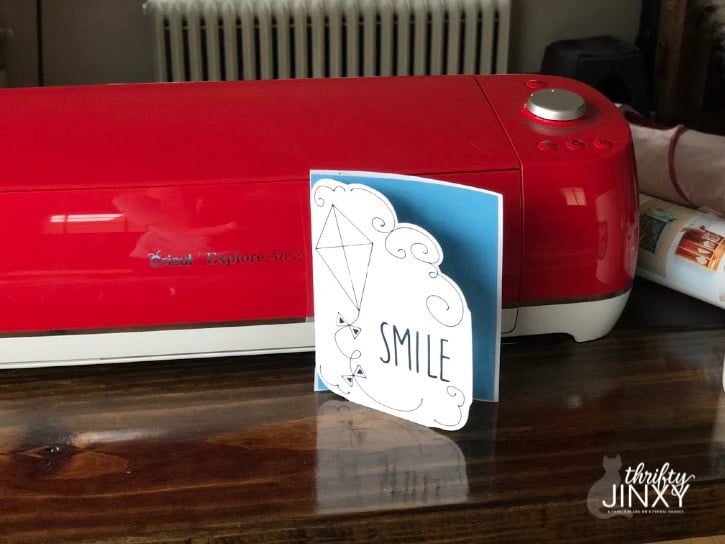
That fear even kept me from opening the box for a full day. But, once I did, I knew that I should have gotten a Cricut in my life earlier! The machine I received is the Cricut Explore Air 2 in Candy Apple Red. This color is available exclusively at Michael’s. It really is gorgeous!
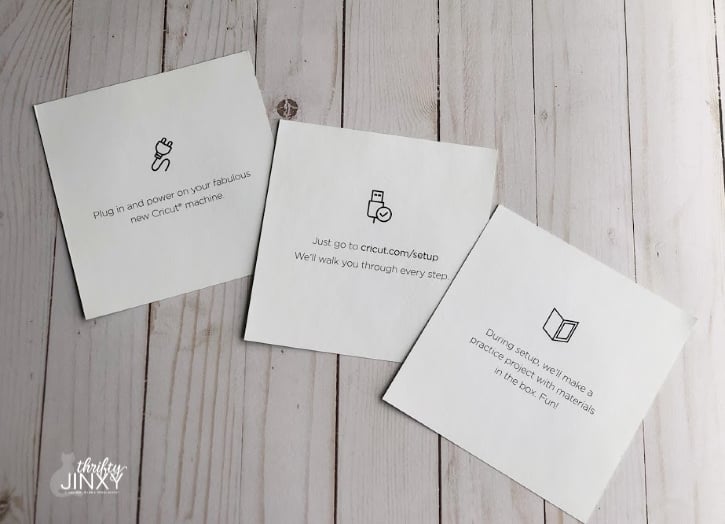
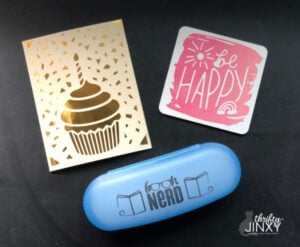
As soon as I took this beauty out of the box, I saw three cards that gave me a clue that using a Cricut is easier than I thought it would be! And I was right, all it took was plugging in and turning on the machine and then walking through the easy step-by-step instructions to get started.
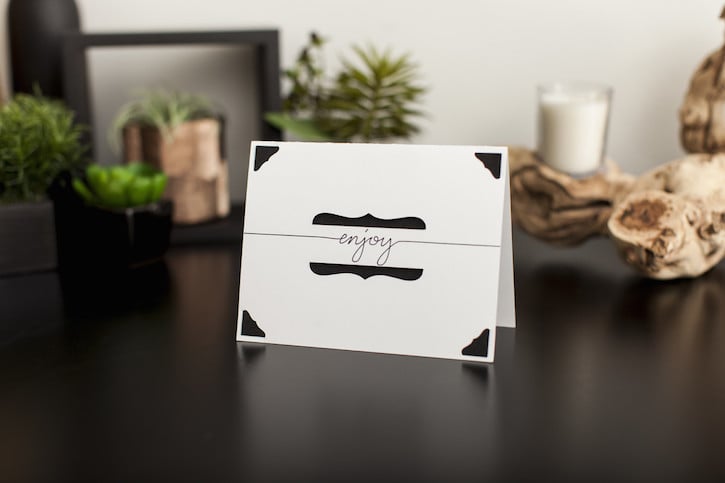
What makes this process even easier, is that the supplies for your first project, and Enjoy card, are included in the box! It’s the perfect way to learn about the Cricut Explore Air 2 by actually walking through a project step by step with clear instructions on the screen for you to follow. It teaches you both how to draw with the pen and to cut.

Once I actually dove in and got started looking at Cricut Design Space and saw that there are lots of project options right there to just follow step-by-step, I knew that creating with the Cricut was something I could actually do and could foresee moving on and designing my own creations too.
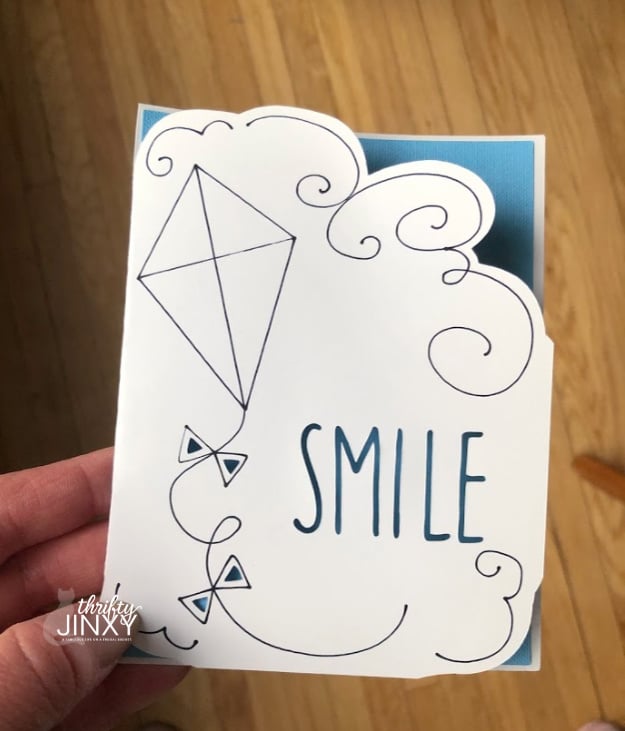
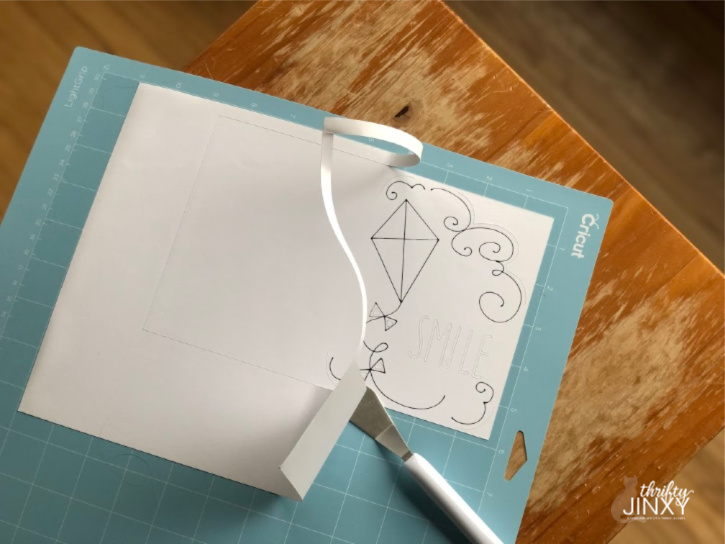
Since practice makes perfect, I thought it was a good idea to try another paper project right away so I moved on to this adorable kite notecard. I was so happy with how it turned out. If you’re new to the Cricut Explore Air 2 I highly recommend you search out the Smile Card project as a starter.
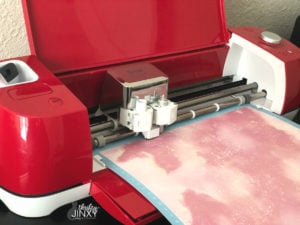
To make this pretty card, the only materials needed are white and blue card stock and the black pen, which is included with your Cricut Explore Air 2. It only took a few minutes to walk through and create the card and gave me a big confidence boost to move forward and take on more. The video above is the pen in action creating the design on the card stock.
After creating my first projects with paper, I’m excited to move on to both more paper projects (say hello to my personally designed Christmas cards this year) and to start creating with other materials. I have ideas for items I want to make with vinyl like coffee mugs, spice jars and home decor.
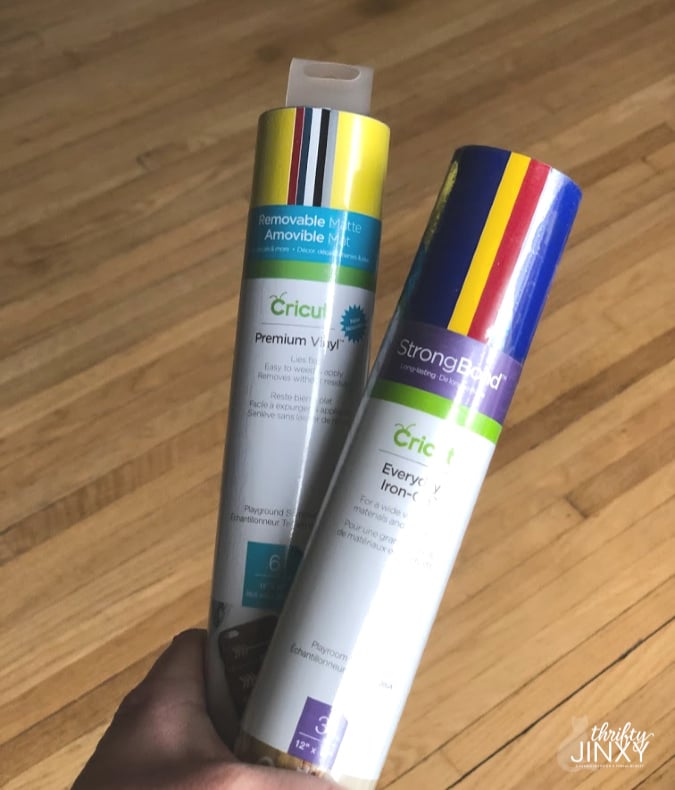
I can’t wait to use iron on to make customized t-shirts and tote bags. I’m also making a completely custom onesie for my cousin’s baby shower this weekend that will be a one-of-a-kind gift and I’m excited to come back and show you my design once I make it!
This is just the tip of the ice berg as there are SO MANY things you can make with the Cricut! Be sure to keep checking back here because I plan to share a new project with you every week and show you how using a Cricut Explore Air 2 is so easy that anyone can do it – even if you have no crafting experience. And the best part? It is really fun!


Helen says
I have always wanted one of these. It is amazing how much stuff you can do with it. Maybe I will get lucky and find one under the tree this year.