![]()
When I was asked to come up with a list of 5 Reasons I Love My Cricut, I knew that was going to be hard. Not because it’s hard to come up with reasons I like it, of course, but because I had to narrow the list down to only FIVE!
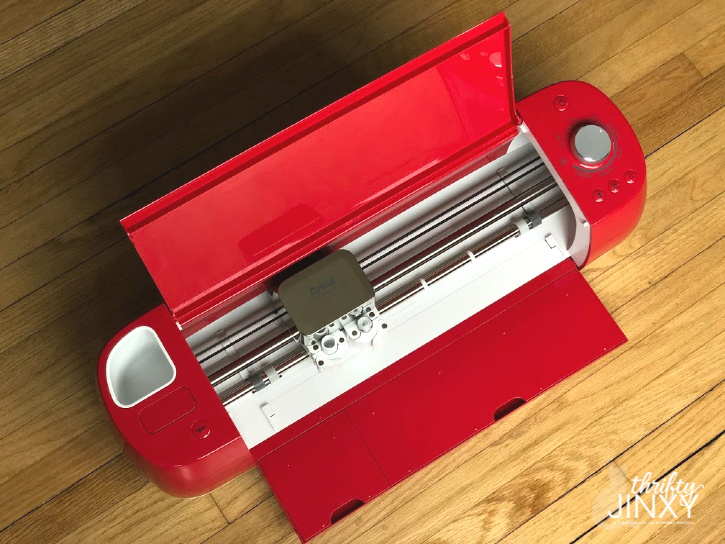
I have only had my Cricut Explore Air 2 for a few months now and in that short time have become a BIG fan!
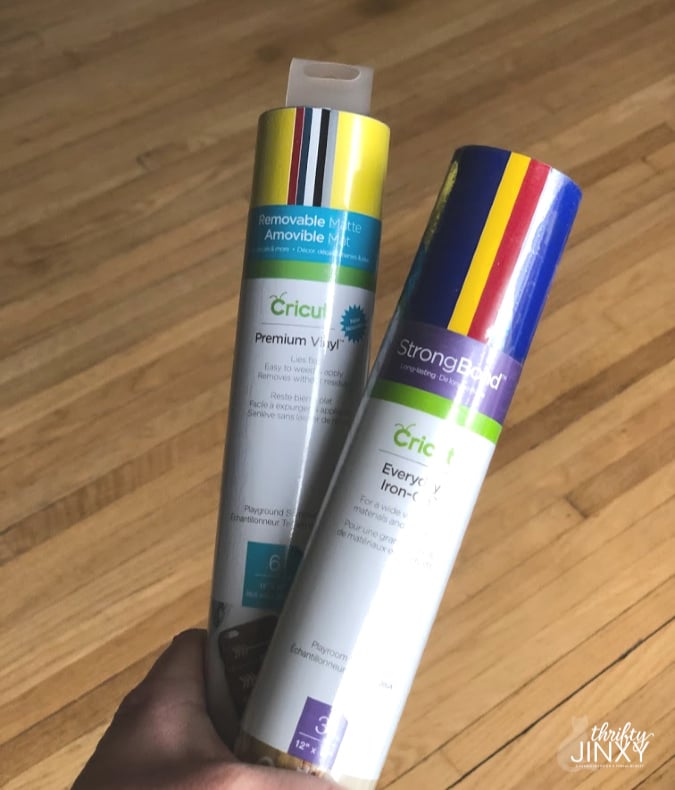
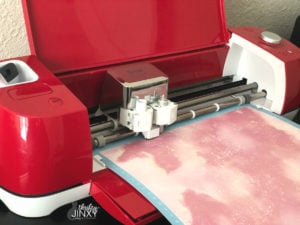
The machine itself is awesome in that it can cut and write up to 2X faster than previous models and it can cut over 100 different materials, from vinyl and iron on, to cardstock and speciality materials like cork, bonded fabric and glitter paper. You can make SO MANY THINGS.
But as to my personal opinions as to why it’s so great, after much deliberation and having to cross all my other reasons off the list, here are my TOP FIVE Reasons I Love My Cricut Explore Air 2.
Crafting with Cricut is Easy to Learn
I will fully admit that I was a bit intimidated when I first got my Cricut. I had wanted one for a long time and when it finally showed up I was a bit nervous about whether I would actually be able to use it.
But, once I was getting started with the Cricut Explore Air 2, I realized that I definitely COULD learn how to use it and that doing so was easy, and more importantly, FUN!
As soon as I opened the box, there was a small project included. This project lets us get crafting right away and build some confidence.
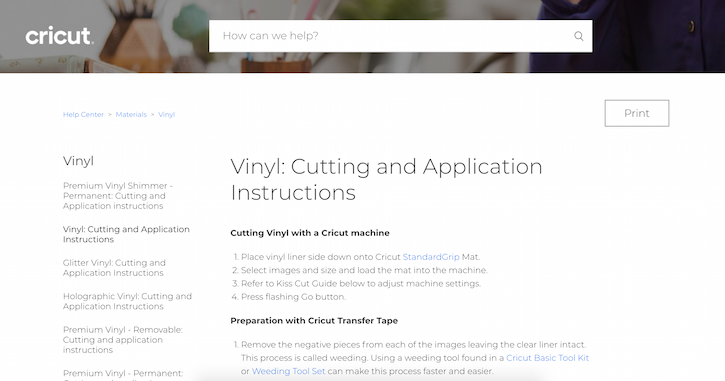
Once you make that first project, you’ll probably be anxious to learn more like I was. Luckily, there are lots of resources, how-t0s and step-by-step instructions on Cricut.com itself.
Cricut Design Space (which you can use from your laptop, iPad or iPhone) is filled with ready-to-make projects, plus thousands of images and fonts for you to use.
There are also tons of blog posts and YouTube videos from other crafters that can both give you inspiration and show you how to do specific tasks. I have learned a lot by watching/reading from others.
Last, but not least, Cricut makes their products easy to figure out and also offers lots of tools to make crafting easier.
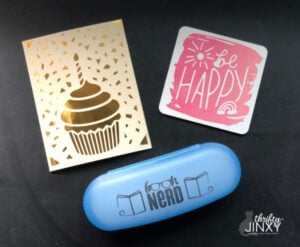
For example, they have all sorts of small tools and supplies like a Weeder to make weeding easy and Transfer Tape to make it easy to apply vinyl.
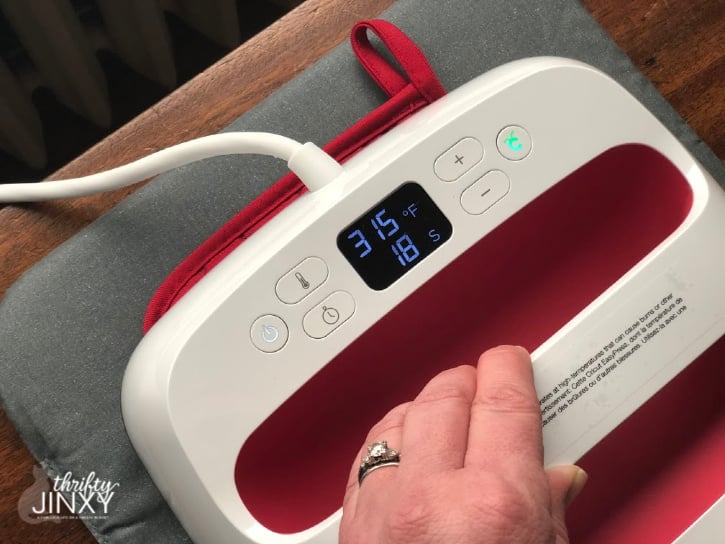
And then larger tools like the Cricut EasyPress 2 to make iron-on application easy with top quality results.
Best Way to Create Personalized Gifts
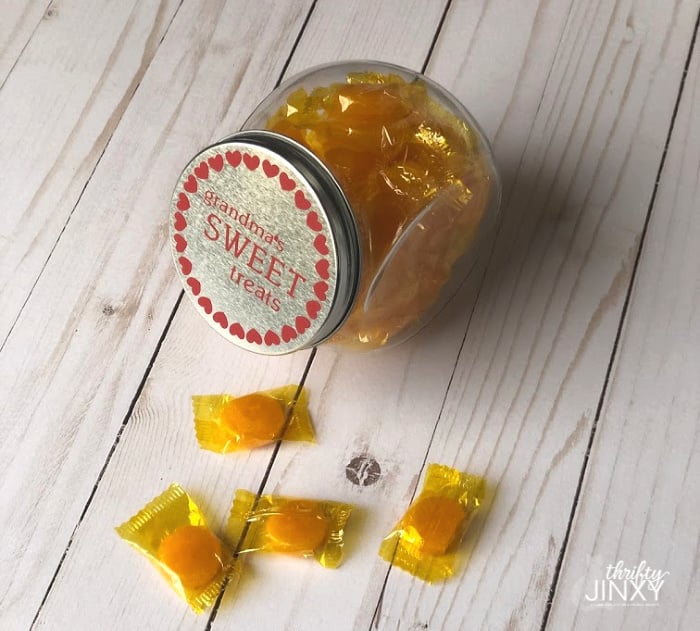
While I love making things for our home home with Cricut, I REALLY like making personalized gifts. A gift that is personalized to the recipient is just so much more special.
Whether it’s adding a name, creating a gift around an inside joke, or making matching gifts for a family, team, or club, almost anything can be personalized.
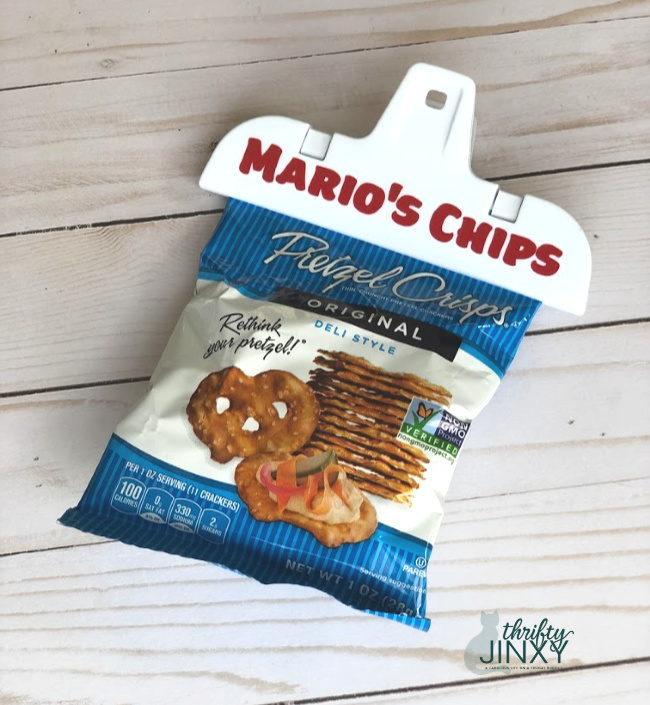
This year I have been the go-to person in my family for gift creation. I made fun personalized chip clips (with a bag of chips attached, of course) for my husband to gift at work.
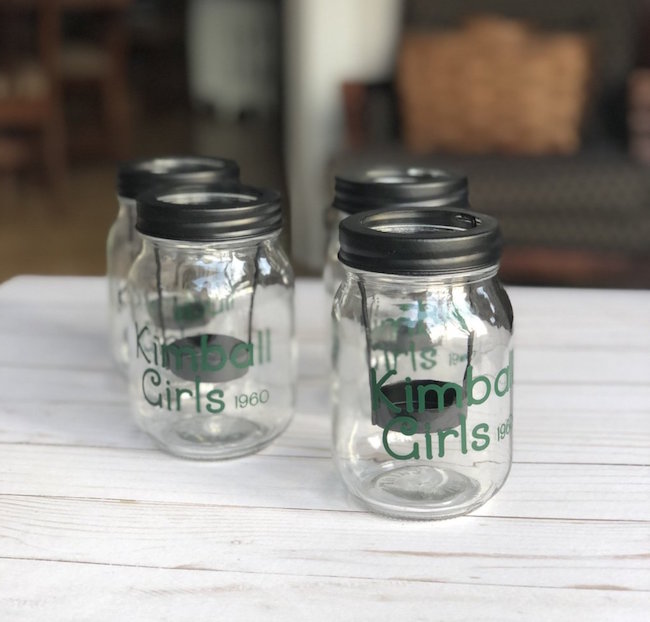
For my mom, I created personalized candleholders with the name of her high school and graduation date to gift to her group of friends who do a gift exchange each year. I’ll share both of these Cricut crafts in upcoming posts!
Cost Effective Crafting with Cricut
Since I always try to get the best bang for my buck, I love that crafting with Cricut can be cost effective.
After your initial purchase of a machine, you can spend as much or as little as you want on making your crafts.
And these crafts are personalized, unique creations! If you have ever ordered personalized gifts online you know that they aren’t cheap and the quality often isn’t that great.
With your own Cricut gifts you can make sure they are unique and look great – plus the fact that you made them yourself is a bonus.
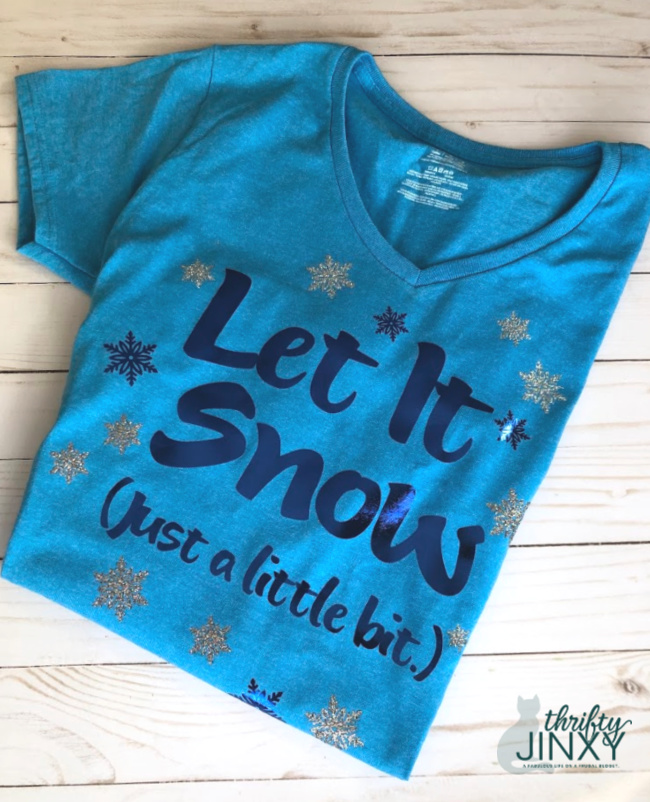
Besides making gifts, there are also big savings if you make your own team or club shirts rather than buying them or if you create promotional holiday gifts for your small business to give to clients. The ideas are endless!
Besides gifts, you can also make your own cards. Buying cardstock to make your own cards is much less expensive than pre-made cards and also much more special!
Many of my crafts start with items that I purchased from the dollar store and then added Cricut designs. One roll of vinyl or iron-on can go a long way and, especially when you stock up during the frequent Cricut materials sales, you can make a lot for a little.
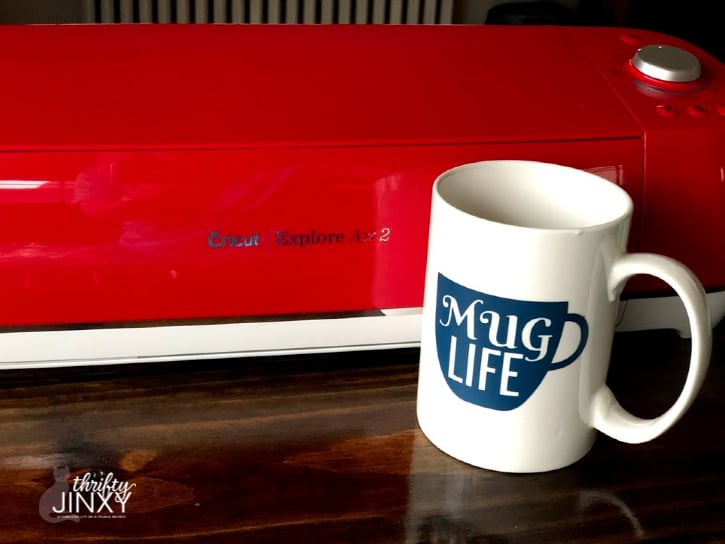
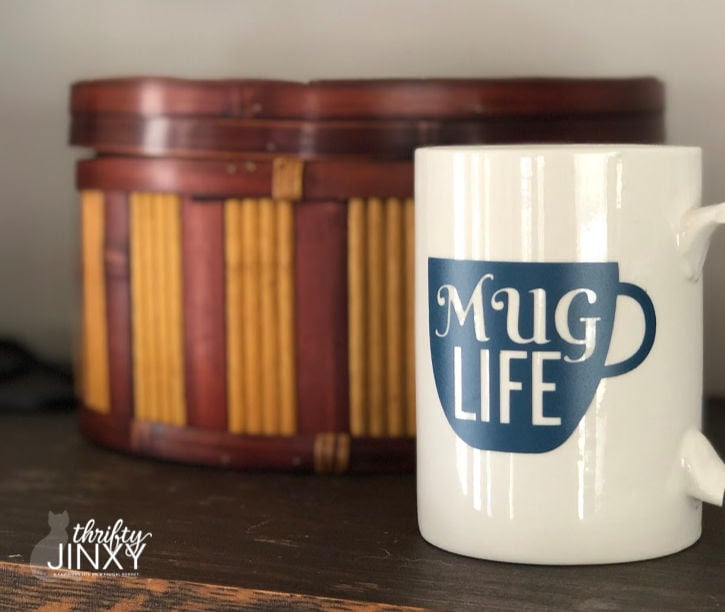
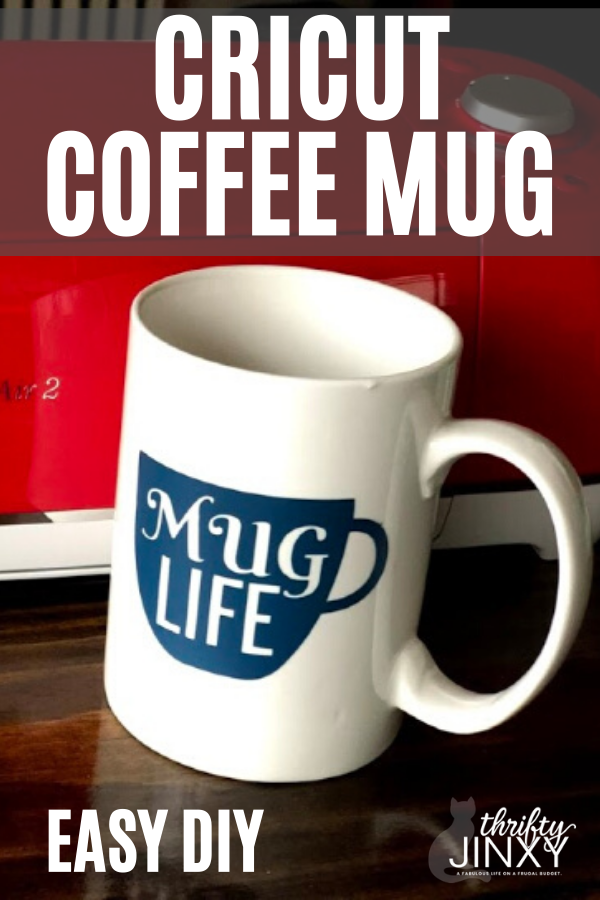
As an example, check out my project below to make a fun coffee mug starting with a $1 mug from Dollar Tree. I only needed a small scrap of Cricut vinyl, making a fun, handmade gift for just over $1.
Cricut Crafting is a Creative Outlet
One of the biggest reasons I love working with my Cricut is that it gives me a creative outlet. In our busy day-to-day lives, how often do we get to sit back and just CREATE something? Besides just the fun aspects of creating, it actually helps to improve brain function, mental health and physical health.
So often in the past I have said that I just don’t have the time to get crafty and make things. I love that with Cricut crafting I don’t have to sit down and make a whole project at once (although I often will since so many of them can be done in under 30 minutes).
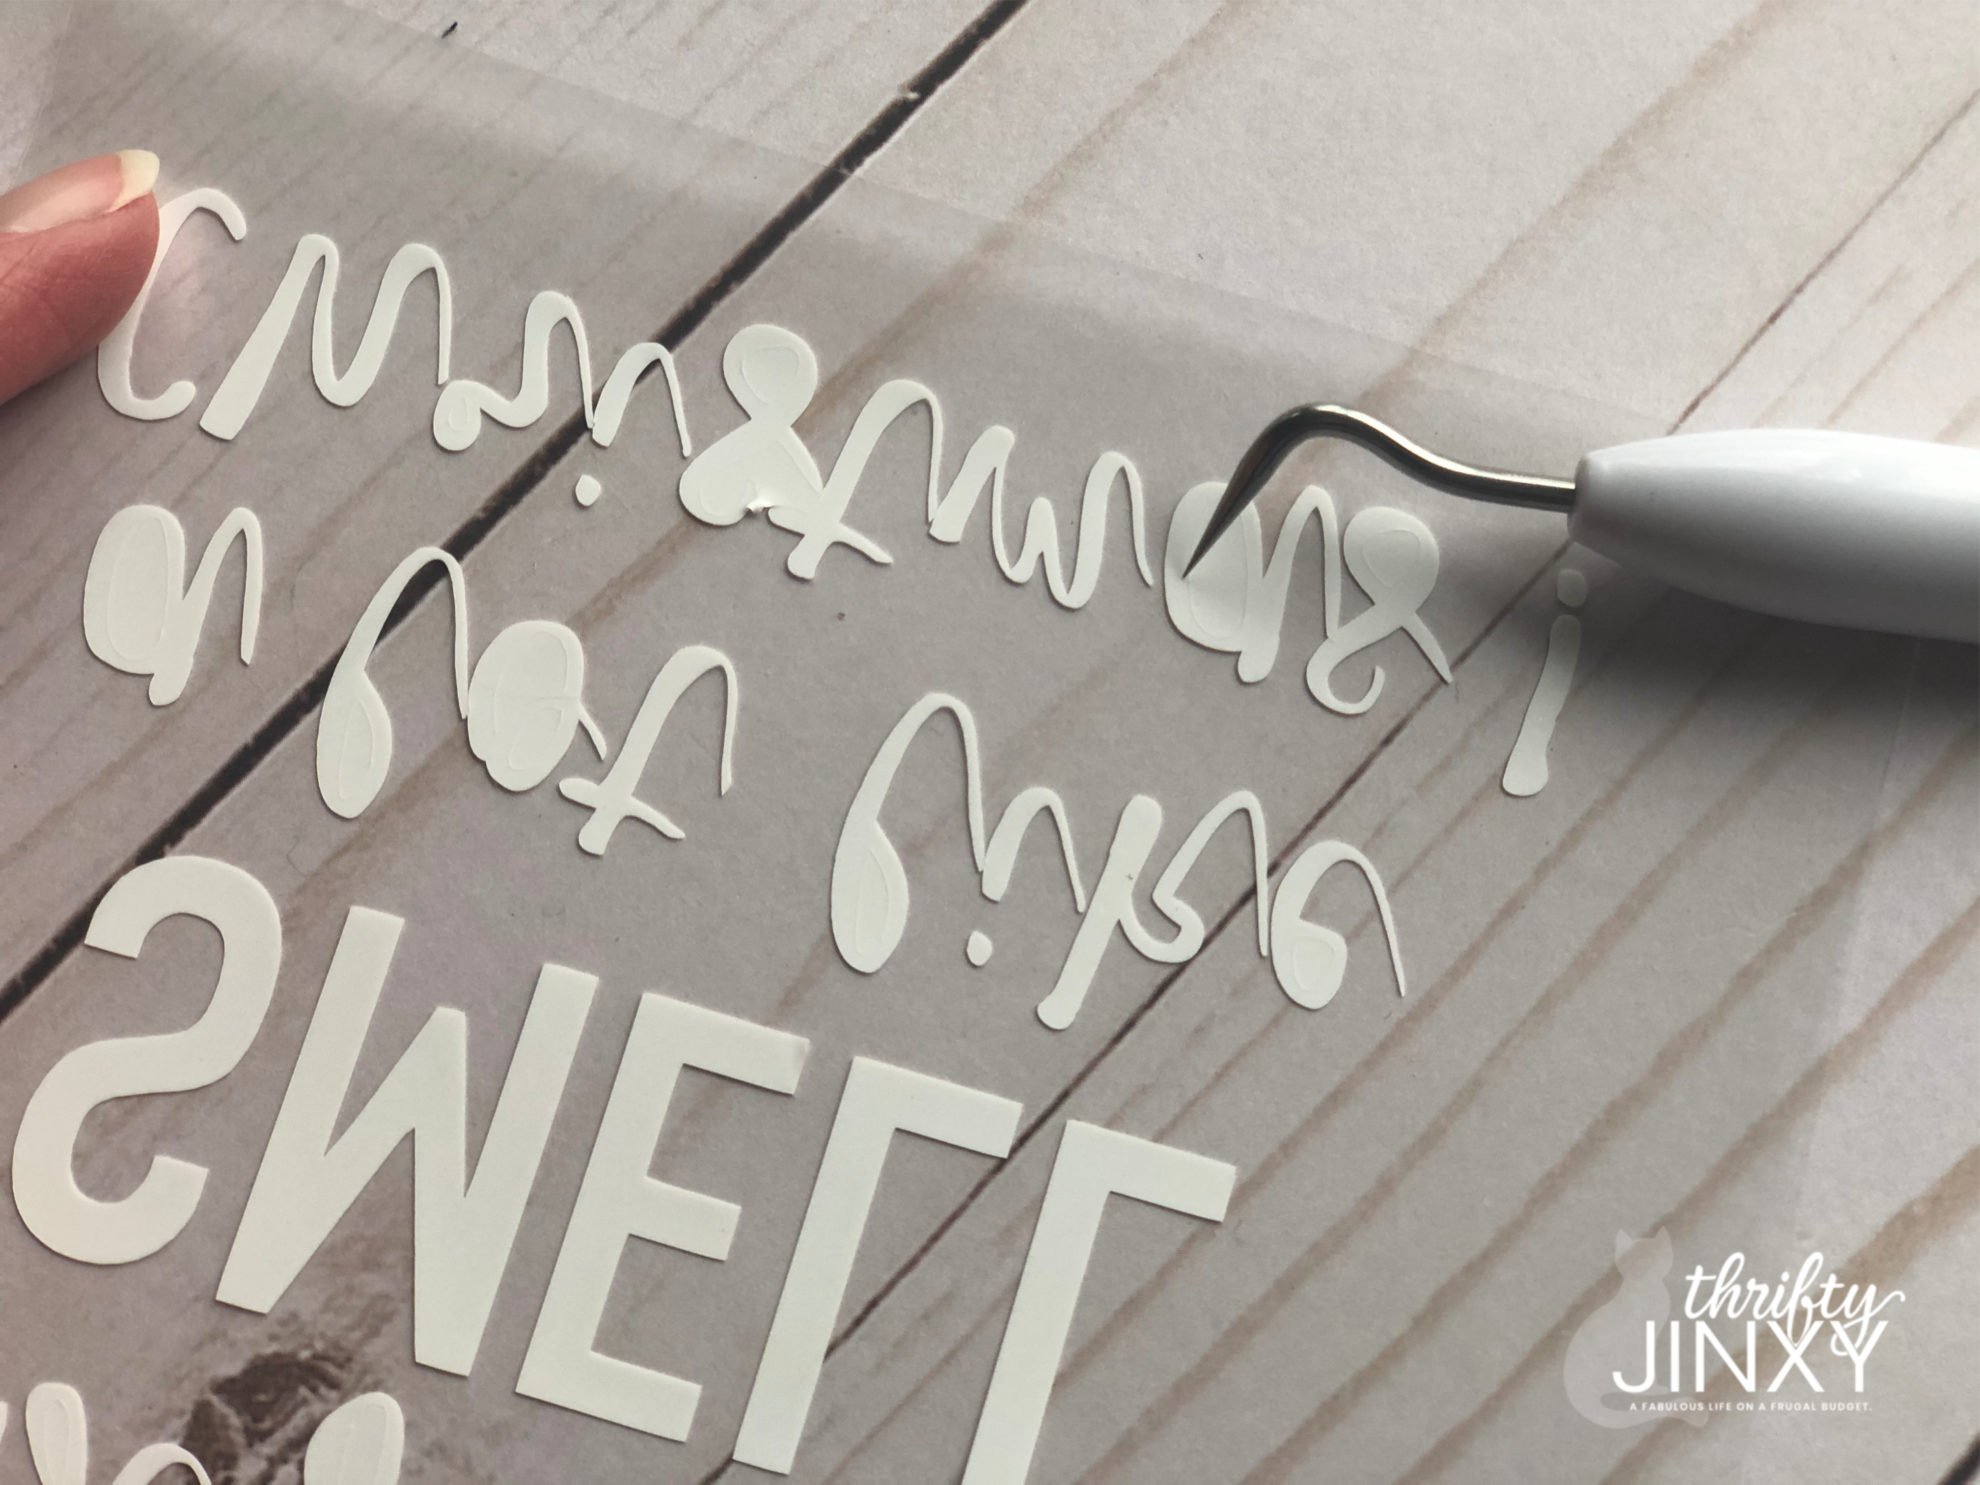
If I do have only a few minutes, I can just do one part of a project, like creating a new design in Cricut Design Space. One of my favorite things to do is weeding vinyl, which is perfect to do while watching TV.
Cricut Crafting Doesn’t Have to Take Over Your House (Unless You Want It To!)
In the past when I became absorbed in a certain type of crafting, I would find my tools and materials starting to creep over the entire house. I prefer to keep things tidy and not give up a lot of space to one hobby. While you definitely do need equipment and supplies for Cricut crafting, it can be easily managed.
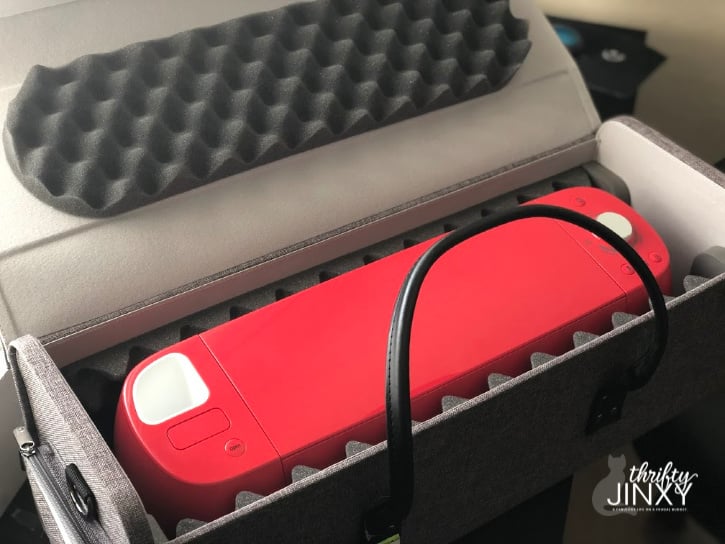
If you want to totally tuck your Cricut and supplies away in a closet you can do it. There are even Cricut Machine Totes designed specifically for storing, protecting and transporting. The case is so pretty thought that I feel bad tucking it into a closet!
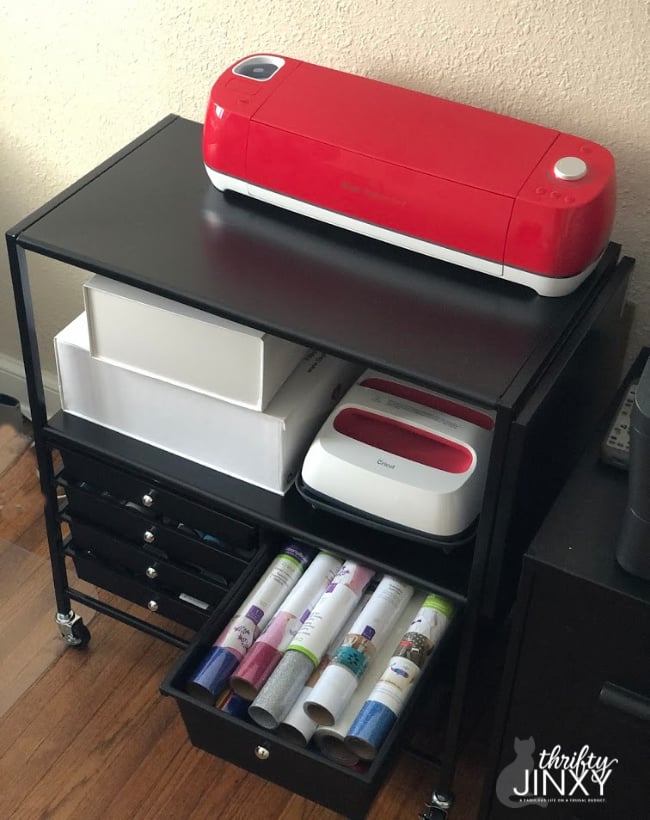
I have also found what I believe is the perfect option for storing and having easy access to my Cricut Explore Air 2, Cricut EasyPress 2, as well as all my tools and materials. This Essex Cart from Michael’s fits my equipment on the shelves and tools and supplies in the pull-out drawers and boxes stored on the additional shelf space. It has a small footprint, so it fits perfectly in my office. Despite taking up such a small amount of space, it holds a LOT!
So, I promised to share with you one of my inexpensive crafts and here it is.
I bought the mug for $1 at Dollar Tree – you can choose any mug, but the best type has sides that are as evenly spaced as possible from top to bottom (so that the top diameter and bottom diameter are almost the same.)
Here we go:
Mug Life Coffee Mug Cricut Project
Tools and Supplies Needed:
Ceramic Mug
Cricut Premium Vinyl in Any Color
Transfer Tape
Cricut Explore Air 2
Cricut Weeder (Helpful but not obligatory.)
How to make the mug with your Cricut:

In Cricut Design Space there is a template specifically for mugs. That means you can choose any image you like and use it on your mug. (Try searching with the word coffee or mug and you’ll find lots of options.) If you like my design, you can get it here.
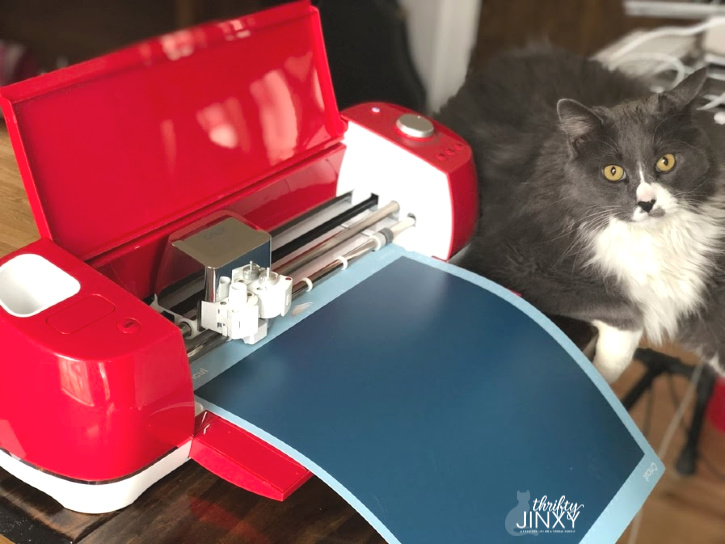
Load Cricut Premium Vinyl shiny side down into your machine and cut. (Since we're working with vinyl, do NOT use the mirror option.) Note: you can cut a piece of vinyl the size of your project and attach to your mat, or I like to load the whole sheet of vinyl and cutting off the design section afterwards.
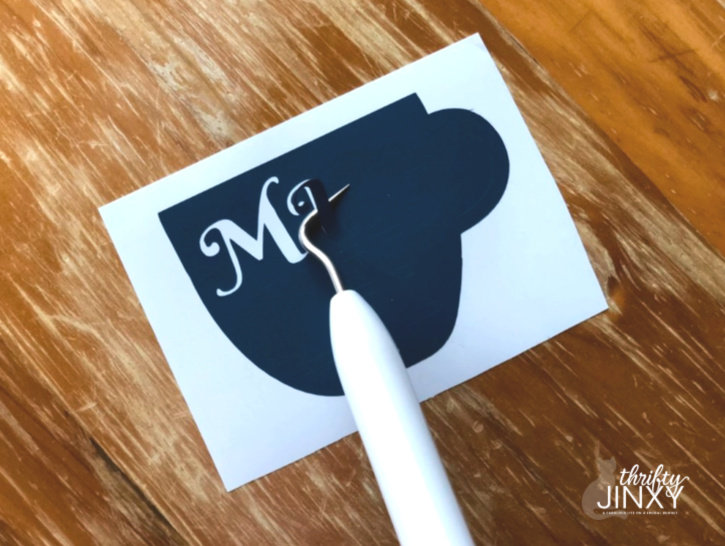
Once you have finished cutting, peel the backing away from your design and weed out the remaining material.
To prepare your mug for application, clean the side using a cotton ball moistened with rubbing alcohol. Let dry.

Cut a piece of transfer tape slightly larger than your design size. Remove the liner from the transfer tape and place it adhesive side down over your design, starting in the center and then moving to the edges.
Use a scraper or other hard smooth tool to rub the tape firmly onto the vinyl. Peel the vinyl liner away at a 45-degree angle. If you're missing any pieces, rub the tape onto the vinyl again and remove.
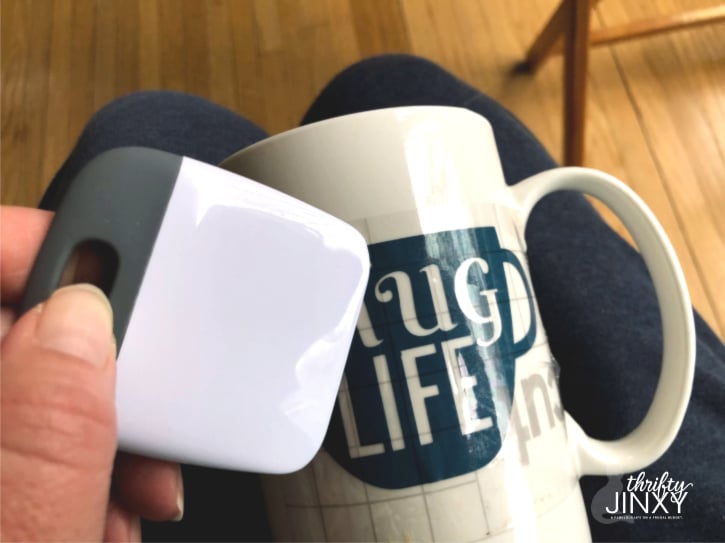
Press the transfer tape onto the side of the mug, again starting at the center and moving out to the edges. Use the scraper to press down.
Peel the transfer tape away at a 45-degree angle.
Voila! Your mug is finished!


Shelly Peterson says
Love your mug. It would be cool to have a Cricut.
Donna says
I love the mug! I’ve been wanting a Cricut for so long. You can make so many fun crafts with them.