Soy candles are fun and easy to make using soy-based wax. Not only are they clean burning, but they’re both animal-safe and vegan-friendly as they contain no beeswax.
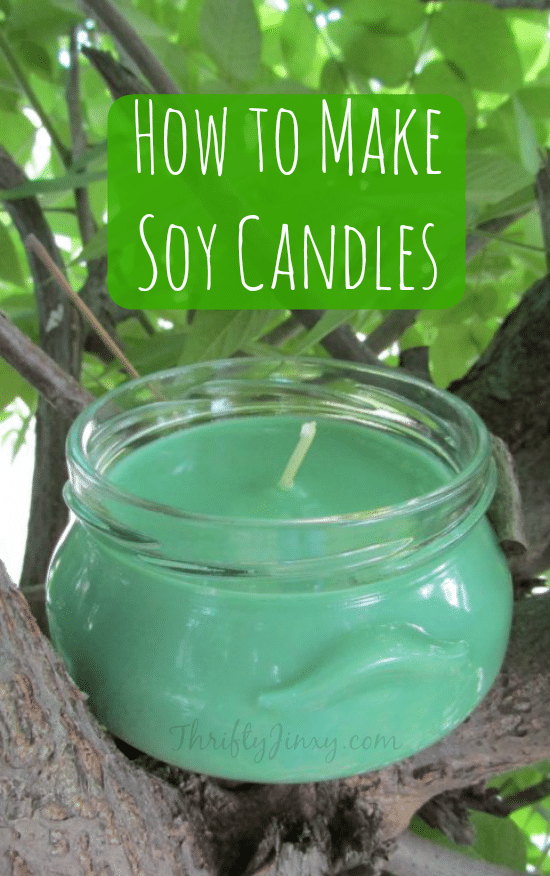
Soy candles are made using soy-based wax. That means they are animal safe as they contain no beeswax.
That makes them a favorite of vegans and anyone who prefers to use soy over other ingredients.
I took it upon myself to make some candles and walk you through the entire process! It’s a ton of fun and really simple. Check it out!
Soy Candle Making Supplies
Soy Wax
Colored Wax
Fragrance Concentrate
Glass Jar (or another container)
Wicks – Alternatively you can use wooden wicks for an added ambiance. I love wooden wicks!
Pouring Pot
Thermometer This is a really nice one to have, it’s the one I use.
A covered surface – I usually use an old sheet. It has various wax spills on it already so it is my designated wax making sheet!
How to Make Soy Candles
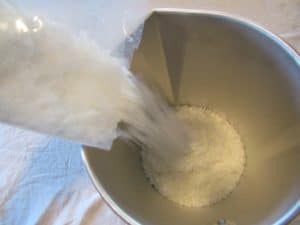
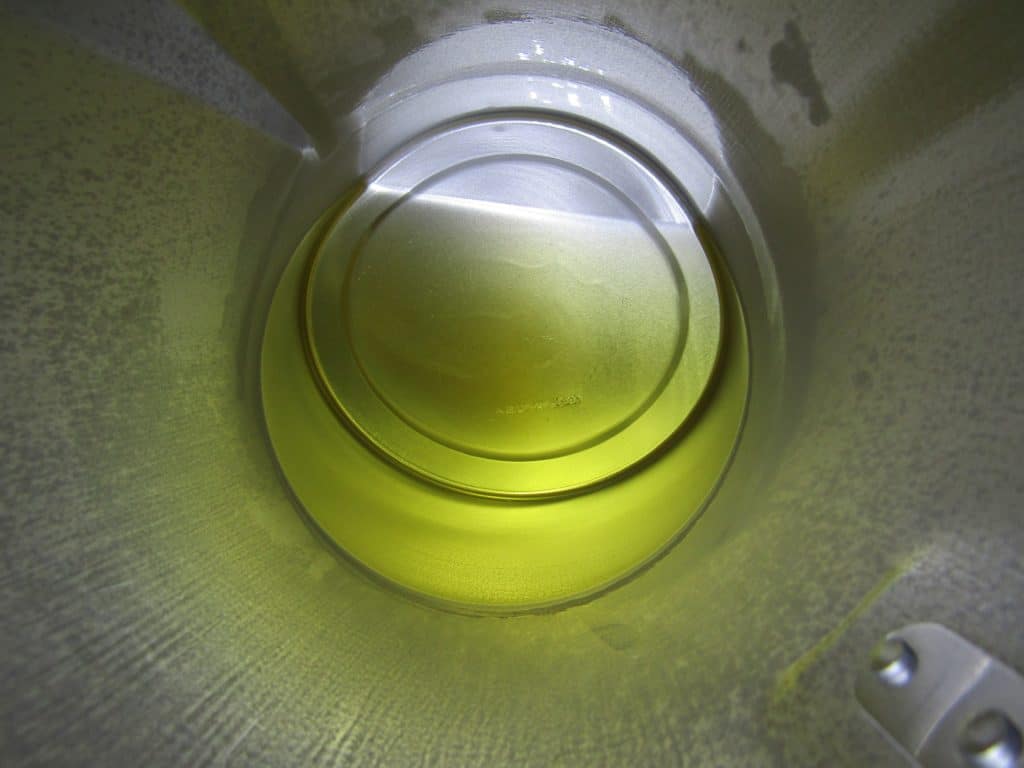
Grab a regular pot filled with water and start to bring it to a gentle boil. As you are waiting for the water to heat up, Pour the wax into your pouring pot. An easy way to measure how much wax you will need is to fill up the container you intend to make into a candle two times with the wax chips. There will be a little extra, but that’s fine. it can be used for later. Since I was making multiple candles I did no measuring and used the whole pound of wax chips.
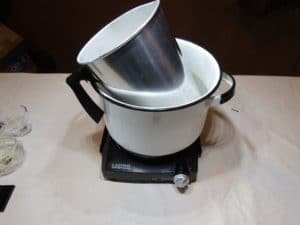
Once the water starts to boil, put the whole pouring pot into the boiling water. This is going to create what is called a double boiler (usually used for fondue, or melting chocolate). You don’t want to use direct heat on your pouring pot, as it could scorch the wax or even worse; start a wax fire. Let me tell you, wax fires are NOT fun. Trust me.
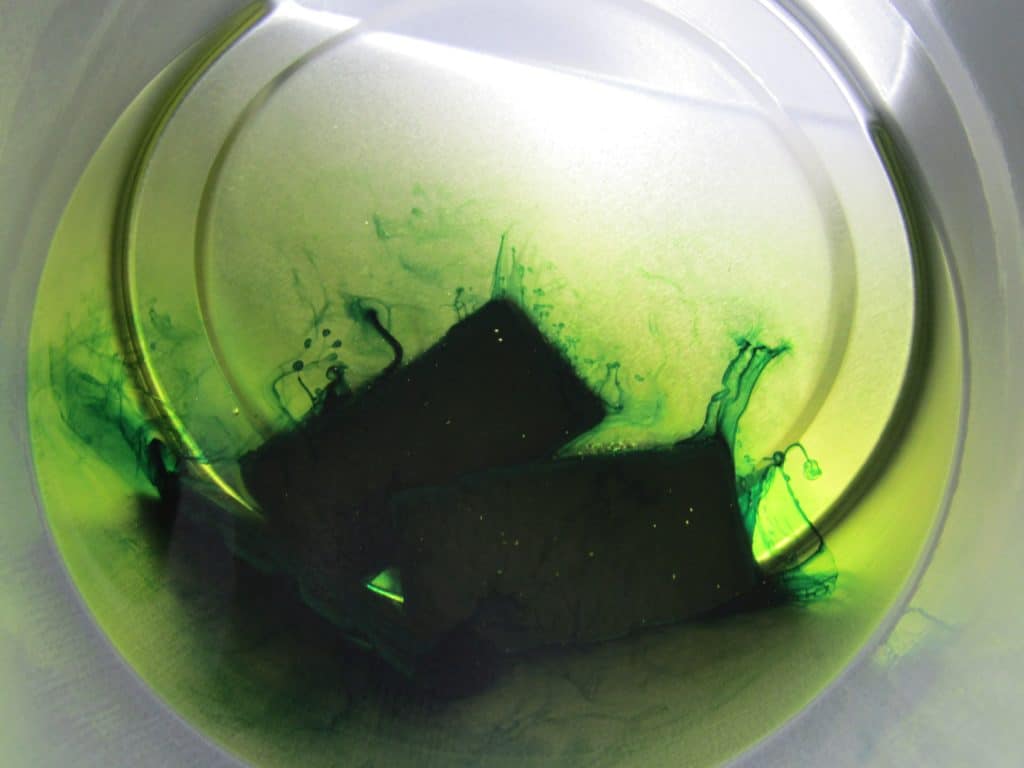
Allow all of the wax to melt. Once it is in an all liquid form, insert your thermometer and allow the temperature to rise to about 150°F. Once you’ve reached the temperature add in the desired color square.
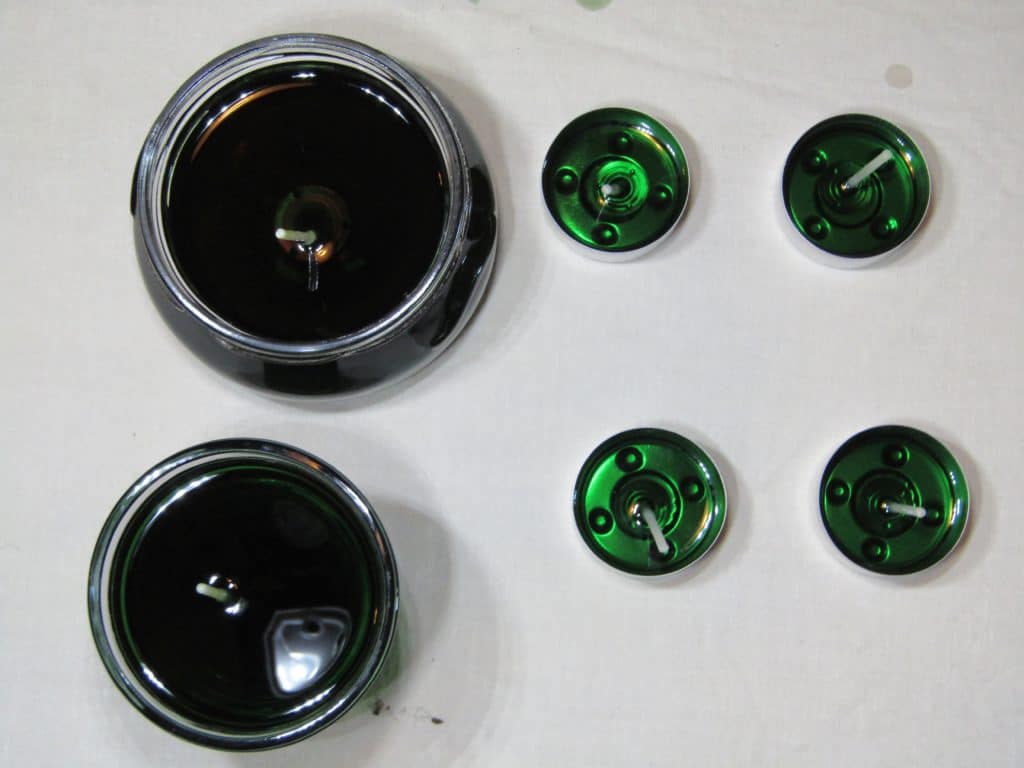
As you wait for the colored wax to melt – this should take about 5 minutes – get your container(s) ready to be poured. Align the wick in the center.
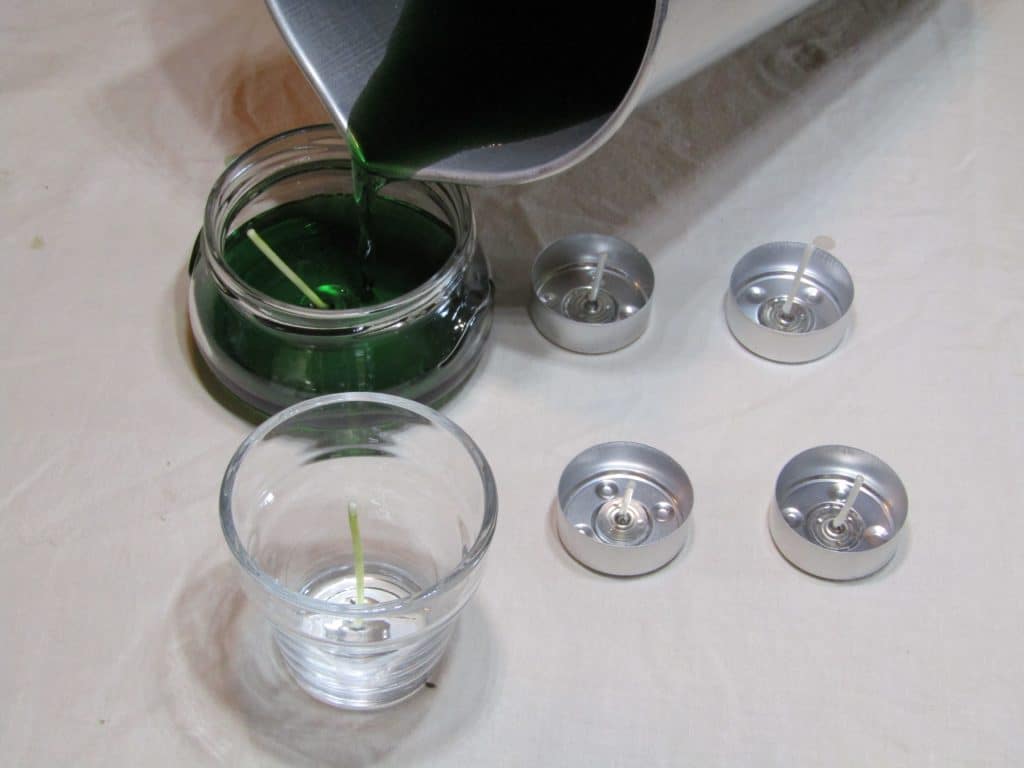
Now that the dyed wax has been melted bring the temperature back up to 150°F once again. Then remove the pouring pot from the boiling water and set it on a heat-protected surface. Allow the wax to cool down to about 120°F. It will cool very rapidly. Then pour in your fragrance concentrate and stir the mixture vigorously for about a minute. Then slowly pour the wax into your containers. Be extra careful not to move the wicks while pouring.
*Note – for better results, heat your glass containers with a blow dryer before pouring wax.
Finishing Up
Now let the candles sit for a couple hours. If you are impatient like me, you can stick them in the fridge to firm them up faster. However, if they cool TOO fast the wax may crack.
Soy Candle Burning Tips
One the candle is solid and ready to be burned please follow the usual candle guidelines.
- don’t burn for more than 4 hours at a time
- allow to cool before relighting
- keep the wick trimmed to a quarter inch
- never leave the candle unattended
- and avoid burning the candle in a draft.
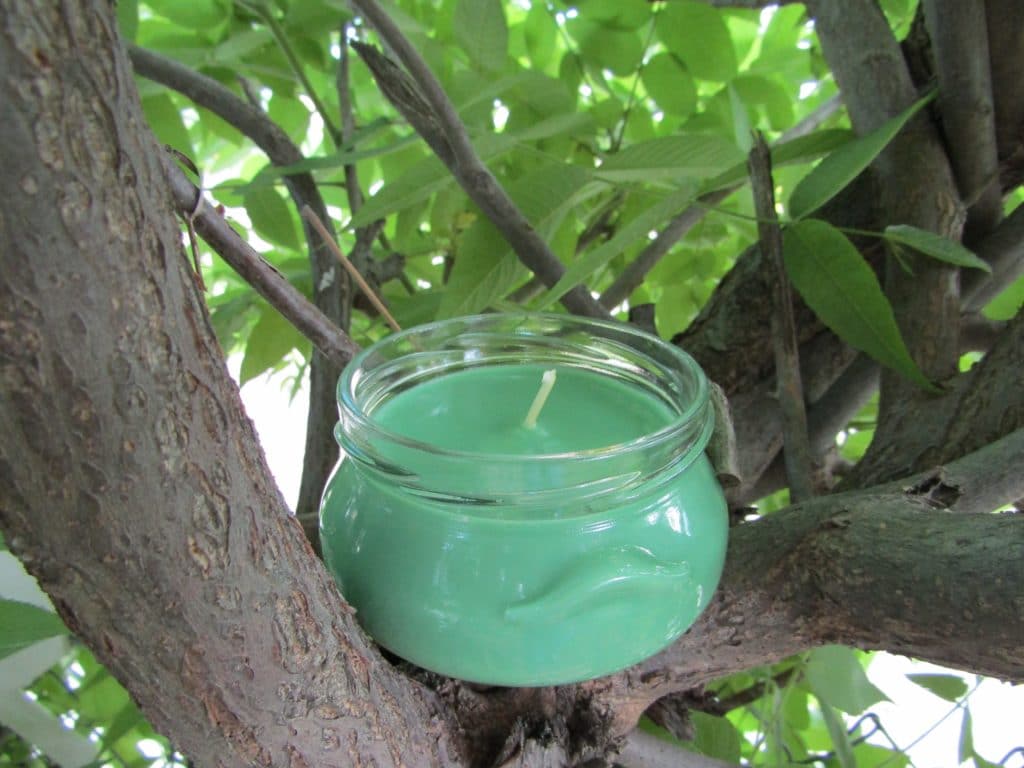
Enjoy your beautiful handiwork!
Have you ever made your own candles? How did they turn out? I had a lot of fun creating this, and I hope you all enjoyed it!



Hannah C says
I’ve always wanted to make my own candles. I think it would be so fun.
Julie Wood says
Candles are so expensive and I never thought about making my own candles. This seems like it would not be too hard for me to do. Thanks for the awesome idea!
Heather Johnson says
I have never tried making my own candles. I should because I love burning candles!
Jacqui Odell says
I love candles! I use them all the time. Probably would be a good thing for me to learn to how to make them.
Melinda says
I’ve never made any kind of candle but I like Soy Candles because they tend to give off less soot. This would be fun to do with the kids
Kathleen Kennedy-Leon says
These candles look easy enough for even me to make and I’m not the crafty person so to speak. I”m sure my kids would love to try this out too. Appreciate the step by step guide!
Jennifer says
That looks like so much fun! I’ve never been big into the construction DIY stuff, but I love to make soaps and candles. Thanks!