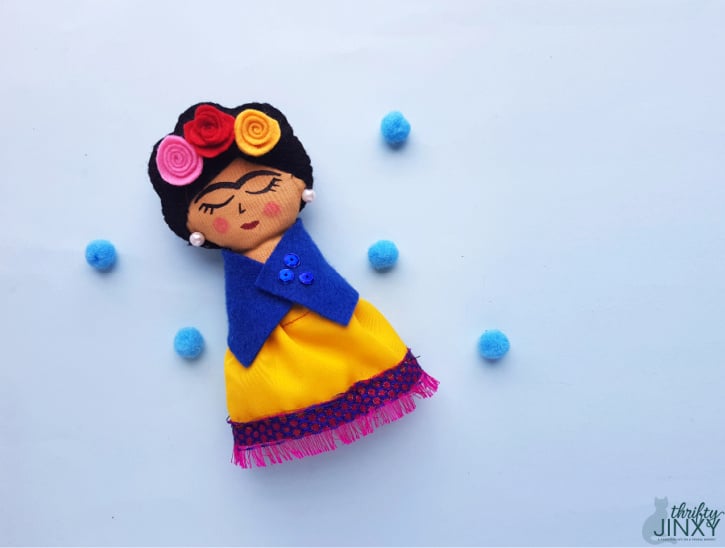
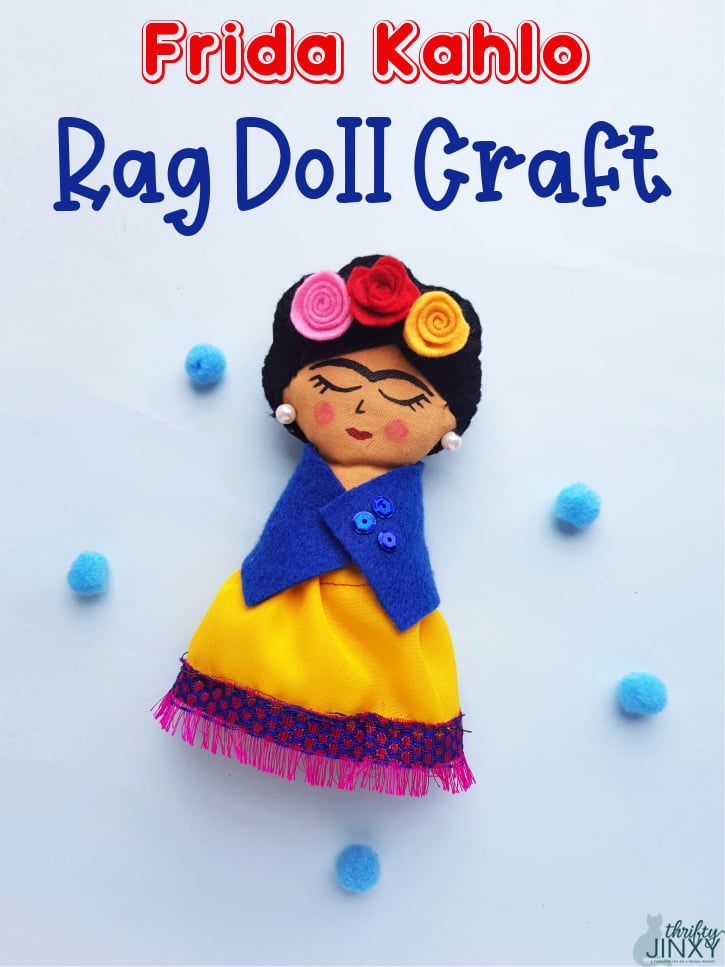
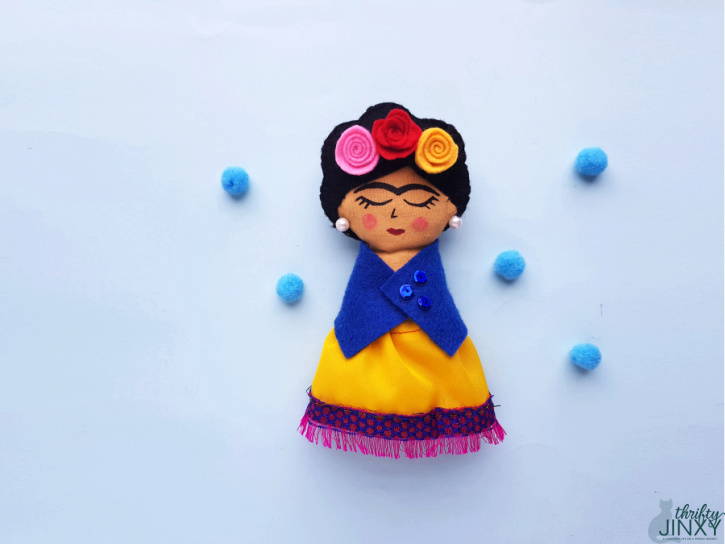
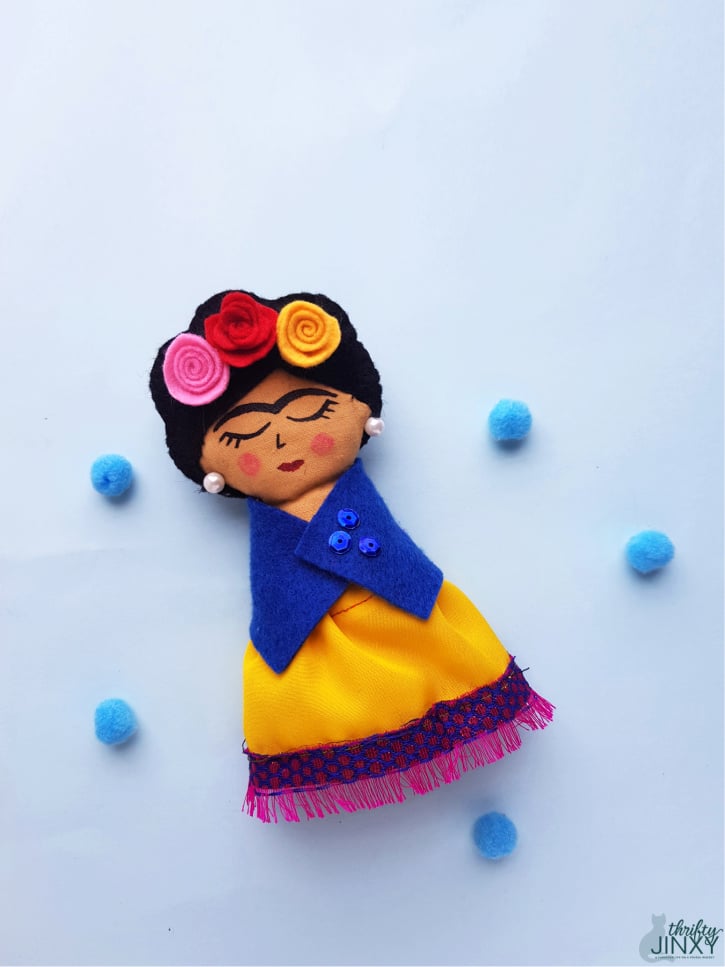
This adorable Frida Kahlo Rag Doll craft celebrates the extraordinary Mexican artist. It comes with easy step-by-step instructions, perfect for beginner-level sewing.

I love creating crafts that are different. I also have a penchant for cute little rag dolls. So, why not combine the two?
Not too spiffy at sewing? That’s alright as neither am I! This easy sewing craft is truly beginner-level and super easy. It doesn’t require any fancy sewing or a sewing machine.
All you need is an ordinary needle and thread and then just follow the simple step-by-step instructions.
Another thing I love about this rag doll craft, is that no two need look alike. You can use any types of fabric trim, along with beads or sequins, that you have for the embellishments on her clothing.
For her hair you can use any small fabric or felt flowers or else use colorful sequins to represent flowers. You can instead opt for a small piece of colorful fabric to make a head wrap (although the flowers are iconic!)
Who is Frida Kahlo?
Just for a bit of history on Frida Kahlo and how these fun rag dolls came to be. Frida Kahlo was a Mexican painter known for her self-portraits.
While she had multiple disabilities including polio as a child, in addition to spine and pelvic injuries from an accident, she did not let that stop her from becoming a role model for generations of artists.
The Frida Kahlo doll celebrates her achievements, heroism, and contributions in the art world and for women.
So, not only is this a fun craft to work on, it would be a wonderful craft to share with the kids. They will love making this fun vibrant rag doll and you can tell them her inspiring story!
Frida Kahlo Gift Idea:
A handmade Frida Kahlo doll makes an excellent gift, especially paired with a book about the artist. For children, you can pair it with a book introducing them to her life and work. For adults who may already be Kahlo fans, you can choose a book that dives into her paintings or a more in-depth biography. Here are a few ideas:
The Story of Frida Kahlo: A Biography Book for New Readers


Looking for other sewing crafts?
Check out our easy DIY Door Silencer! This easy craft is the solution for the noise of slamming doors! It helps keep the door from slamming and waking your sleeping baby! And, while it does require a sewing machine, it is super simple!
Frida Kahlo Rag Doll Craft
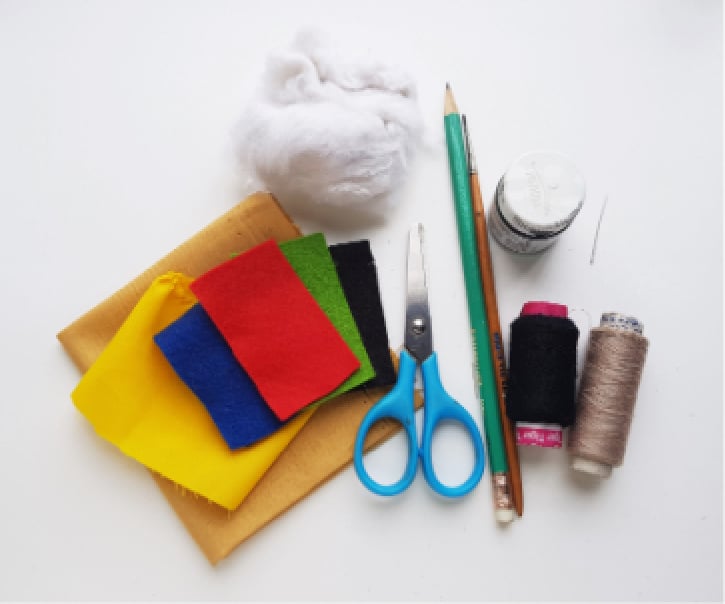
Supplies Needed:
Fabric – assorted colors
Pencil or fabric chalk
Needle and thread
Cotton
Felt
Stones, beads, trim scraps, felt flowers (for embellishment)
Scissors
How to make a cute Frida Kahlo Rag Doll:
Step 1
Select a fabric for the doll base and black or dark brown felt for the hair. Select different colored fabrics of your choice for the dress and accessories for the Frida doll.
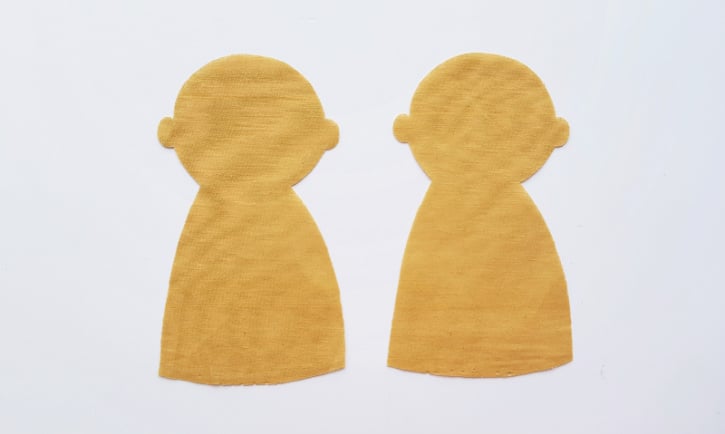
Trace the doll base patterns (2) on the fabric selected for the doll. Cut out the traced pattern from the fabric.
Step 2
Now place both body bases on top of each other with their wrong sides facing out.
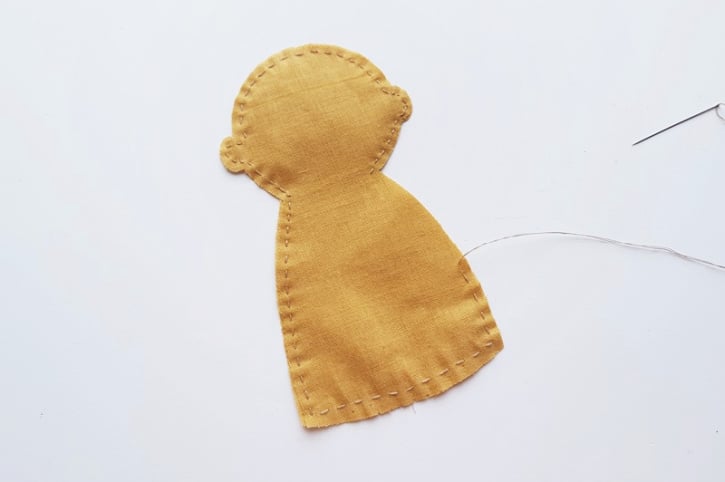
Prepare needle and thread to stitch around the side of the fabric patterns to join them together around the sides.
Step 3
Keep a small opening to turn the doll base to the right side.
Step 4
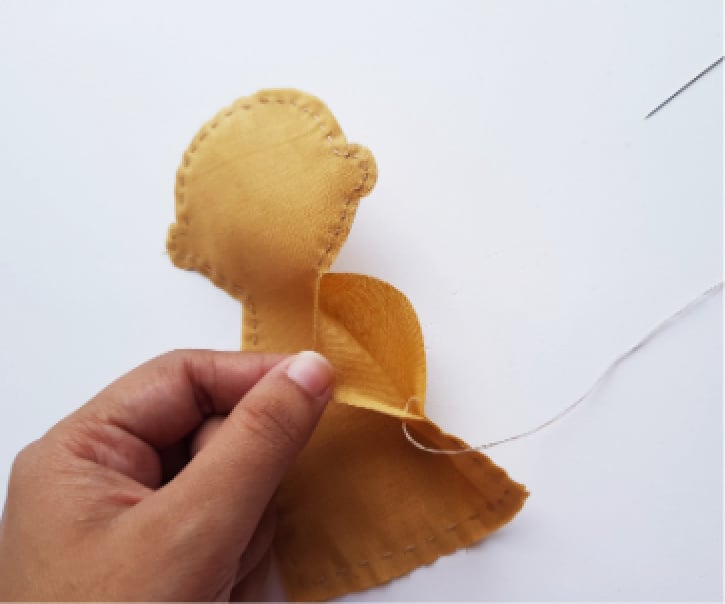
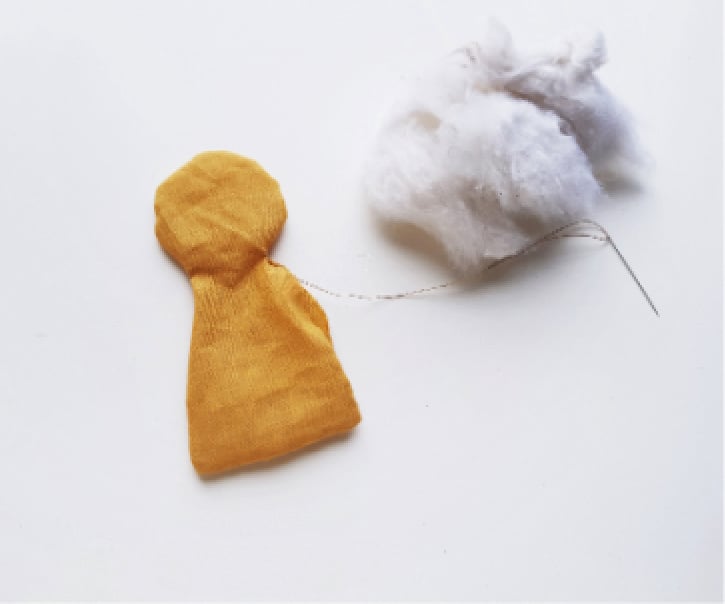
Turn the right side out through the small opening. Keep the small opening for stuffing the doll base. I’m using cotton for stuffing the doll.
Step 5
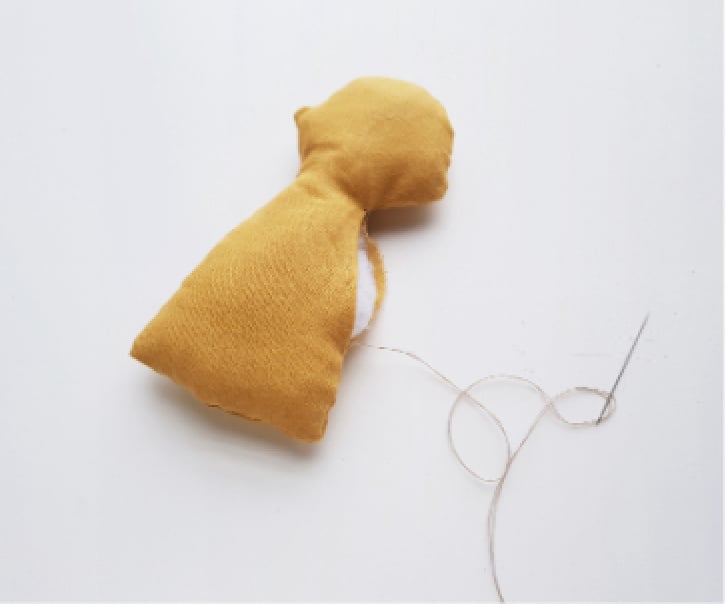
Stuff the doll base with cotton through the small opening until you are satisfied with the pattern. But make sure that the stuffing isn’t too tight; keep it nice and fluffy.
Step 6
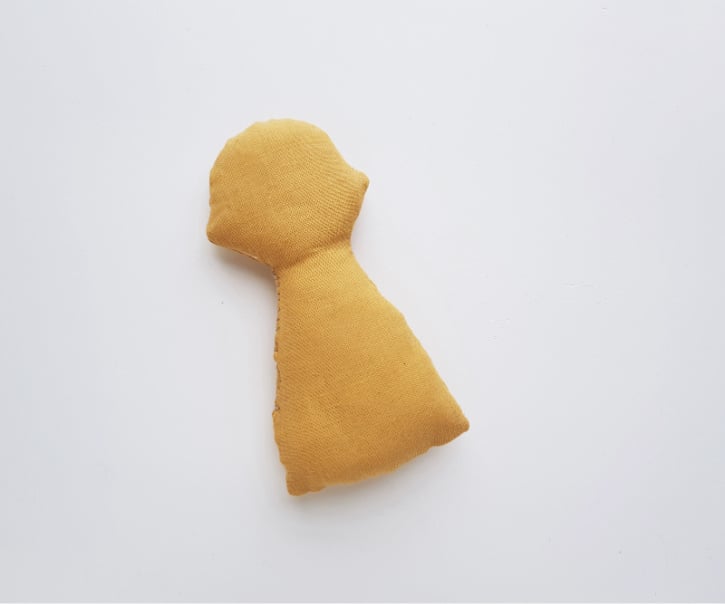
Stitch the small opening using needle and thread to secure the stuffing.
Step 7
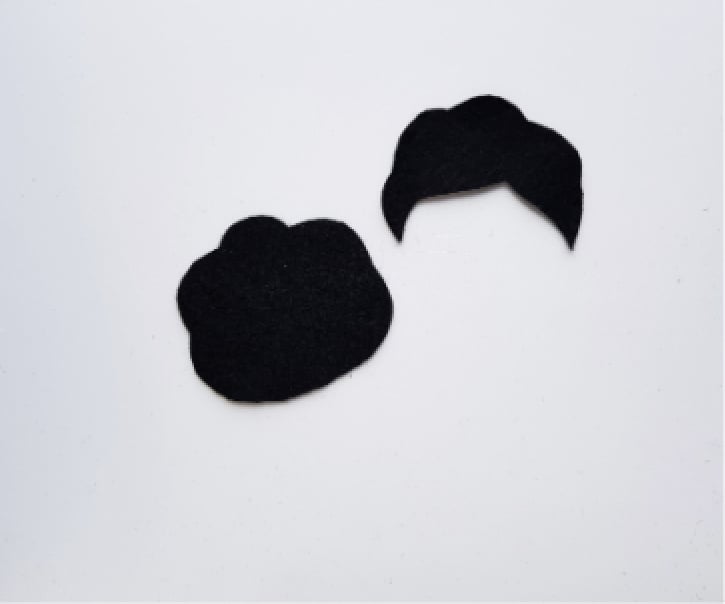
Trace and cut out the hair pattern from black or dark brown felt fabric.
Step 8
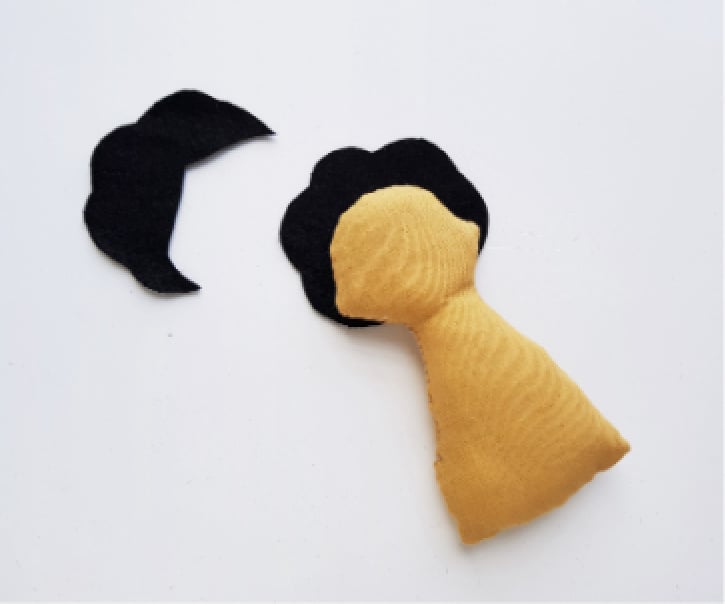
Place the full hair pattern on the back side of the head part (of the doll base).
Step 9
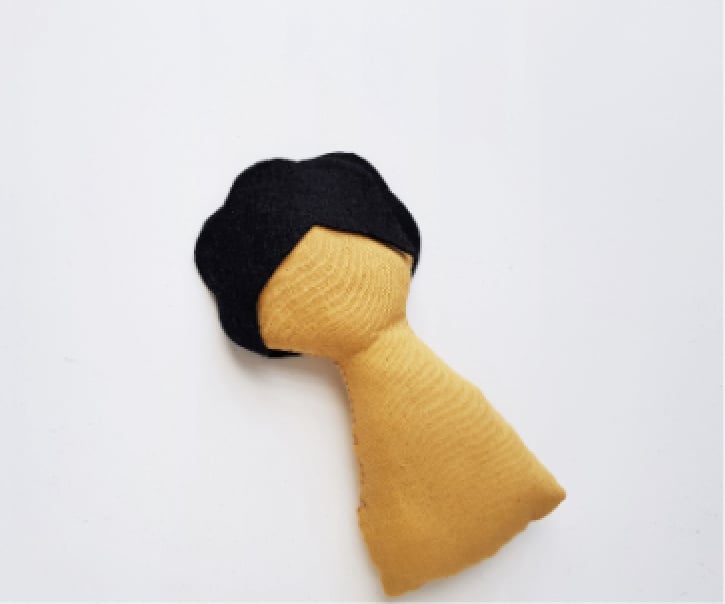
Place the semi-hair pattern to the front side of the head; making sure that the sides of both hair patterns match nicely.
Step 10
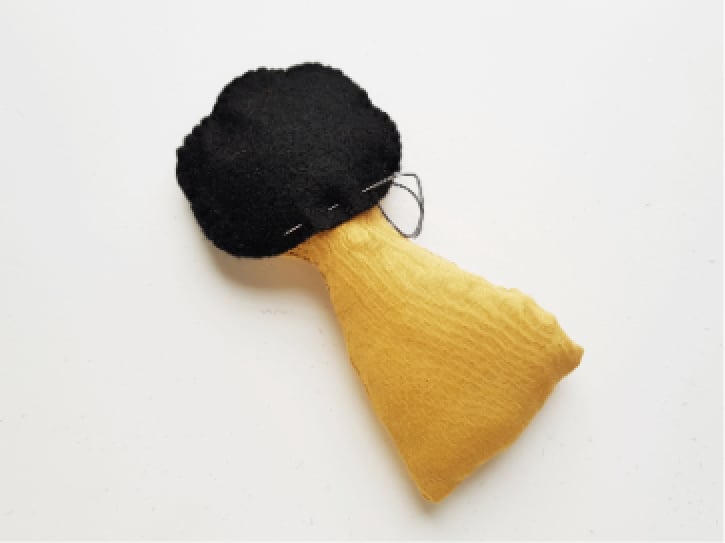
Prepare needle with black thread and stitch around the outer side and back side of the hair pattern. When stitching the backside make sure to stitch the hair along with the base.
Step 11
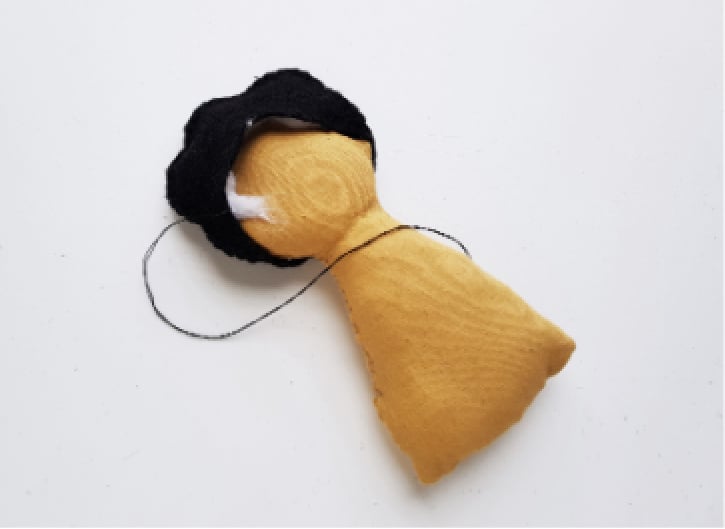
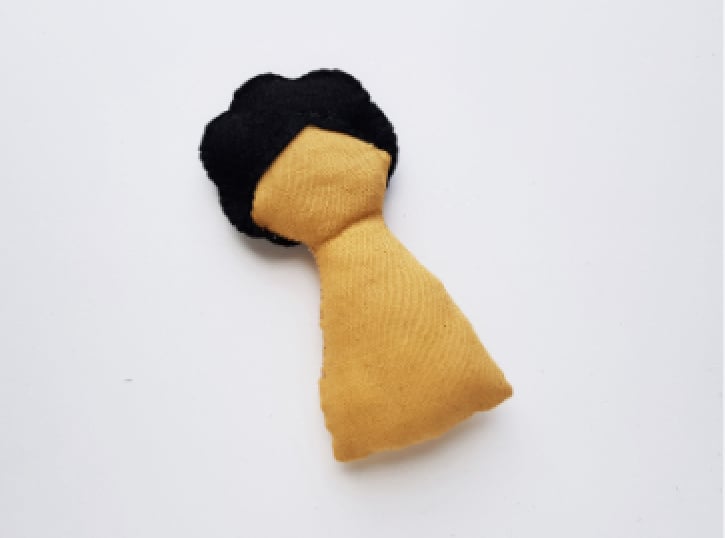
Keep the front side of the hair open for stuffing. Fill the hair part with cotton.
Step 12
When you’re done stuffing the hair part; stitch the front open end of the hair with the base as well.
Step 13
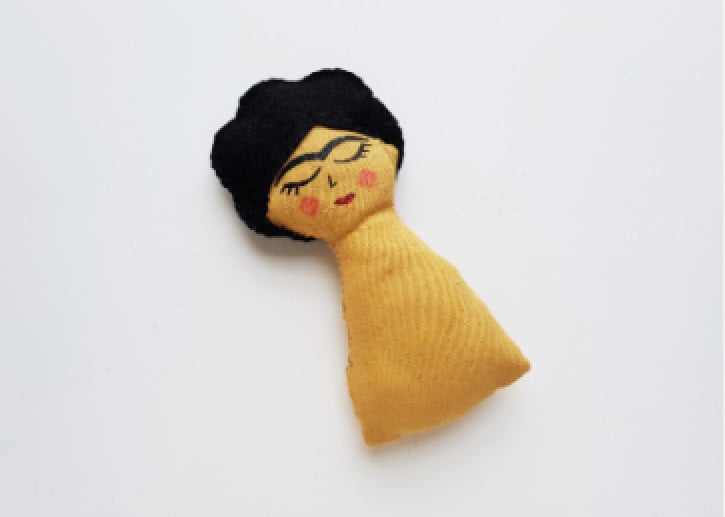
Use fabric paints to draw the eyes, nose and lips (other details if you wish) of the Frida rag doll.
Step 14
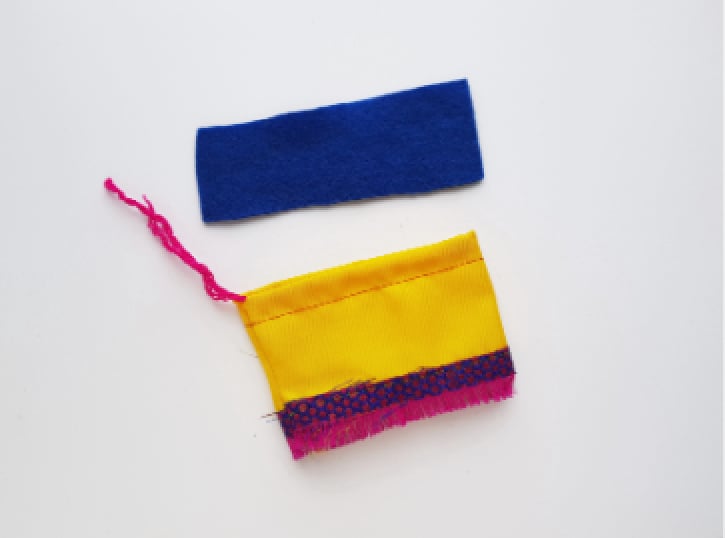
Simply cut a rectangle piece from the felt for the top part of the dress (scarf) and stitch a simple plain skirt from any fabric of your choice.
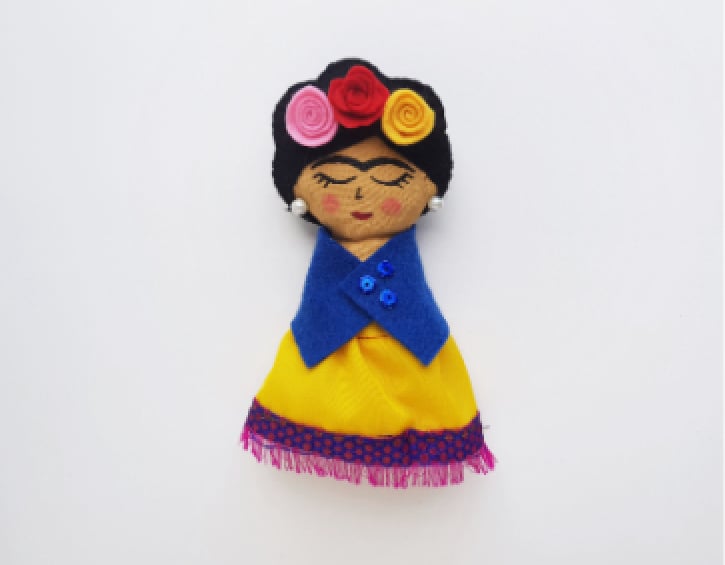
You can use small fabric flowers, beads and stones to decorate the hair of the doll. You can either use hot glue to join them or stitch to join them.
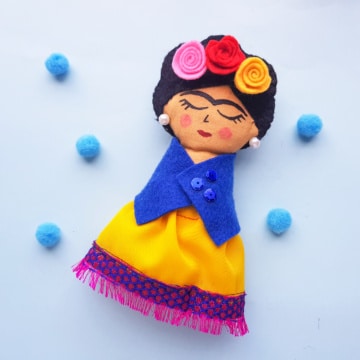
Frida Kahlo Rag Doll Craft
Supplies
- Fabric – different colored
- Pencil or fabric chalk
- Needle and thread
- Cotton
- Felt
- Stones and beads
- Scissors
- Printable Pattern
Instructions
- Select a simple fabric for the doll base and black or dark brown felt for the hair. Select different colored fabrics of your choice for the dress and accessories for the Frida doll.
- Trace the doll base patterns (2) on the fabric selected for the doll. Cut out the traced pattern from the fabric.
- Place both body bases on top of each other with their wrong sides facing out.
- Prepare needle and thread to stitch around the side of the fabric patterns to join them together around the sides.
- Keep a small opening to turn the doll base to the right side.
- Turn the right side out through the small opening. Keep the small opening for stuffing the doll base.
- Stuff the doll base with cotton through the small opening until you are satisfied with the pattern. But make sure that the stuffing isn’t too tight; keep it nice and fluffy.
- Stitch the small opening using needle and thread to secure the stuffing.
- Trace and cut out the hair pattern from black or dark brown felt fabric.
- Place the full hair pattern on the back side of the head part (of the doll base).
- Place the semi-hair pattern to the front side of the head; making sure that the sides of both hair patterns match nicely.
- Prepare needle with black thread and stitch around the outer side and back side of the hair pattern. When stitching the backside make sure to stitch the hair along with the base.
- Keep the front side of the hair open for stuffing. Fill the hair part with cotton.
- When you’re done stuffing the hair part; stitch the front open end of the hair with the base as well.
- Use fabric paints to draw the eyes, nose and lips (other details if you wish) of the Frida rag doll.
- Cut a rectangle piece from the felt for the top part of the dress (scarf) and stitch a simple plain skirt from any fabric of your choice.
- Use small fabric flowers, beads and stones to decorate the hair of the doll. You can either use hot glue to join them or stitch to join them.







Heather K says
This is so sweet. Thank you for posting.