
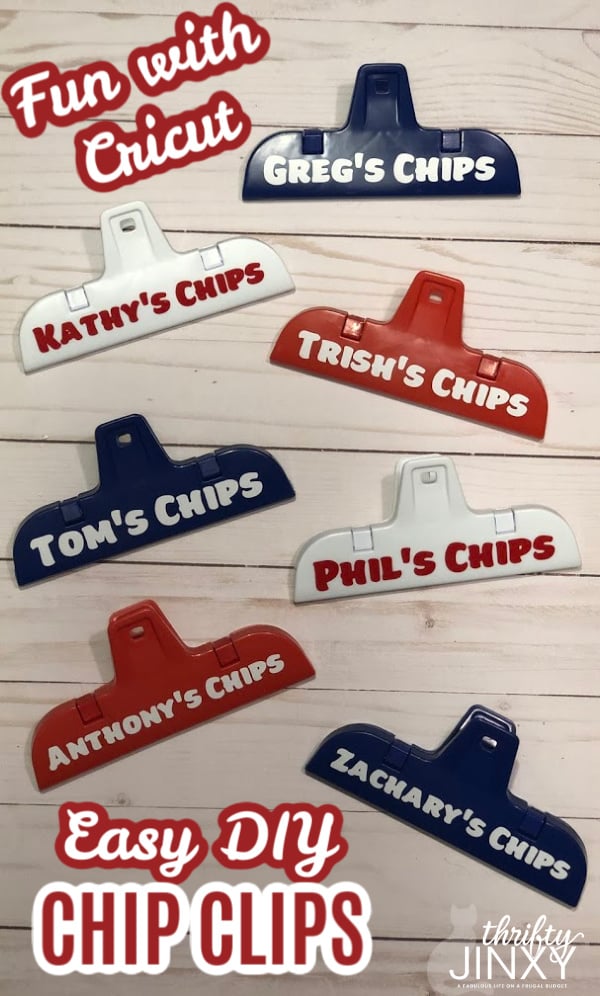
Use your Cricut to make these fun personalized chip clips! Start with inexpensive clips from Dollar Tree for a final cost under $2 each – including the chips!
![]()
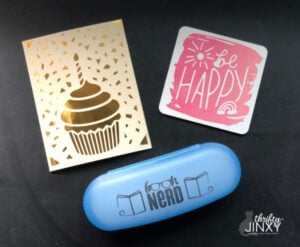
One of the things I love most about using my Cricut Explore Air 2 is the ability to make fun and personalized gifts and the fact that I can make something very special without spending a lot. A prime example are these Cricut Chip Clips I made for my husband’s work team this holiday season.
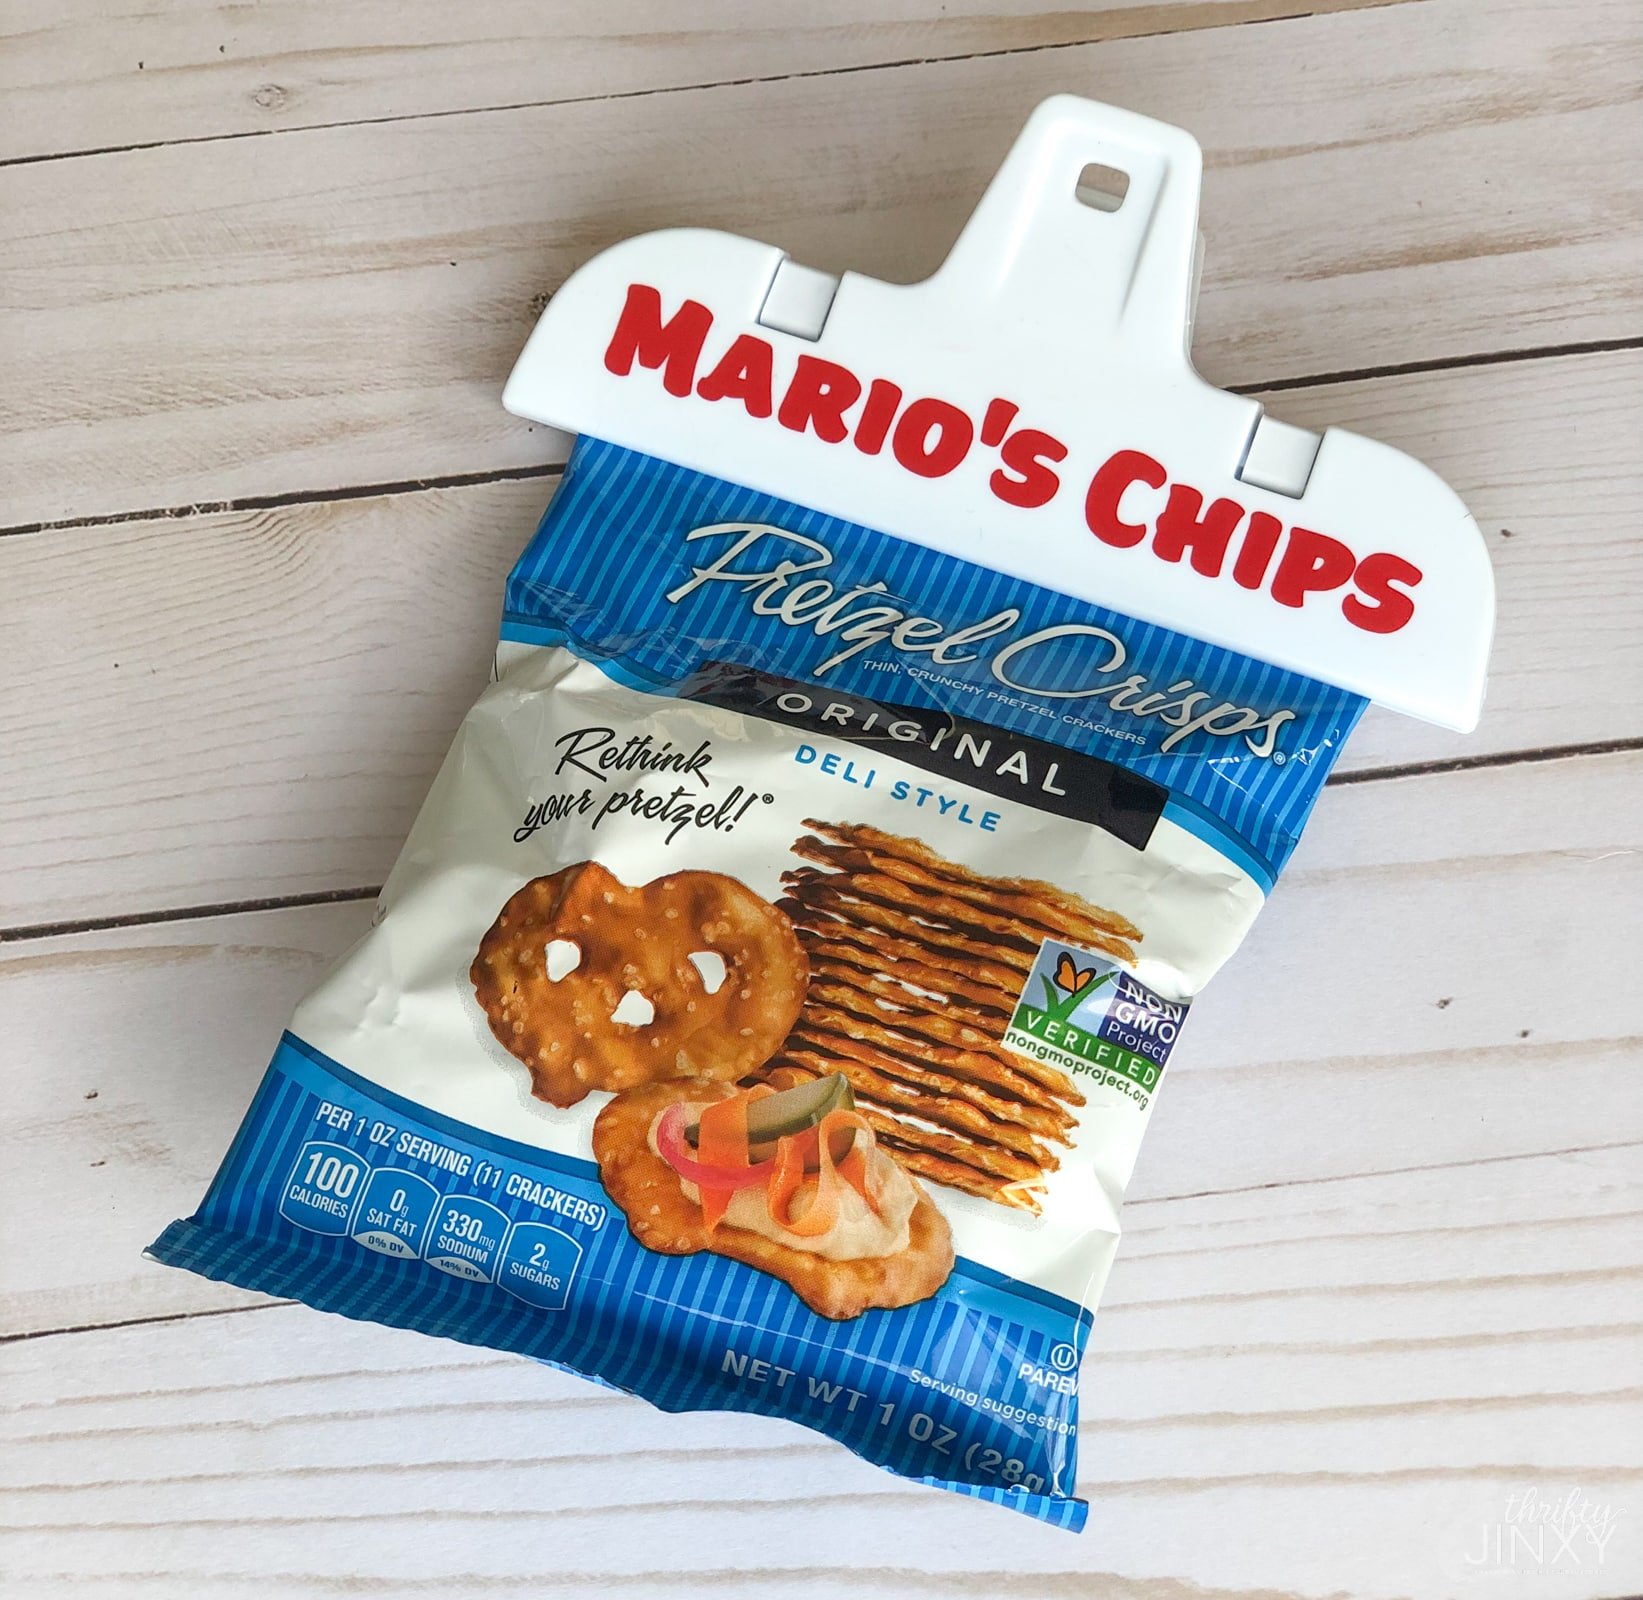
I have been finding that the best way to learn how to use the Cricut is by diving right in and making projects with it. In learning how to use the Cricut Explore Air 2, one of the first things I made was one of these chip clips for my husband, Mario. He loved it and has been using it since.
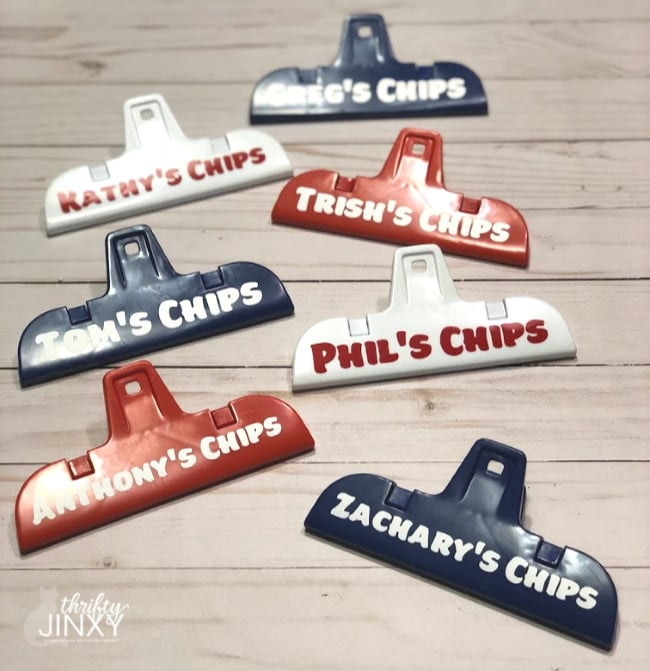
Work gifts can be pretty boring and generic, but he wanted to give everyone at work something that would be special and something they would actually like, but keeping a budget in mind. He thought of the chip clip I had made him a few weeks before and asked if we could make some for gifts – great idea!
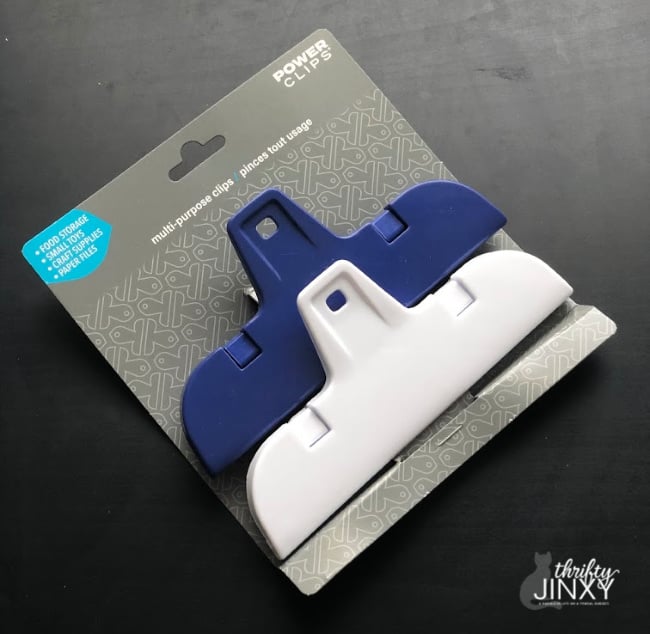
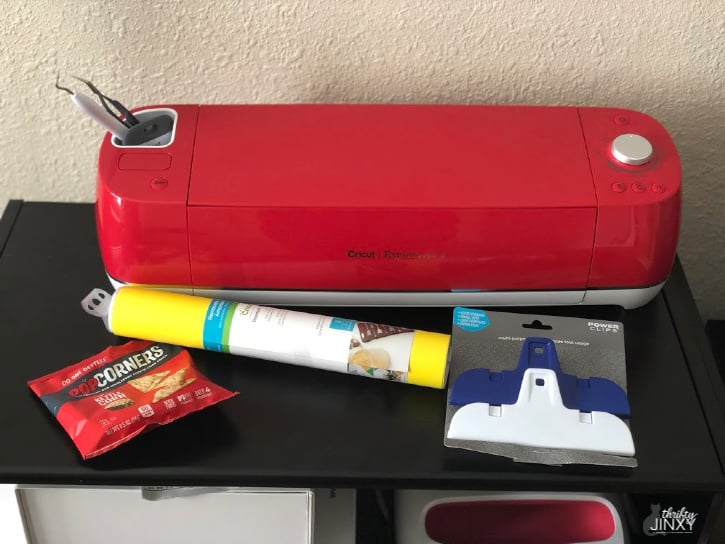
The supplies needed to make the chip clip gift are minimal. I just needed the clips themselves, which are only two for $1 at Dollar Tree in-store or online, Cricut Permanent Premium Vinyl, and mini bags of snacks (we bought a box of mini bags to keep the cost down). That means all together each gift was under $1 to make!
Making the gifts was fun and simple. What was amazing was how much everyone loved getting these as a gift. The people who appreciate them the most are the people with less common names. Being named Chrysa myself, I know the feeling of NEVER EVER finding your name on a keychain or magnet in a gift shop, so it’s fun to get something personalized with my name on it.
Here are step-by-step instructions to personalize your own chip clips.
Cricut Chip Clip Gifts
Tools and Supplies Needed:
Chip Clips
Cricut Premium Vinyl
Transfer Tape
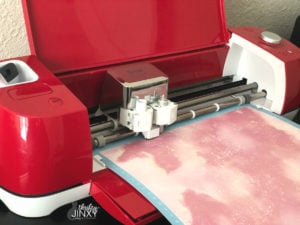
Cricut Explore Air 2
Cricut Weeder (Helpful but not obligatory.)
Chip Bags
How to make the chip clips with your Cricut:
Start by making your design in Cricut Design Space. If you like my design, you can get it here, but you’ll want to create your project with your own names, of course! I used the Beefcakes font for the words.
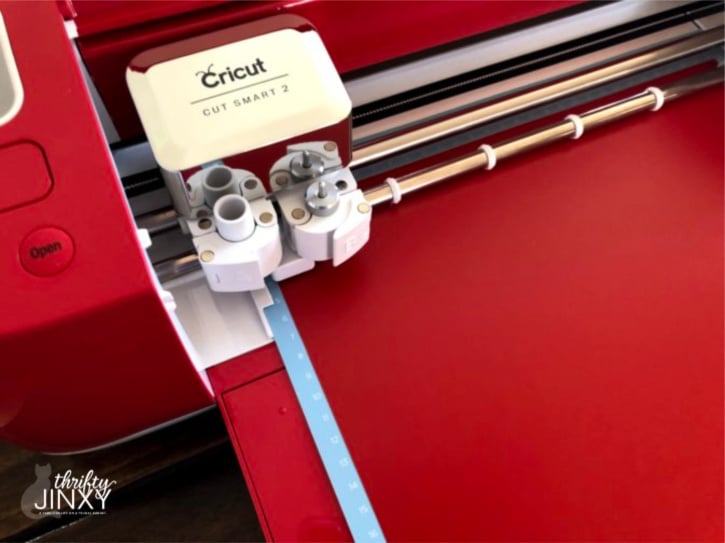
Load Cricut Premium Vinyl shiny side down into your machine and cut. (Since we’re working with vinyl, do NOT use the mirror option.) Note: you can cut a piece of vinyl the size of your project and attach to your mat, or I prefer loading the whole sheet of vinyl and cutting off the design section afterwards.
Also, I put all my names in one project, adjusting the size of each name to fit the length of the chip clip. If you prefer, you can do one name at a time, but that will take longer.
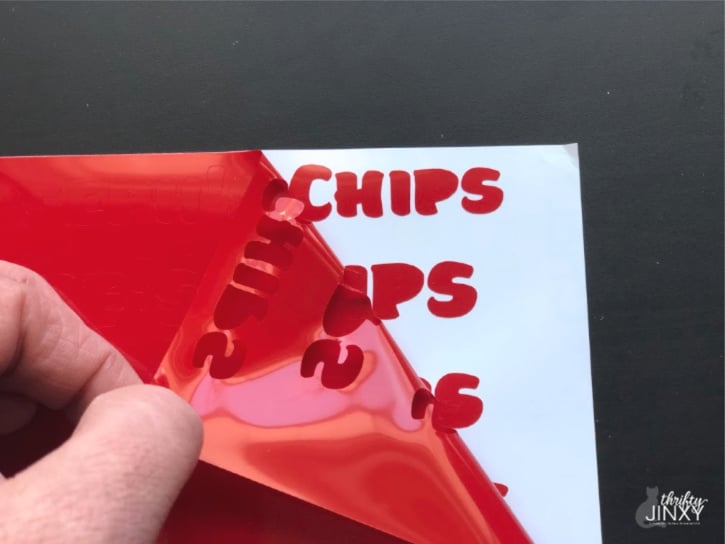
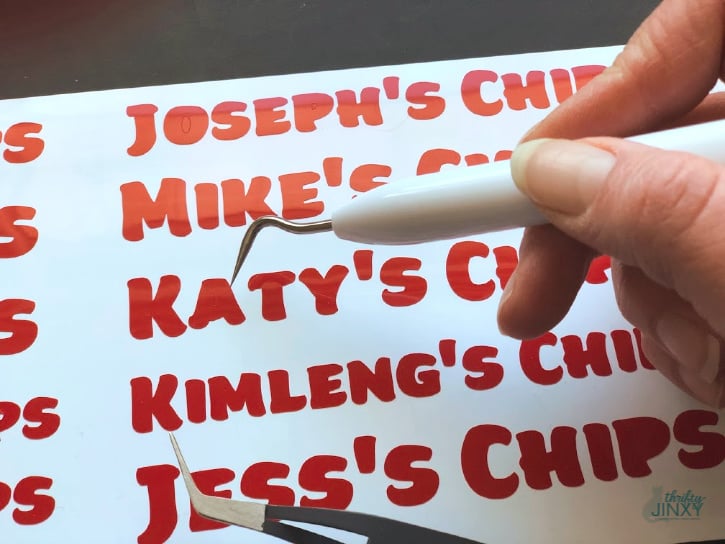
Once you have finished cutting, peel the backing away from your design and weed out the remaining material.
To prepare your clips for application, clean the area where you’ll be applying the vinyl using a cotton ball moistened with rubbing alcohol. Let dry.
Cut apart each of the names. Then cut a piece of transfer tape slightly larger than each name. Remove the liner from the transfer tape and place it adhesive side down over your name, starting in the center and then moving to the edges.
Use a scraper or other hard smooth tool to rub the tape firmly onto the vinyl. Peel the vinyl liner away at a 45-degree angle. If you’re missing any pieces, rub the tape onto the vinyl again and remove.
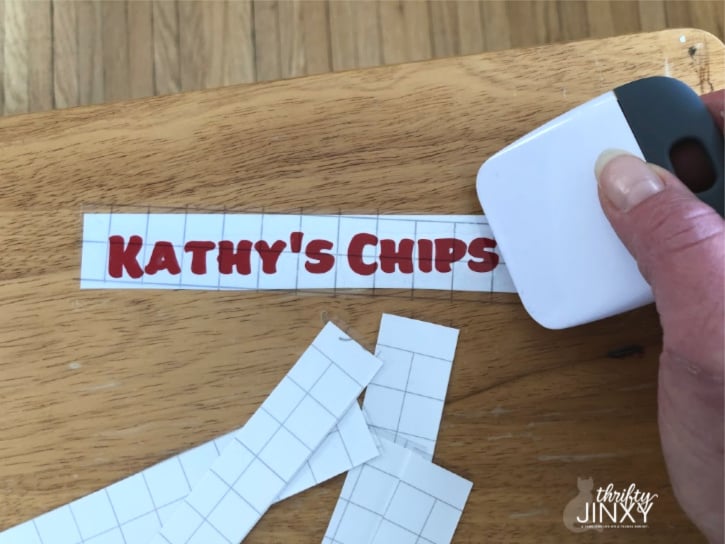
Press the transfer tape onto the clip, again starting at the center and moving out to the edges. Use the scraper to press down.
Peel the transfer tape away at a 45-degree angle.
Add a bag of chips or other snacks to your chip clip and you’re ready to give it as a gift!
Check out my other Cricut crafts for more fun, personalized DIY gift ideas!

Cricut Chip Clip – A Fun, Inexpensive, Personalized DIY Gift!
Equipment
- Cricut Weeder (Helpful but not obligatory.)
Supplies
Instructions
- Start by making your design in Cricut Design Space. If you like my design, you can get it HERE, but you'll want to create your project with your own names, of course! I used the Beefcakes font for the words.
- Load Cricut Premium Vinyl shiny side down into your machine and cut. (Since we're working with vinyl, do NOT use the mirror option.) Note: you can cut a piece of vinyl the size of your project and attach to your mat, or I prefer loading the whole sheet of vinyl and cutting off the design section afterwards.Cricut Premium Vinyl
- Also, I put all my names in one project, adjusting the size of each name to fit the length of the chip clip. If you prefer, you can do one name at a time, but that will take longer.
- Once you have finished cutting, peel the backing away from your design and weed out the remaining material.
- To prepare your clips for application, clean the area where you'll be applying the vinyl using a cotton ball moistened with rubbing alcohol. Let dry.
- Cut apart each of them names. Then cut a piece of transfer tape slightly larger than each name.Transfer Tape
- Remove the liner from the transfer tape and place it adhesive side down over your name, starting in the center and then moving to the edges.
- Use a scraper or other hard smooth tool to rub the tape firmly onto the vinyl.
- Peel the vinyl liner away at a 45-degree angle. If you're missing any pieces, rub the tape onto the vinyl again and remove.
- Press the transfer tape onto the clip, again starting at the center and moving out to the edges. Use the scraper to press down.
- Peel the transfer tape away at a 45-degree angle.
- Add a bag of chips or other snacks to your chip clip and you're ready to give it as a gift!


Leave a Reply