Ready to steal the Christmas spotlight? What better way to do that than with these Grinch Oreo Pops inspired by everyone's favorite green Christmas villain-turned-goodie? They’re great for parties, classroom treats, or a cozy night in with a Christmas movie.

Who doesn’t love the Grinch – that silly, furry, green Dr. Seuss character that stole everyone’s soft spot? He always had a mission to steal Christmas from everyone, and he surely would have succeeded in getting the spotlight all to himself if he served these!
I love how this fun Christmas treat recipe transforms a basic Oreo into a fun holiday activity. Just like our Grinch Cupcakes, this treat invites kids to jump in, make their own version, and proudly show off their creations before eating them. Whether you're prepping for a classroom party, a Christmas movie night, or a cozy afternoon craft-and-snack session, these Grinch Oreo Pops fit right in with the festive fun.
🧾 Ingredients Needed
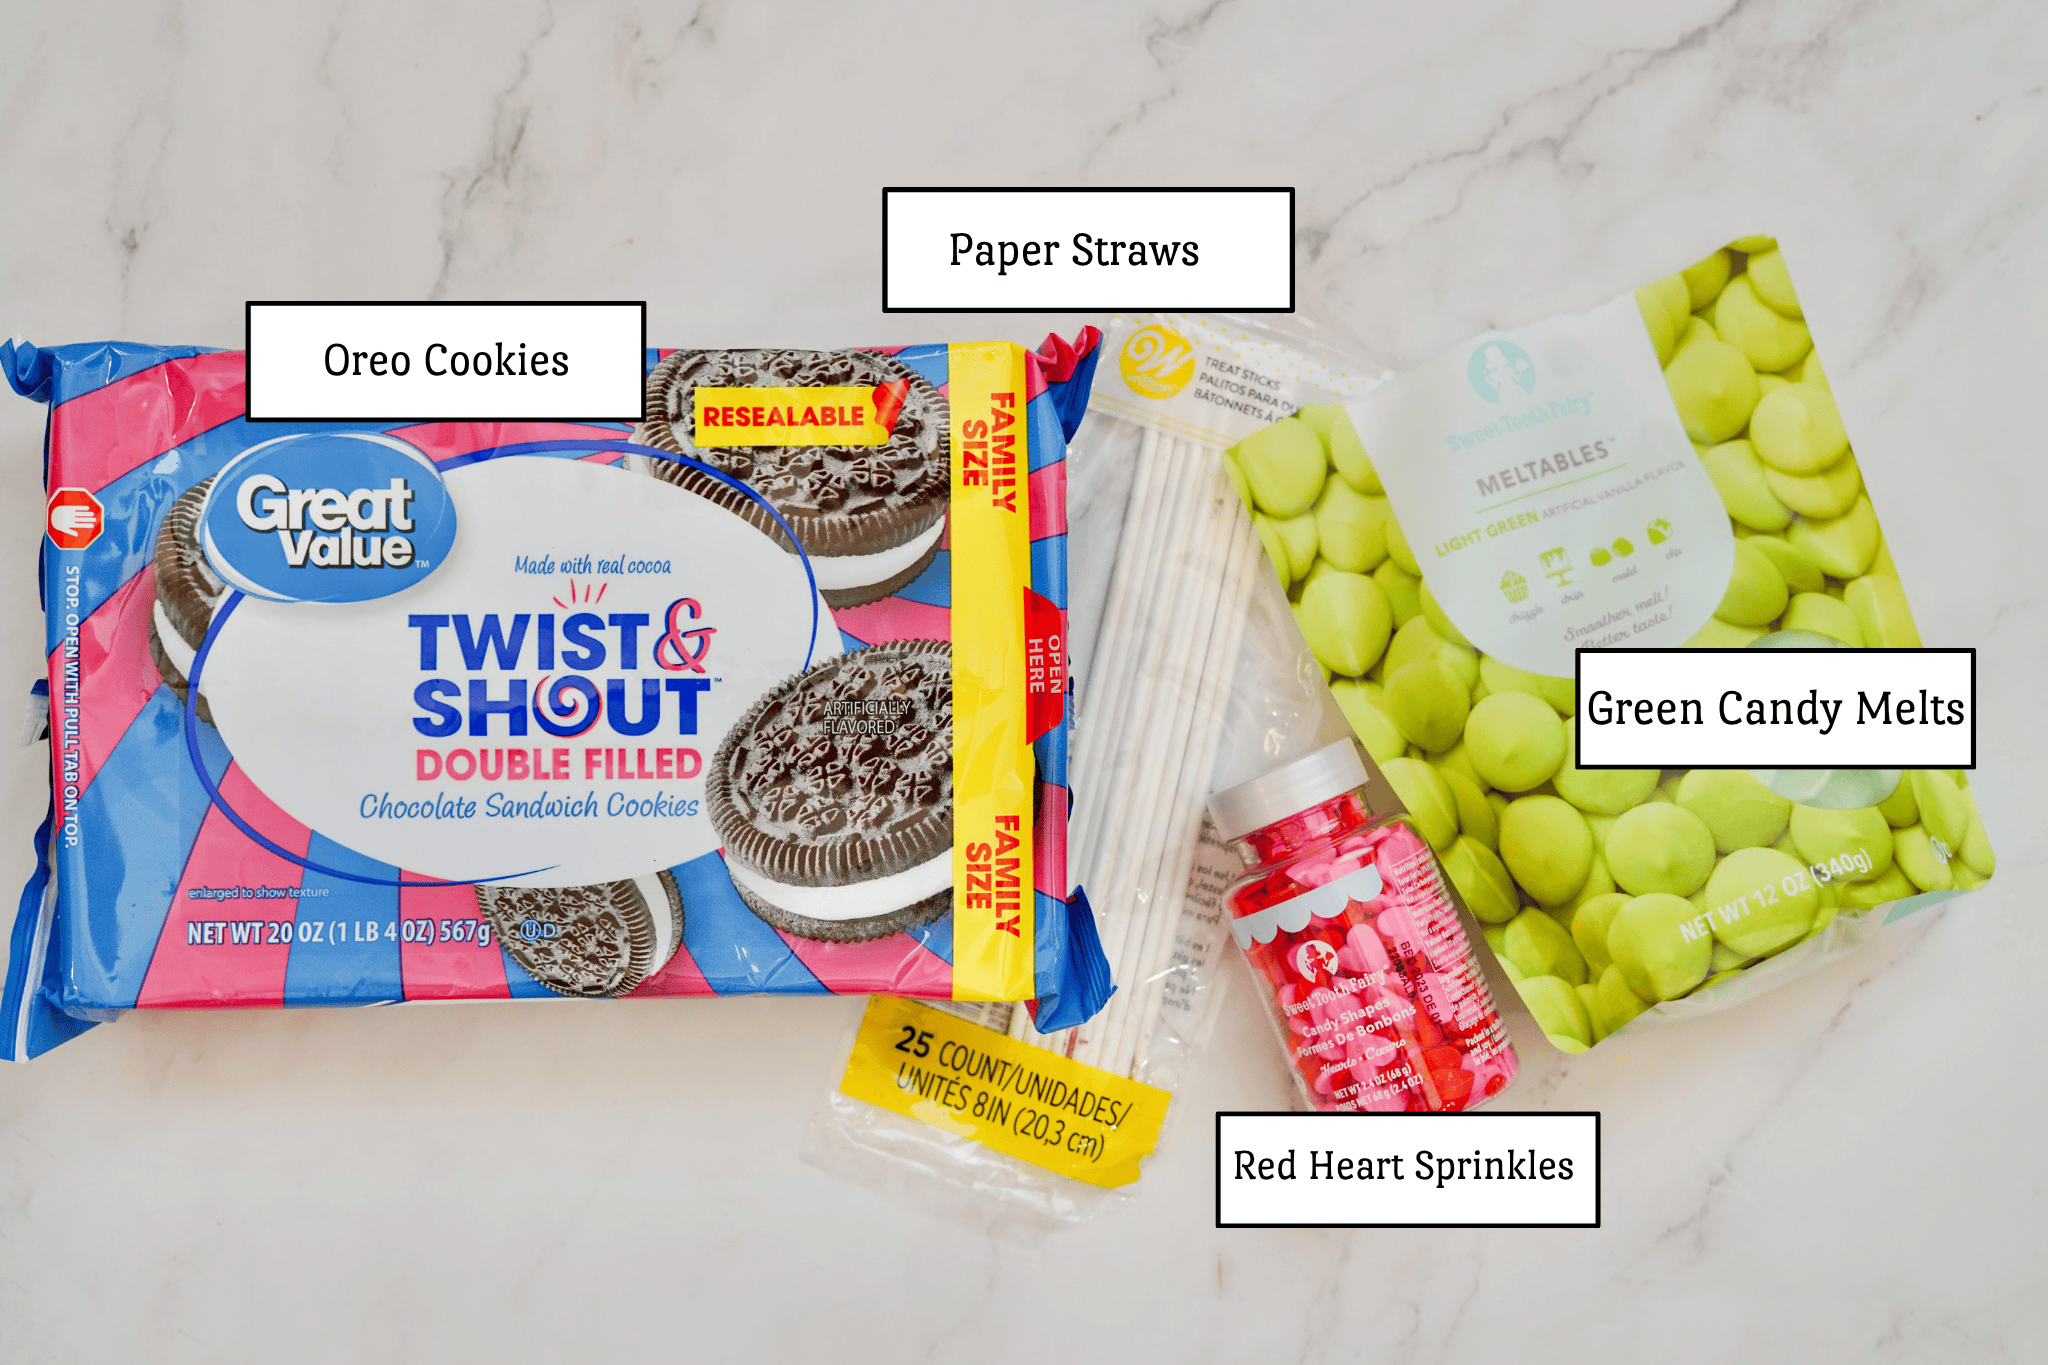
- Oreo Cookies
- Green Candy Melts
- Red Heart Sprinkles
- Cooking Spray
- Lollipop Sticks/Paper Straws
📌 Be sure to see the recipe card below for the full ingredients list with quantities and step-by-step instructions!
🔁 Variations
- Make bite-sized pops with mini Oreos for easier snacking and party trays!
- Sprinkle coconut flakes or edible glitter over the melted candy to create a frosty, snowy effect.
- Use different colored candy pieces for buttons or add edible markers to draw fun expressions!
- Mix a tiny bit of peppermint extract or orange zest into the melted candy for a festive holiday flavor.
🥣 How to Make
Prepare the Candy Coating
Pour the candy melts into a microwave-safe cup or bowl. Spray lightly with cooking spray and microwave for 30 seconds. Remove from microwave, stir, and lightly spray with cooking spray. Place back in the microwave for 30 seconds. Keep repeating until the candy is fully melted.
Assemble the Pops
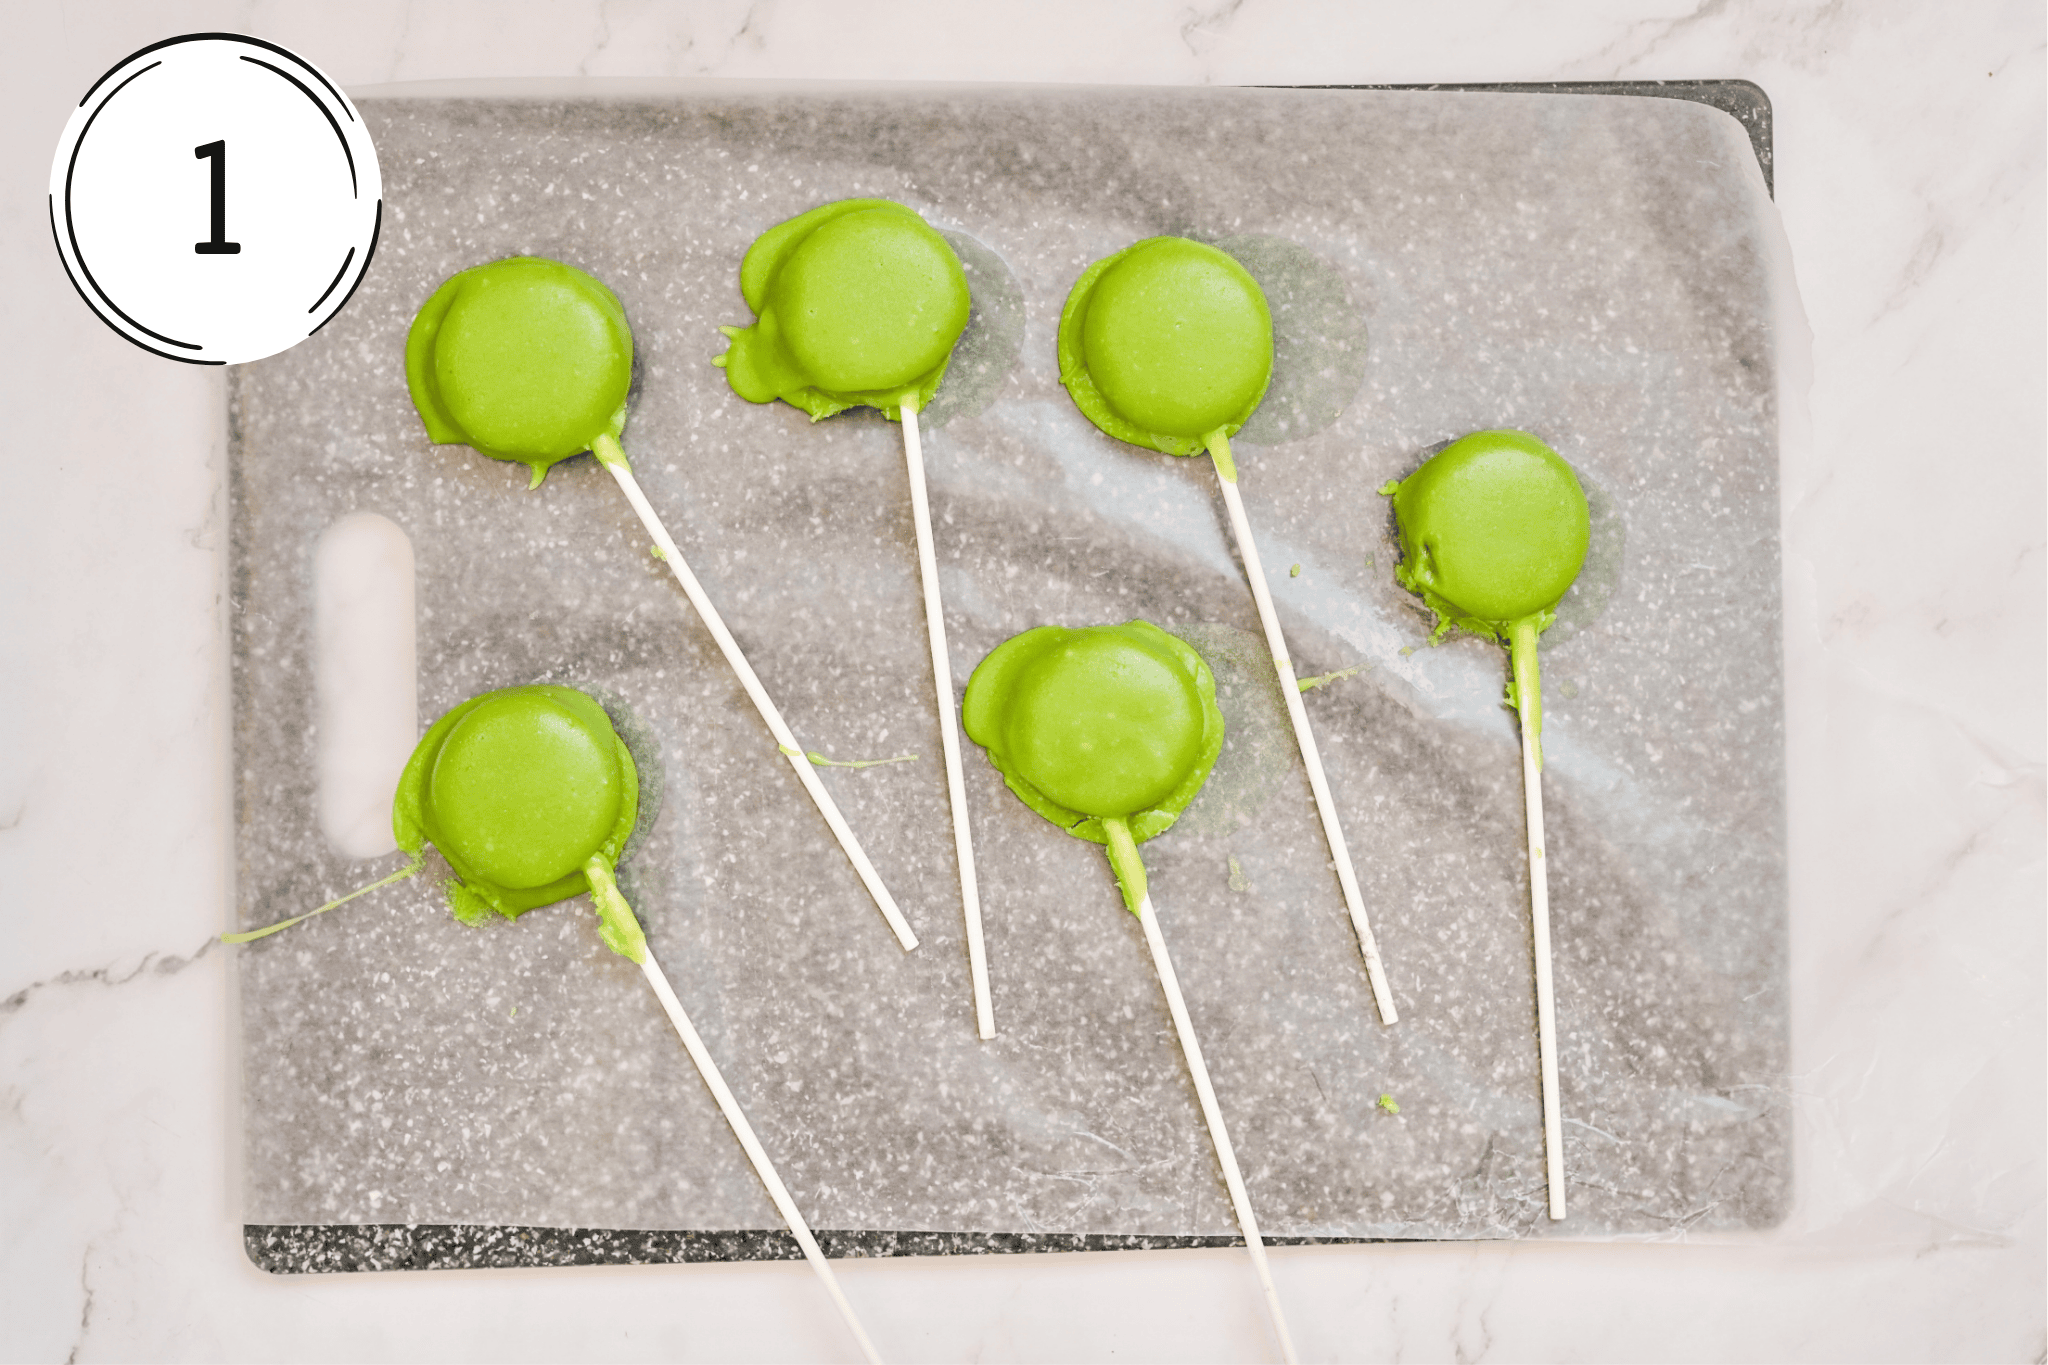
STEP ONE: Stick a lollipop stick into each Oreo and dip each cookie into the melted candy.
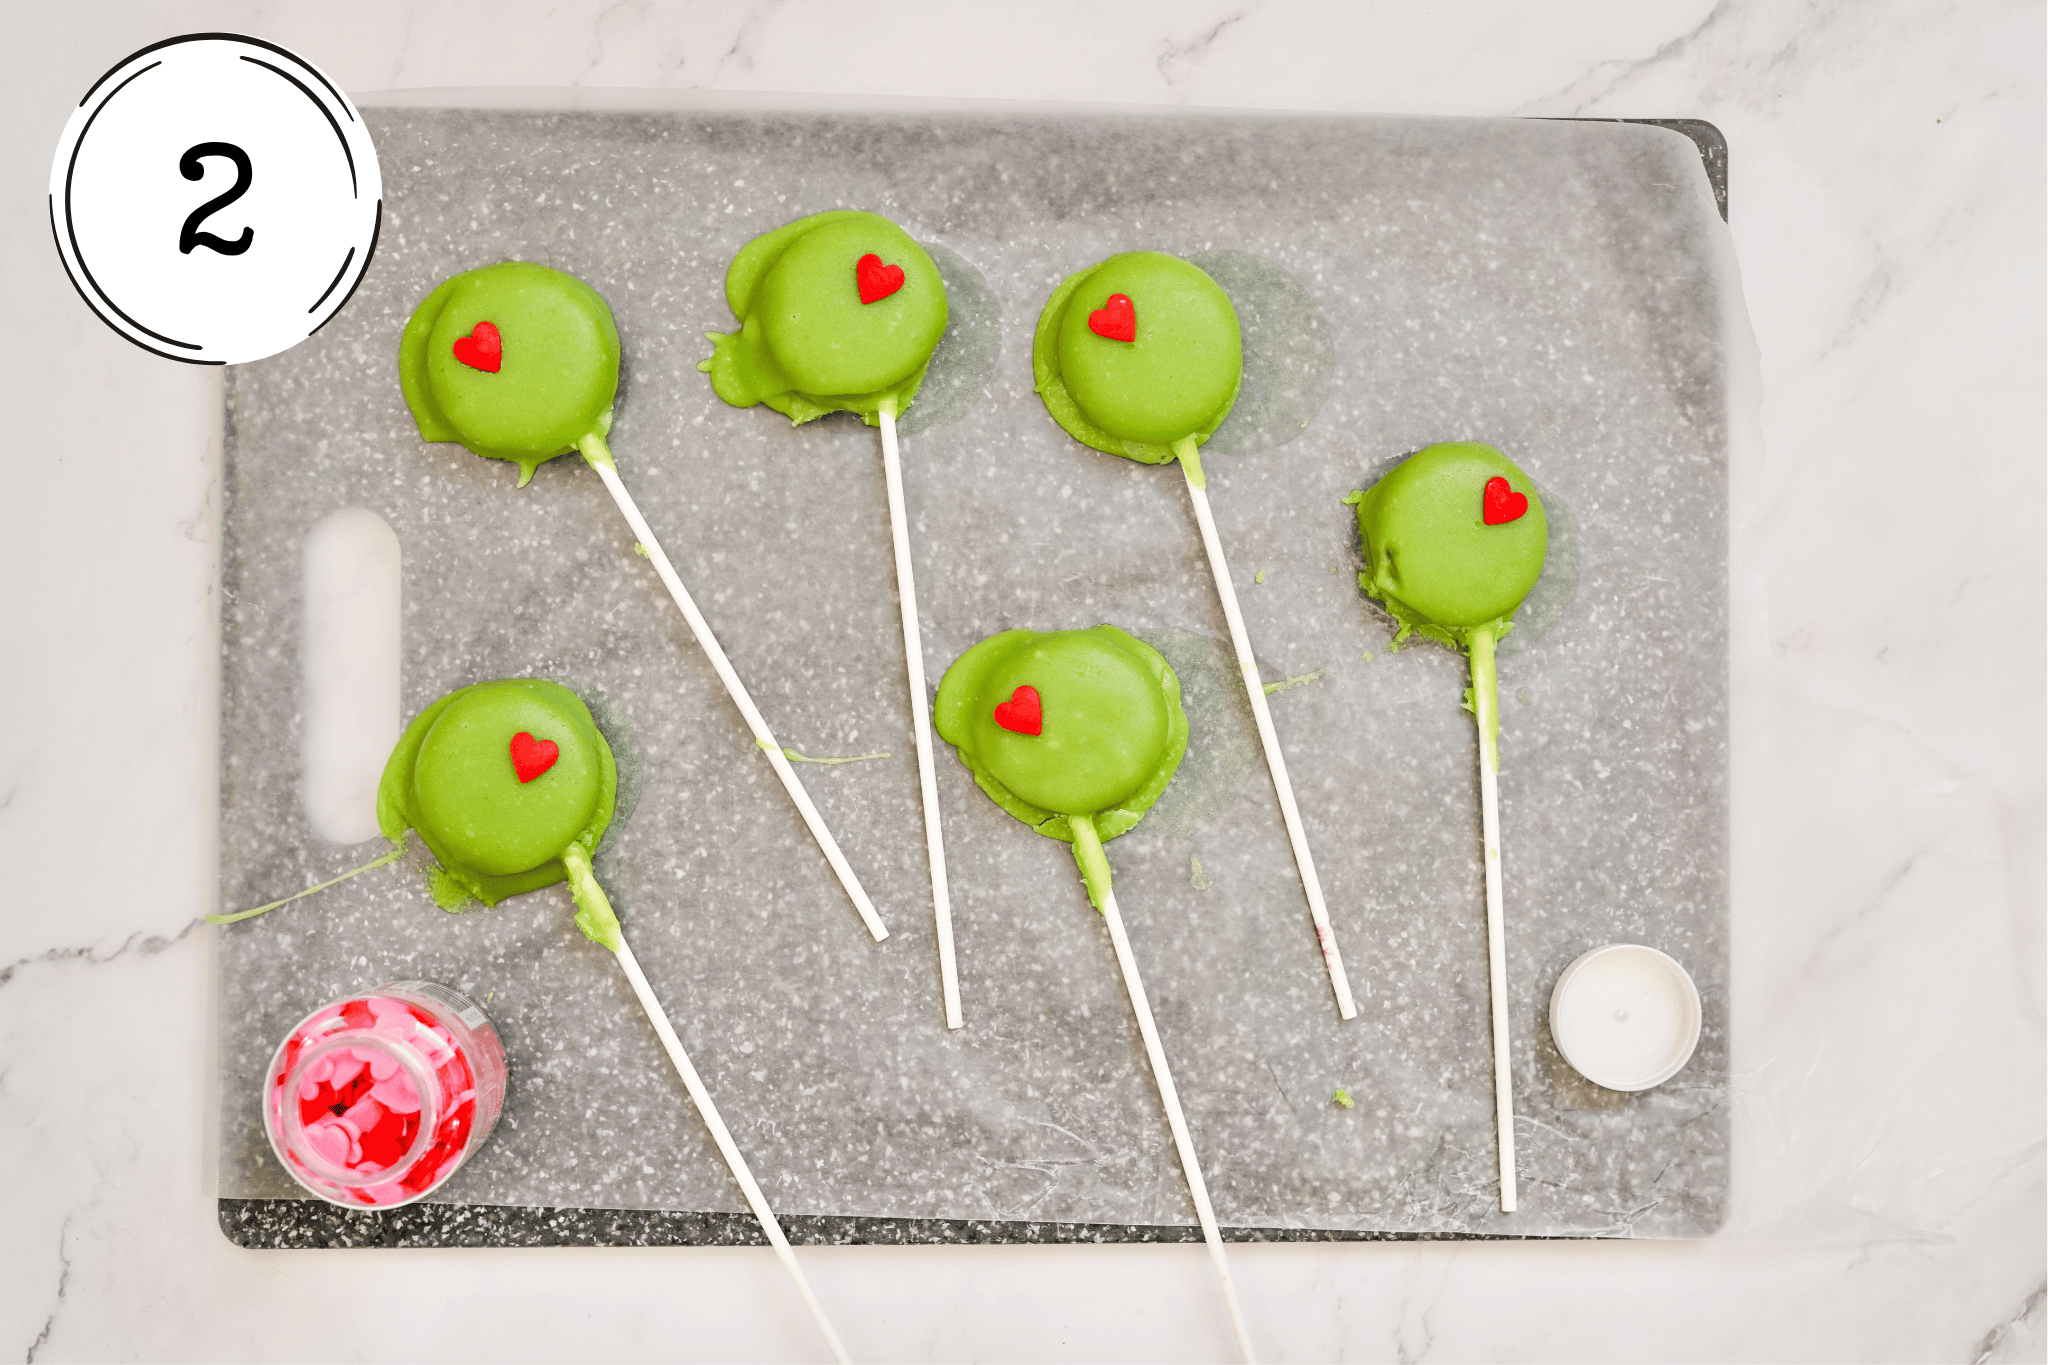
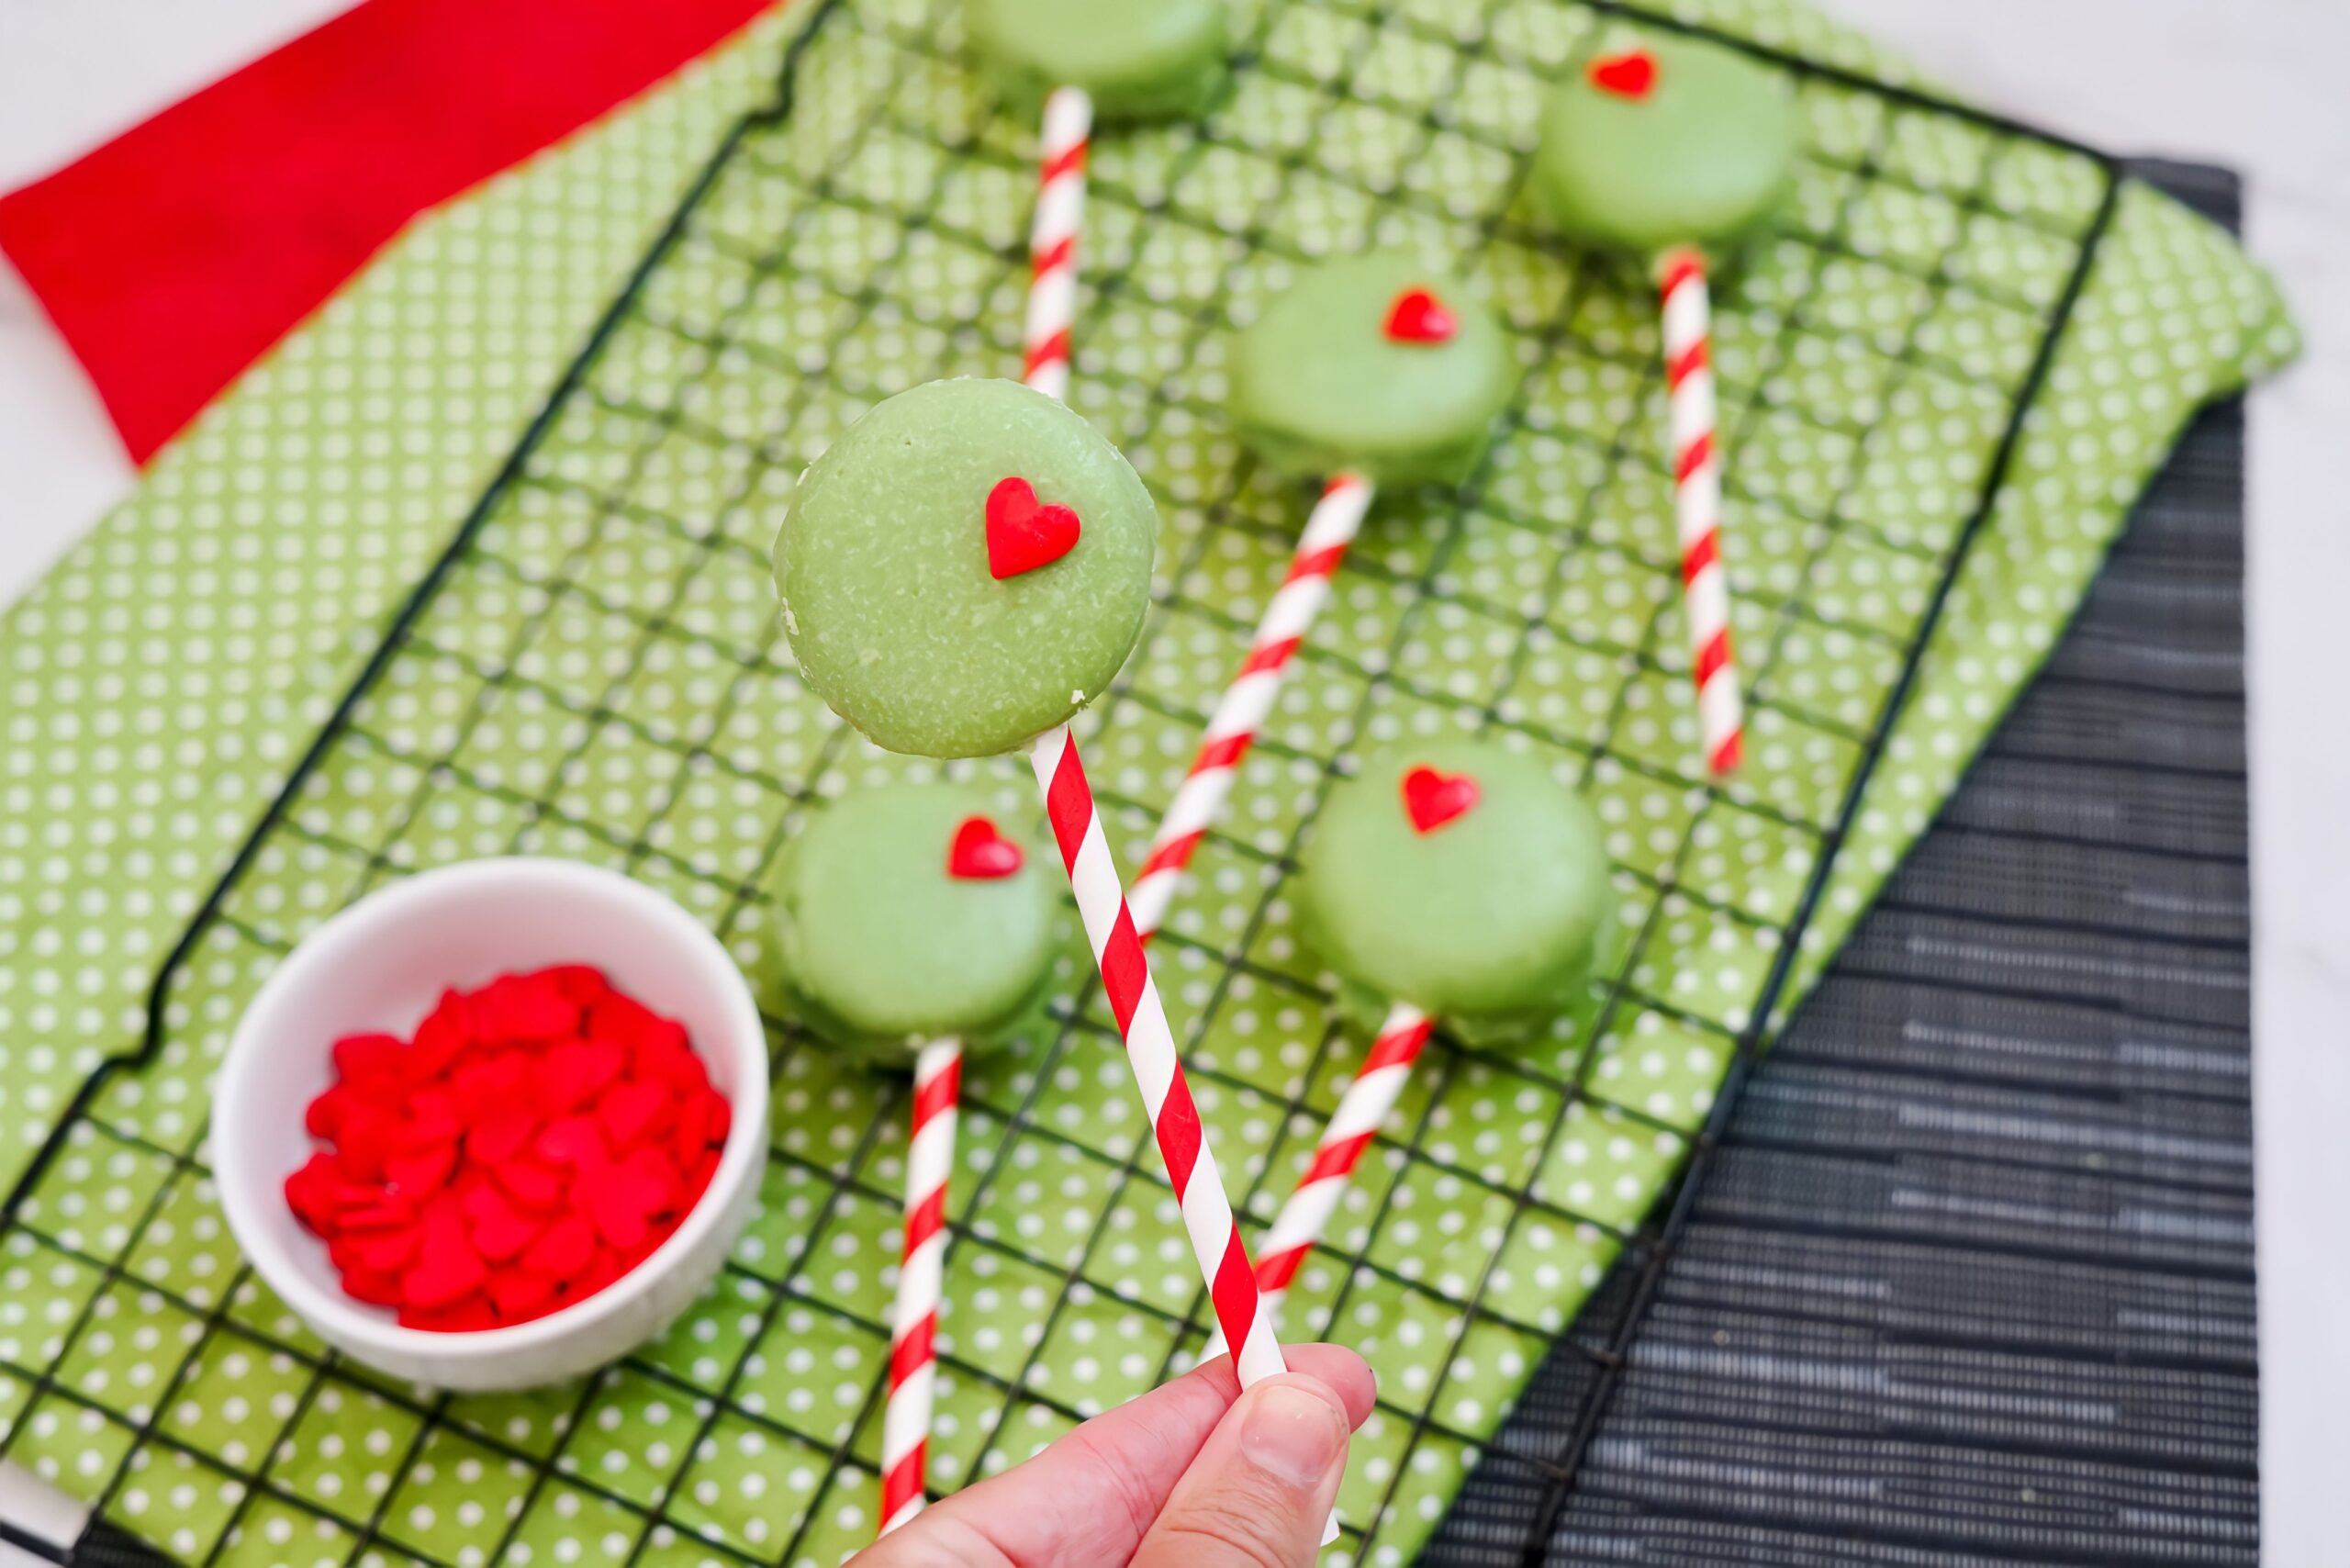
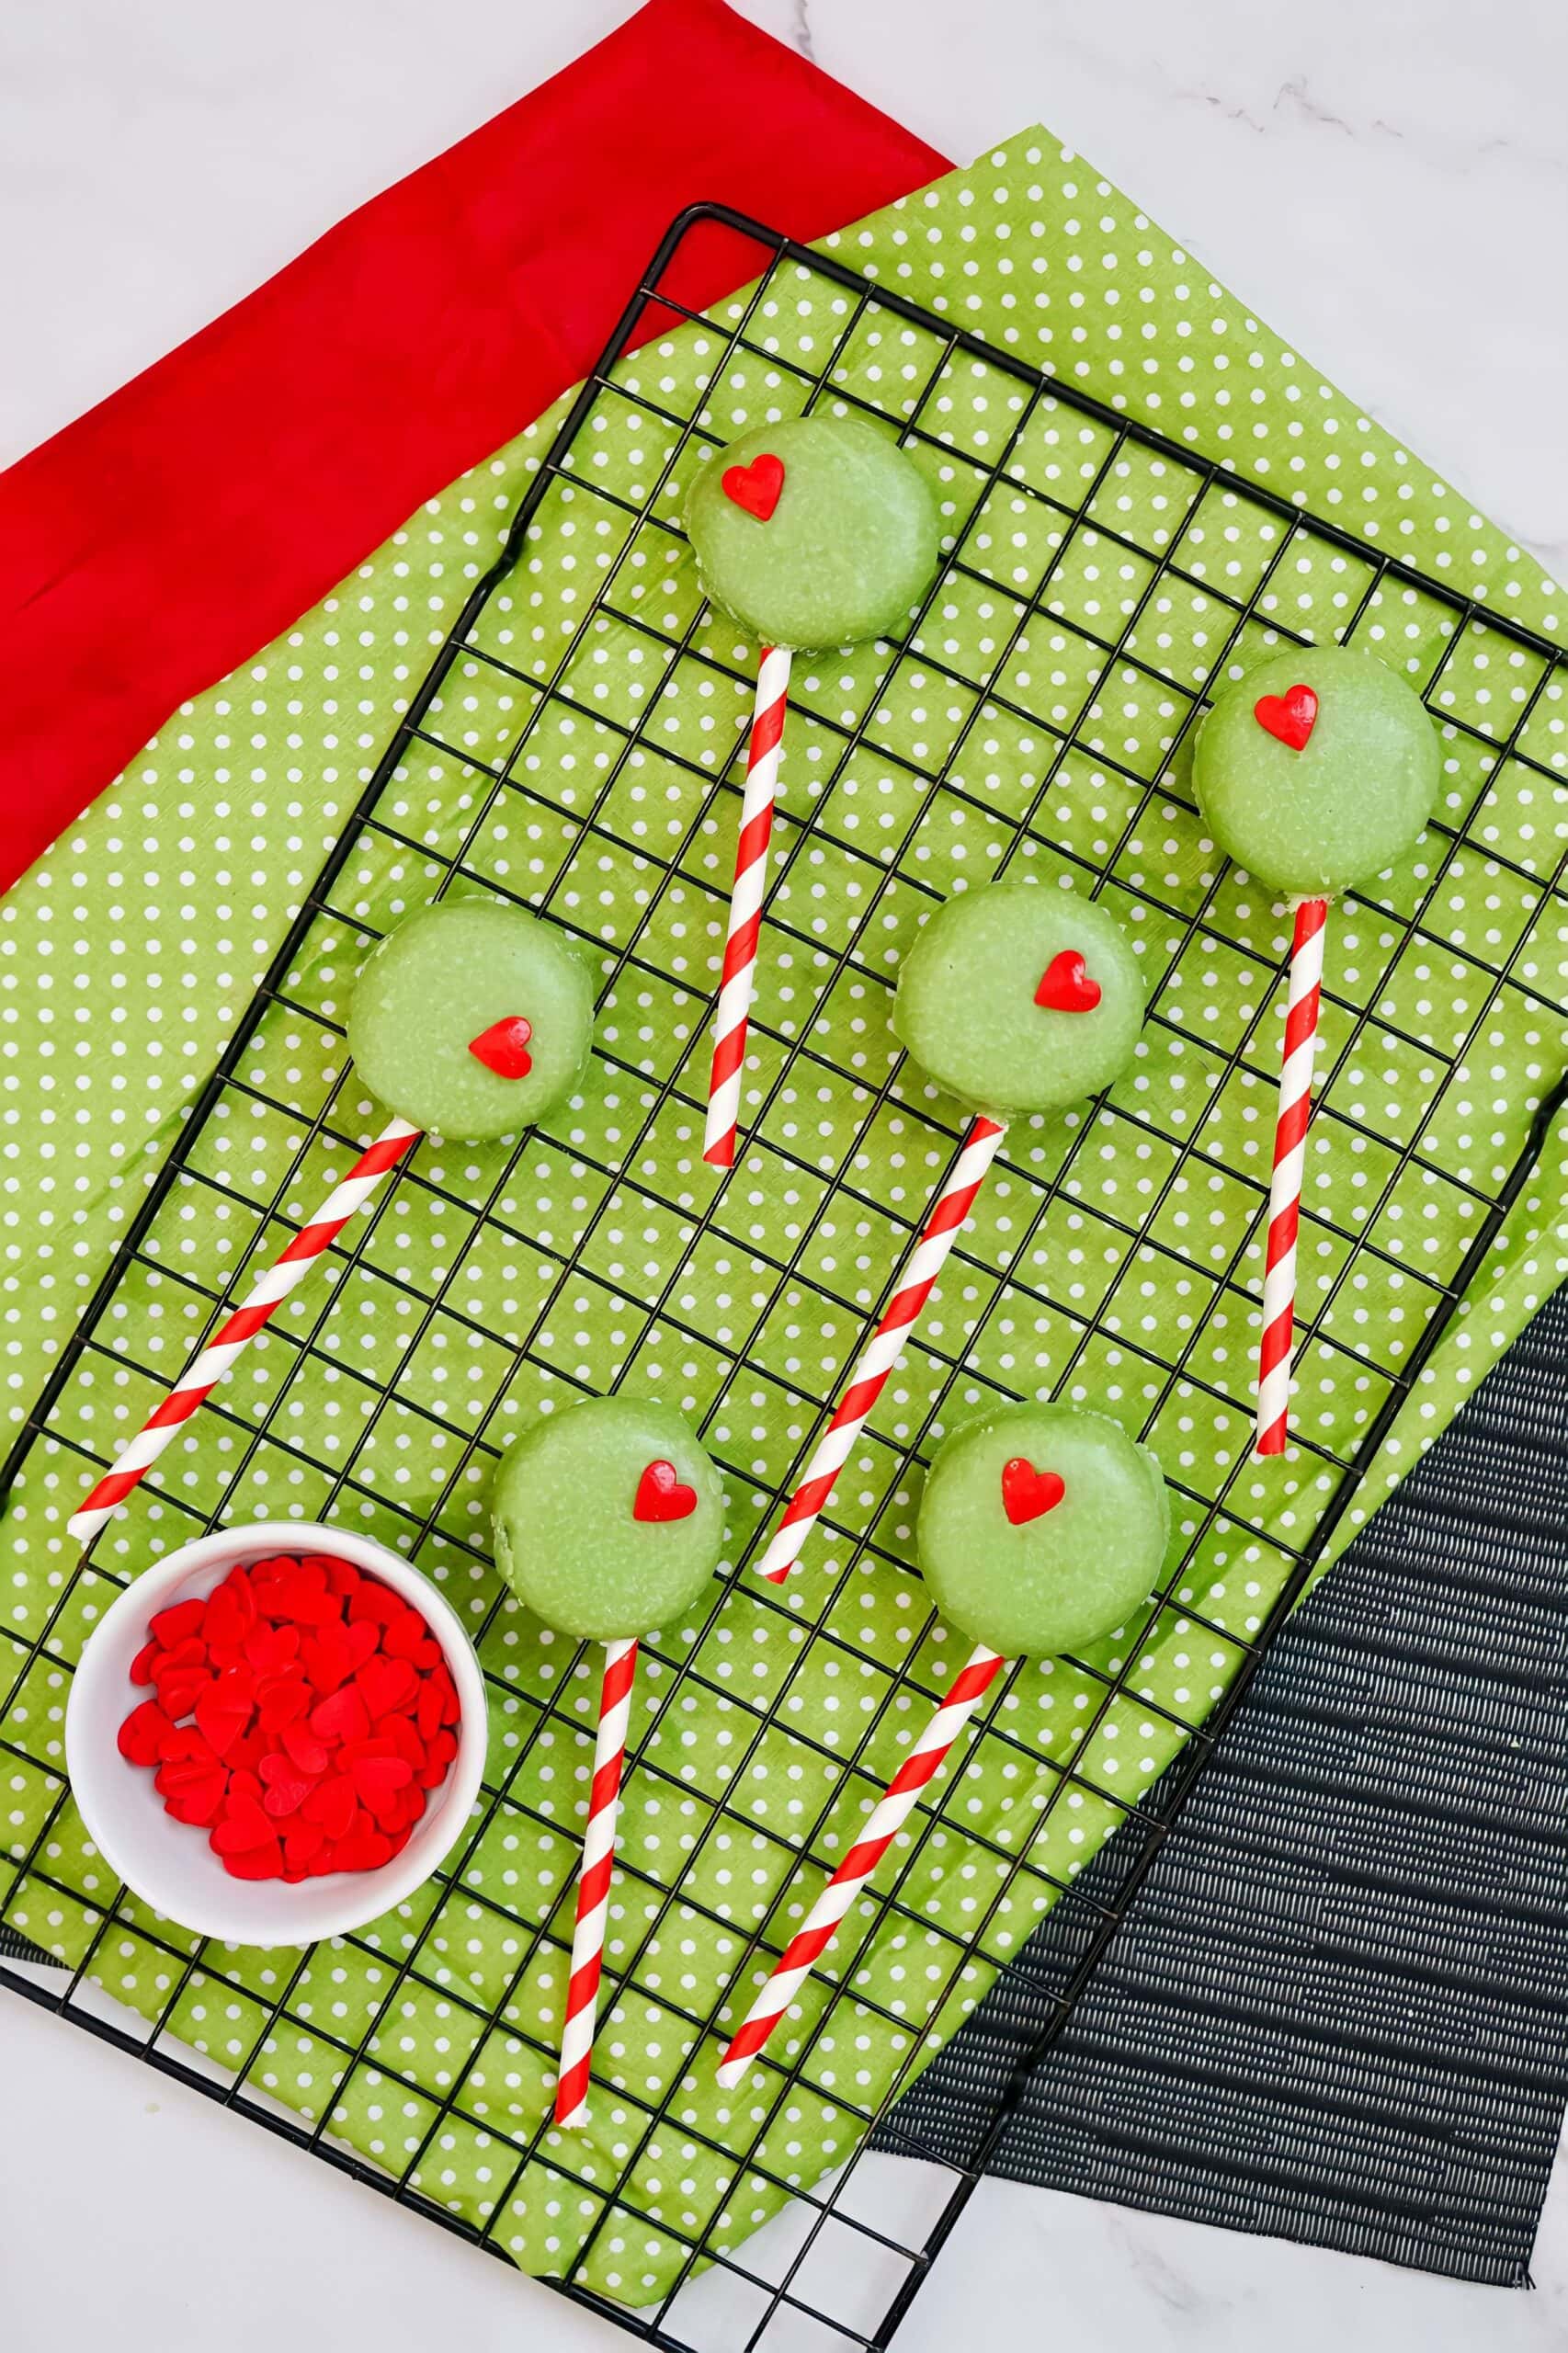
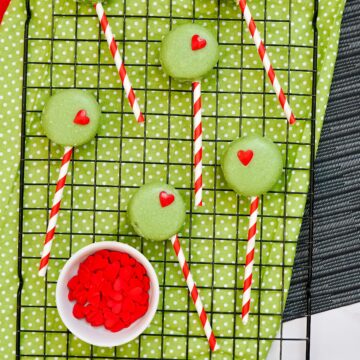
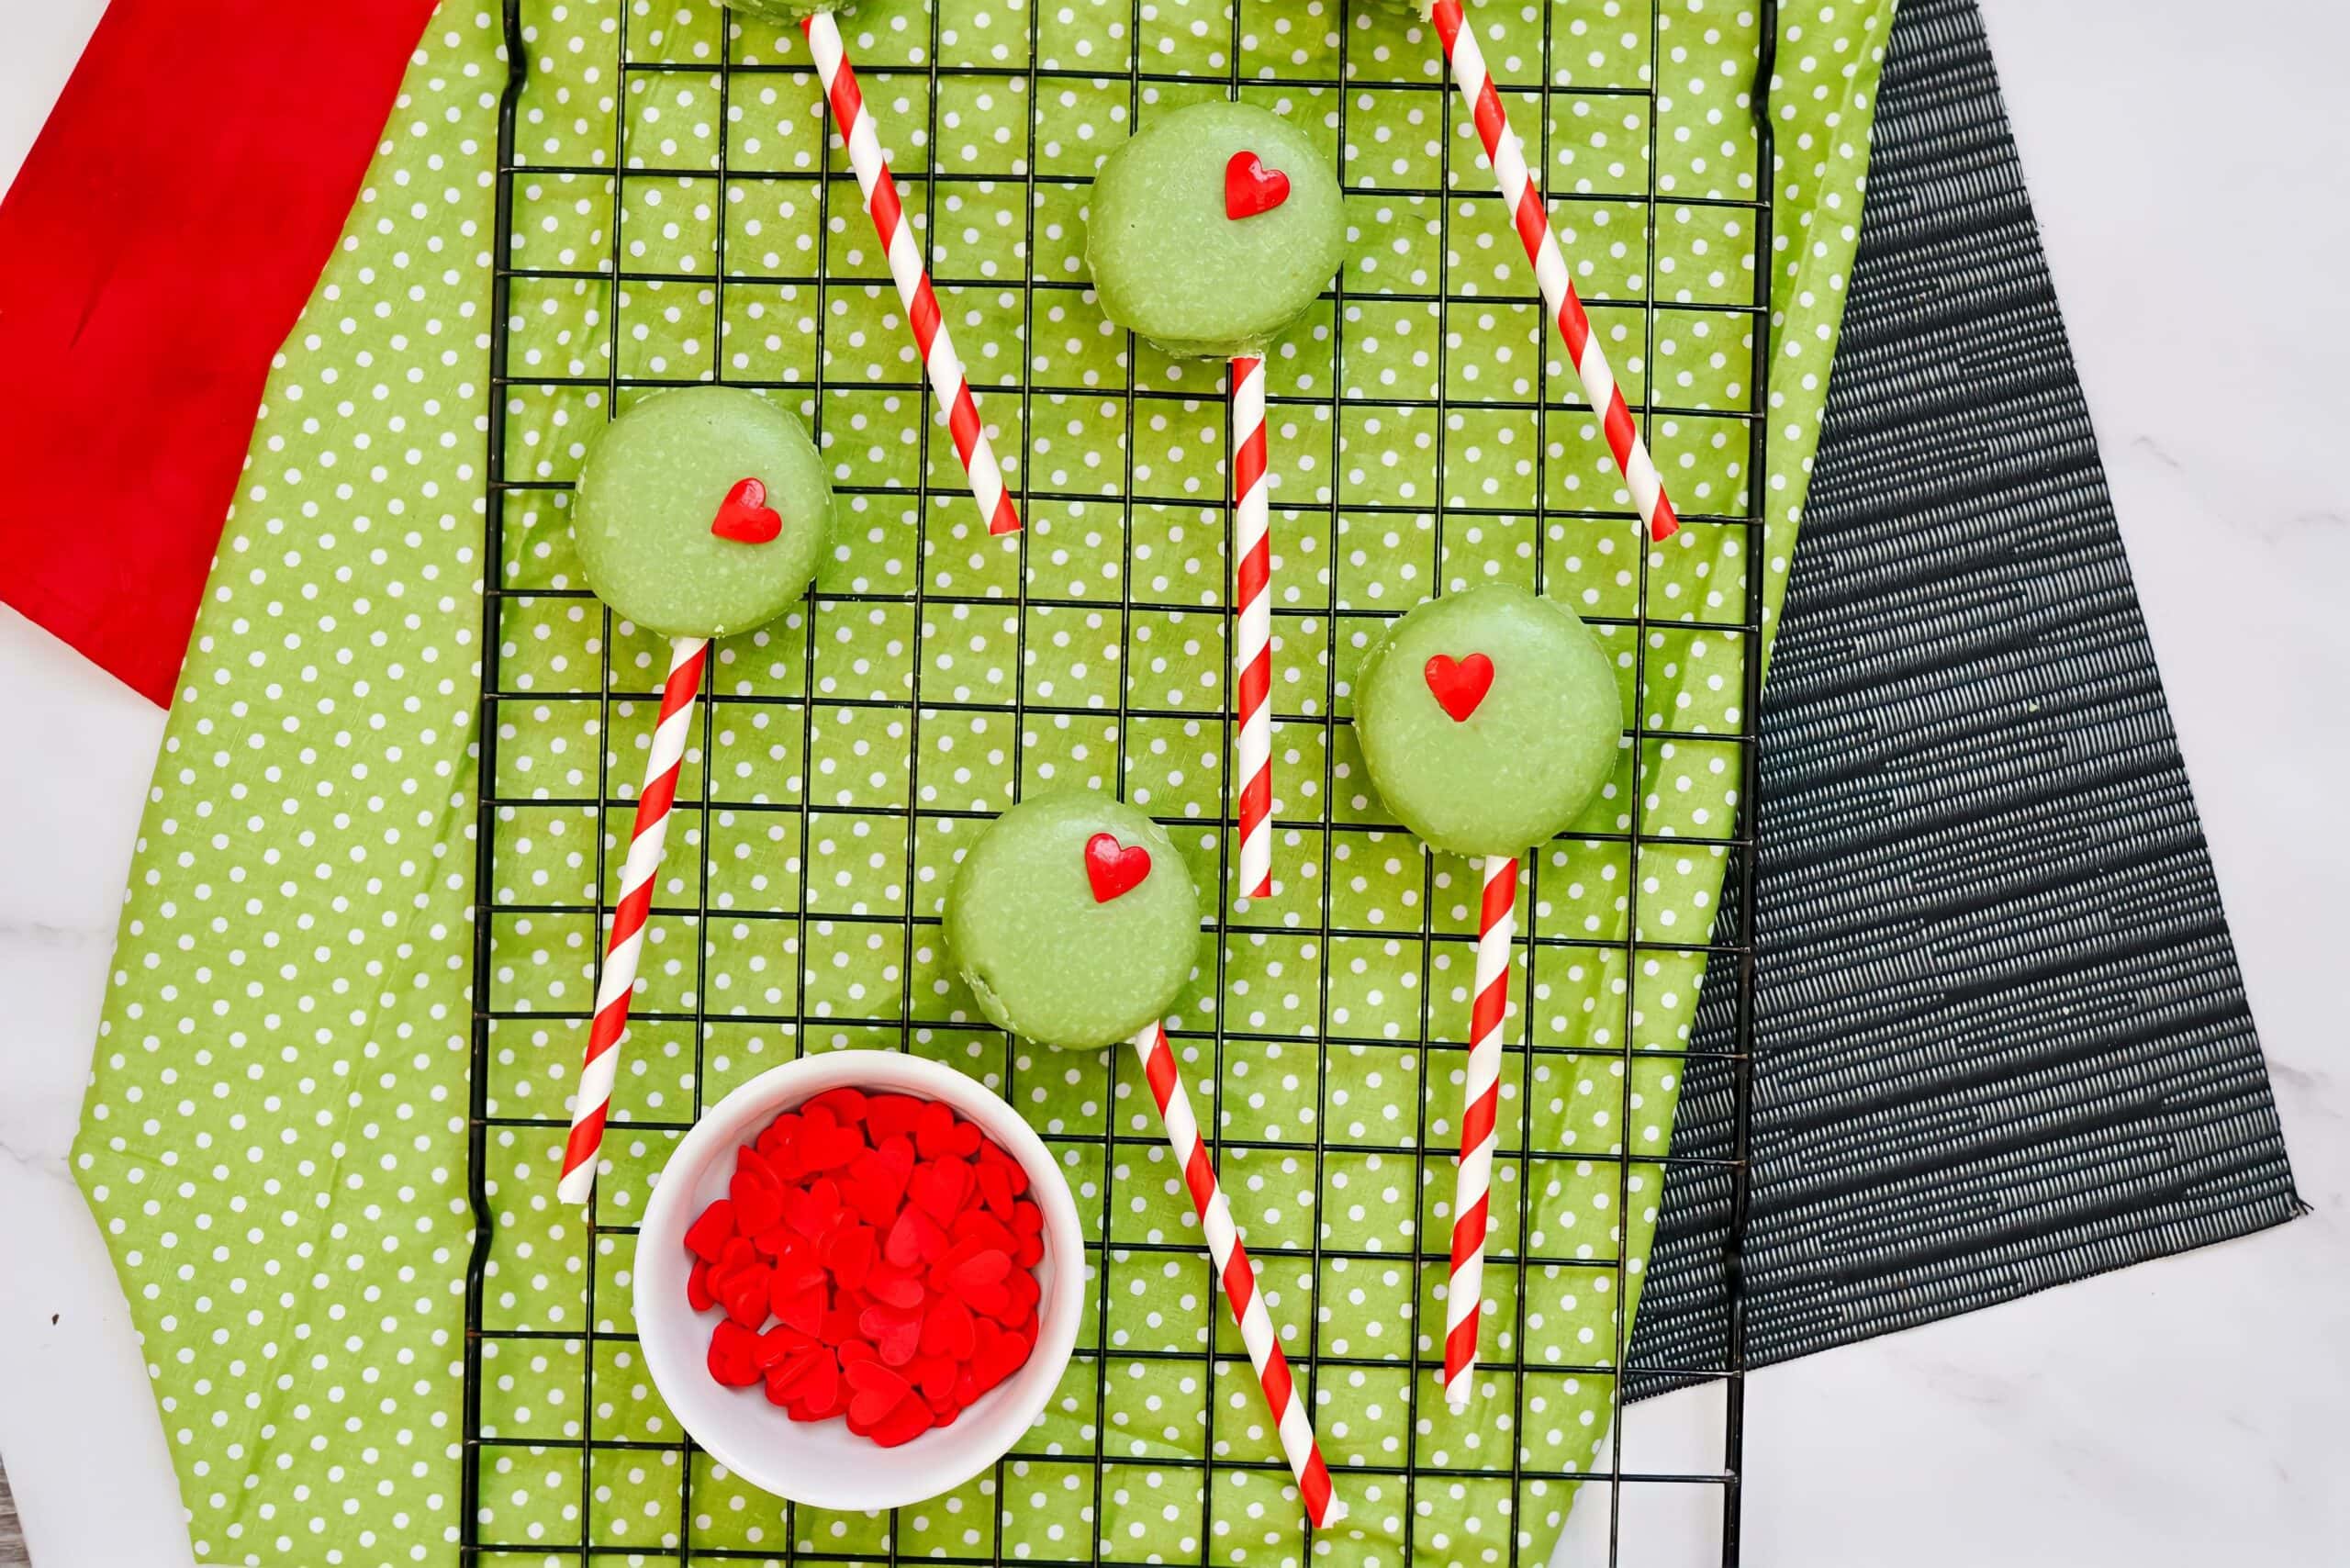
STEP TWO: Place on wax paper to harden and put a candy heart onto each candy-covered Oreo.
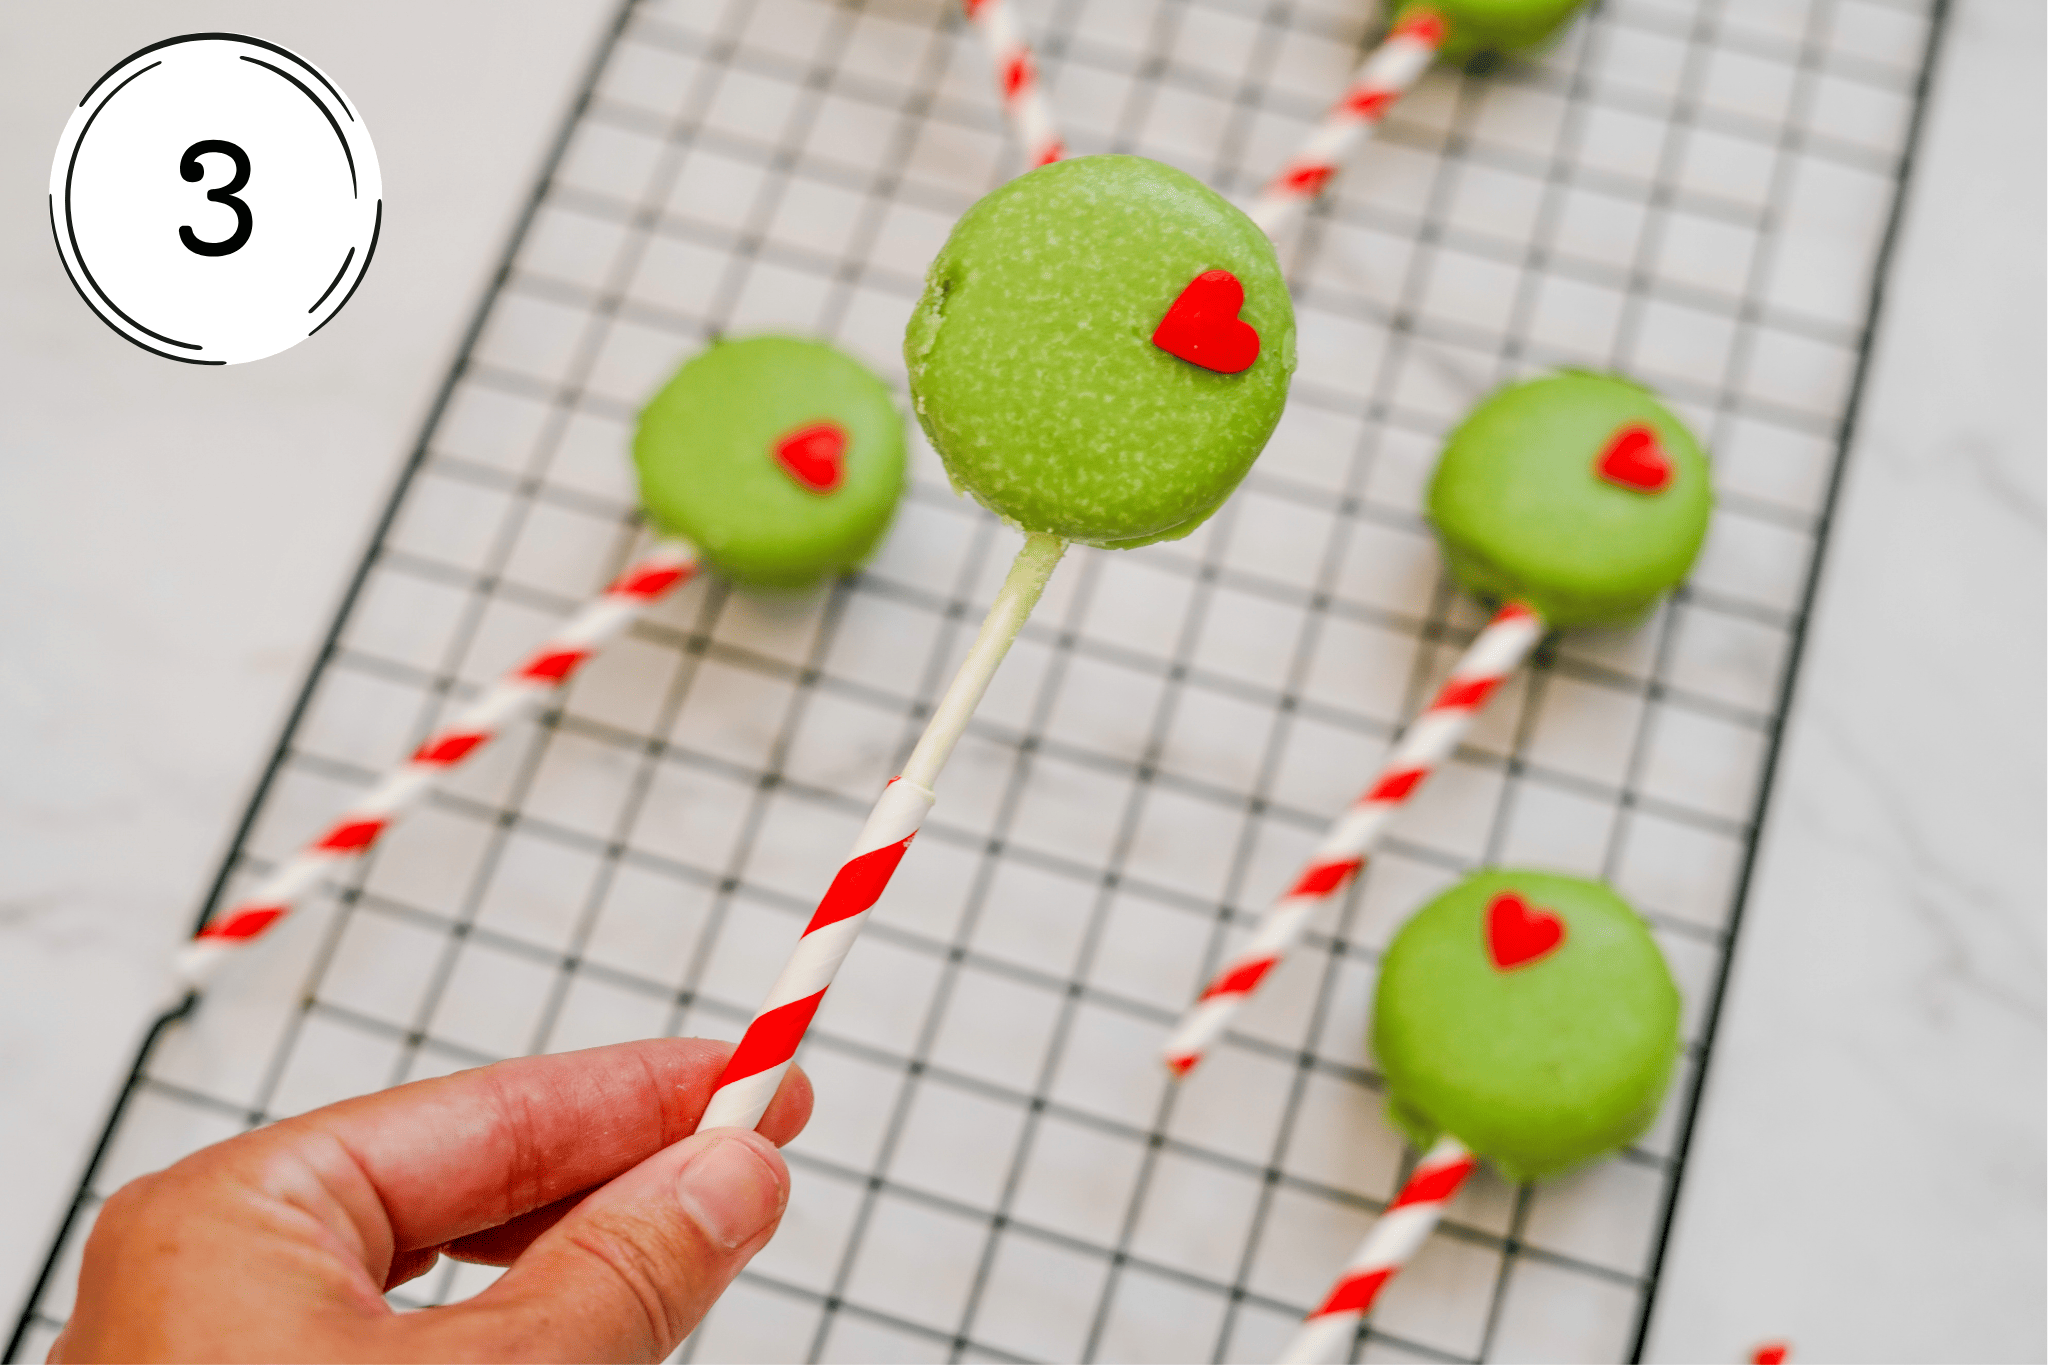
STEP THREE: You can optionally cover each lollipop stick with a paper straw. The straws stick right into the Oreo & will make them look more festive.
⭐ Pro Tips ⭐
- For the smoothest coating, make sure your candy melts are fully thinned out with cooking spray before dipping.
- If the mixture starts to thicken as you work, return it to the microwave for an additional 15-20 seconds.
- When inserting the sticks into the Oreos, twist gently instead of pushing straight in, as this helps prevent the cookie from cracking.
- Let the Oreo Pops cool completely before moving them so they don't smudge or lose their shape!
More Christmas Recipes


If you tried this Grinch Oreo Pops or any other recipe on my site, please leave a 🌟 star rating and let me know how it turned out in the 📝 comments below. I love hearing your about your results and thoughts!
📖 Recipe
Grinch Oreo Pops for Christmas
Ingredients
- Oreo Cookies
- Green Candy Melts
- Red Heart Sprinkles
- Cooking Spray
- Lollipop Sticks/Paper Straws
Instructions
- Pour the candy melts into a microwave-safe cup or bowl. Spray lightly with cooking spray and microwave for 30 seconds. Remove from microwave, stir, and lightly spray with cooking spray. Place back in the microwave for 30 seconds. Keep repeating until the candy is fully melted. Stick a lollipop stick into each Oreo and dip each cookie into the melted candy.
- Place on wax paper to harden and put a candy heart onto each candy-covered Oreo.
- You can cover each lollipop stick with a paper straw. The straws stick right into the Oreo & will make them look more festive. Enjoy!
Notes
- For the smoothest coating, make sure your candy melts are fully thinned out with cooking spray before dipping.
- If the mixture starts to thicken as you work, return it to the microwave for an additional 15-20 seconds.
- Also, when inserting the sticks into the Oreos, twist gently instead of pushing straight in, as this helps prevent the cookie from cracking.
- Let the Oreo Pops cool completely before moving them so they don't smudge or lose their shape!


Leave a Reply