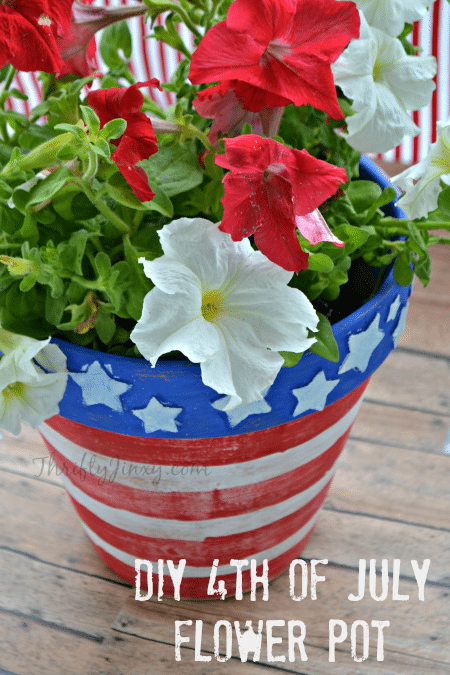
This DIY patriotic planter is a winner when it comes to cute and easy craft projects. It’s fun to decorate while decorating your porch, yard or garden with the Stars and Stripes.
This DIY patriotic planter fits right into our summer plans for easy-to-do DIY projects! It’s fun to decorate and getting into the spirit of our patriotic holidays without having to spend hours on a project.
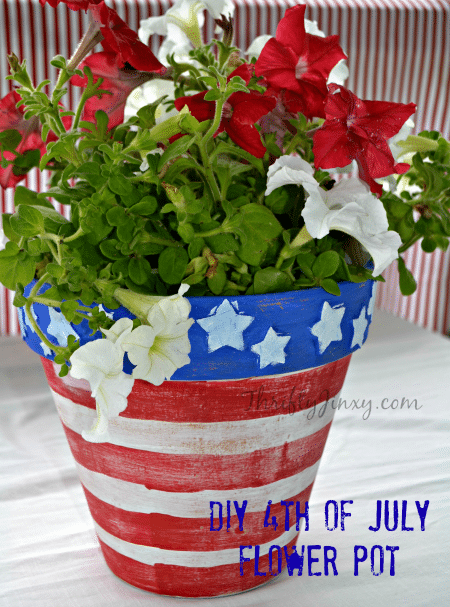
This DIY 4th of July flower pot doesn't get much easier! It is done in a bit of a rustic style so that means if you are a little sloppy and have a few “goofs” here and there it will just add to the character of your finished design.
You can fill your red, white and blue planter with any type of plant or flowers you would like, but we think red and white petunias give it the perfect pop! You can even use it to decorate your kitchen and grow herbs indoors.
This fun piece is sure to get compliments from everyone at your holiday barbecue. This DIY 4th of July planter also makes an excellent hostess gift if you’re visiting someone else’s house to celebrate the 4th!
Easy DIY 4th of July Planter
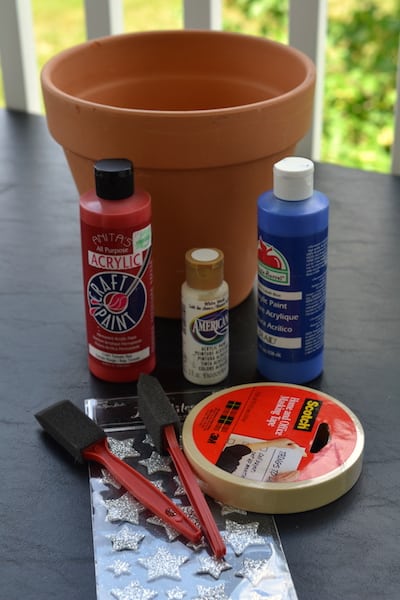
Supplies Needed:
Terra Cotta Pot
Red Acrylic Paint (We used Anita's all purpose acrylic in tomato red)
White Acrylic Paint (We used Apple Barrel Snowflake)
Blue Acrylic Paint (We used Apple Barrel Cobalt Blue)
Foam Brush
Small Paint Brush
Star Stickers
Sandpaper
How to Make this Patriotic Planter:
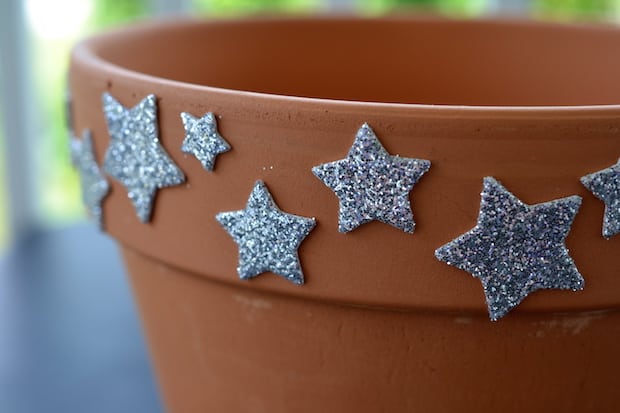
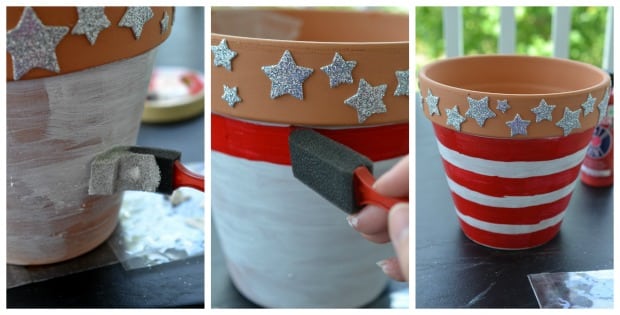
- Start by adding your star stickers to the rim of the flower pot. We used a thick, foamy sticker so that they would pop out.
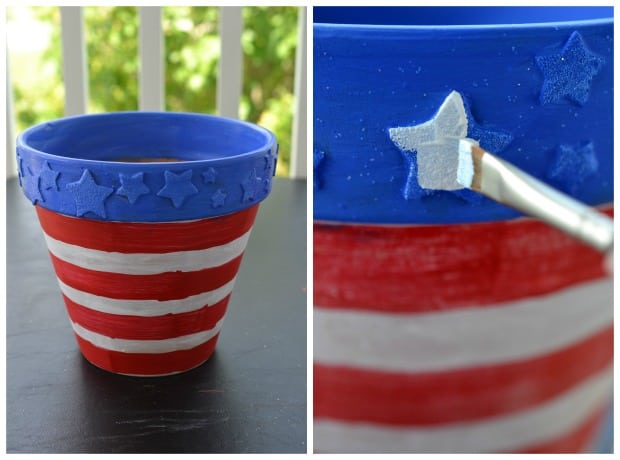
- Paint the rim of the pot blue. You can paint right over the top of the stickers! We also painted around the rim of the inside of the pot.
- Paint the lower half of the pot white. Luckily the paint will dry on the terra cotta pretty quickly, so no down time!
- Then, using your foam brush you are going to create a red stripe right under the rim. You can use masking tape if you want, but it's not necessary. The foam brush has a steady line that will help. Your lines don't have to be perfect. That is part of the charm of this project!
- Then, create a red stripe around the base of the pot.
- Now that you have your top and bottom lines painted it will be easier for you to eyeball your middle two strips. Paint them on.
- Paint over the star stickers with white paint and let dry.
- If you would like, use sandpaper to lightly sand some of the paint away. This will give it a distressed and aged look.
- Plant your favorite flowers and enjoy!






Mechelle says
Is the paint that you used water resistant? Or do we need to protect it so that when we water the plant it all doesn’t wash away?
Alison says
I love it! Very cute! Great job!! 🙂