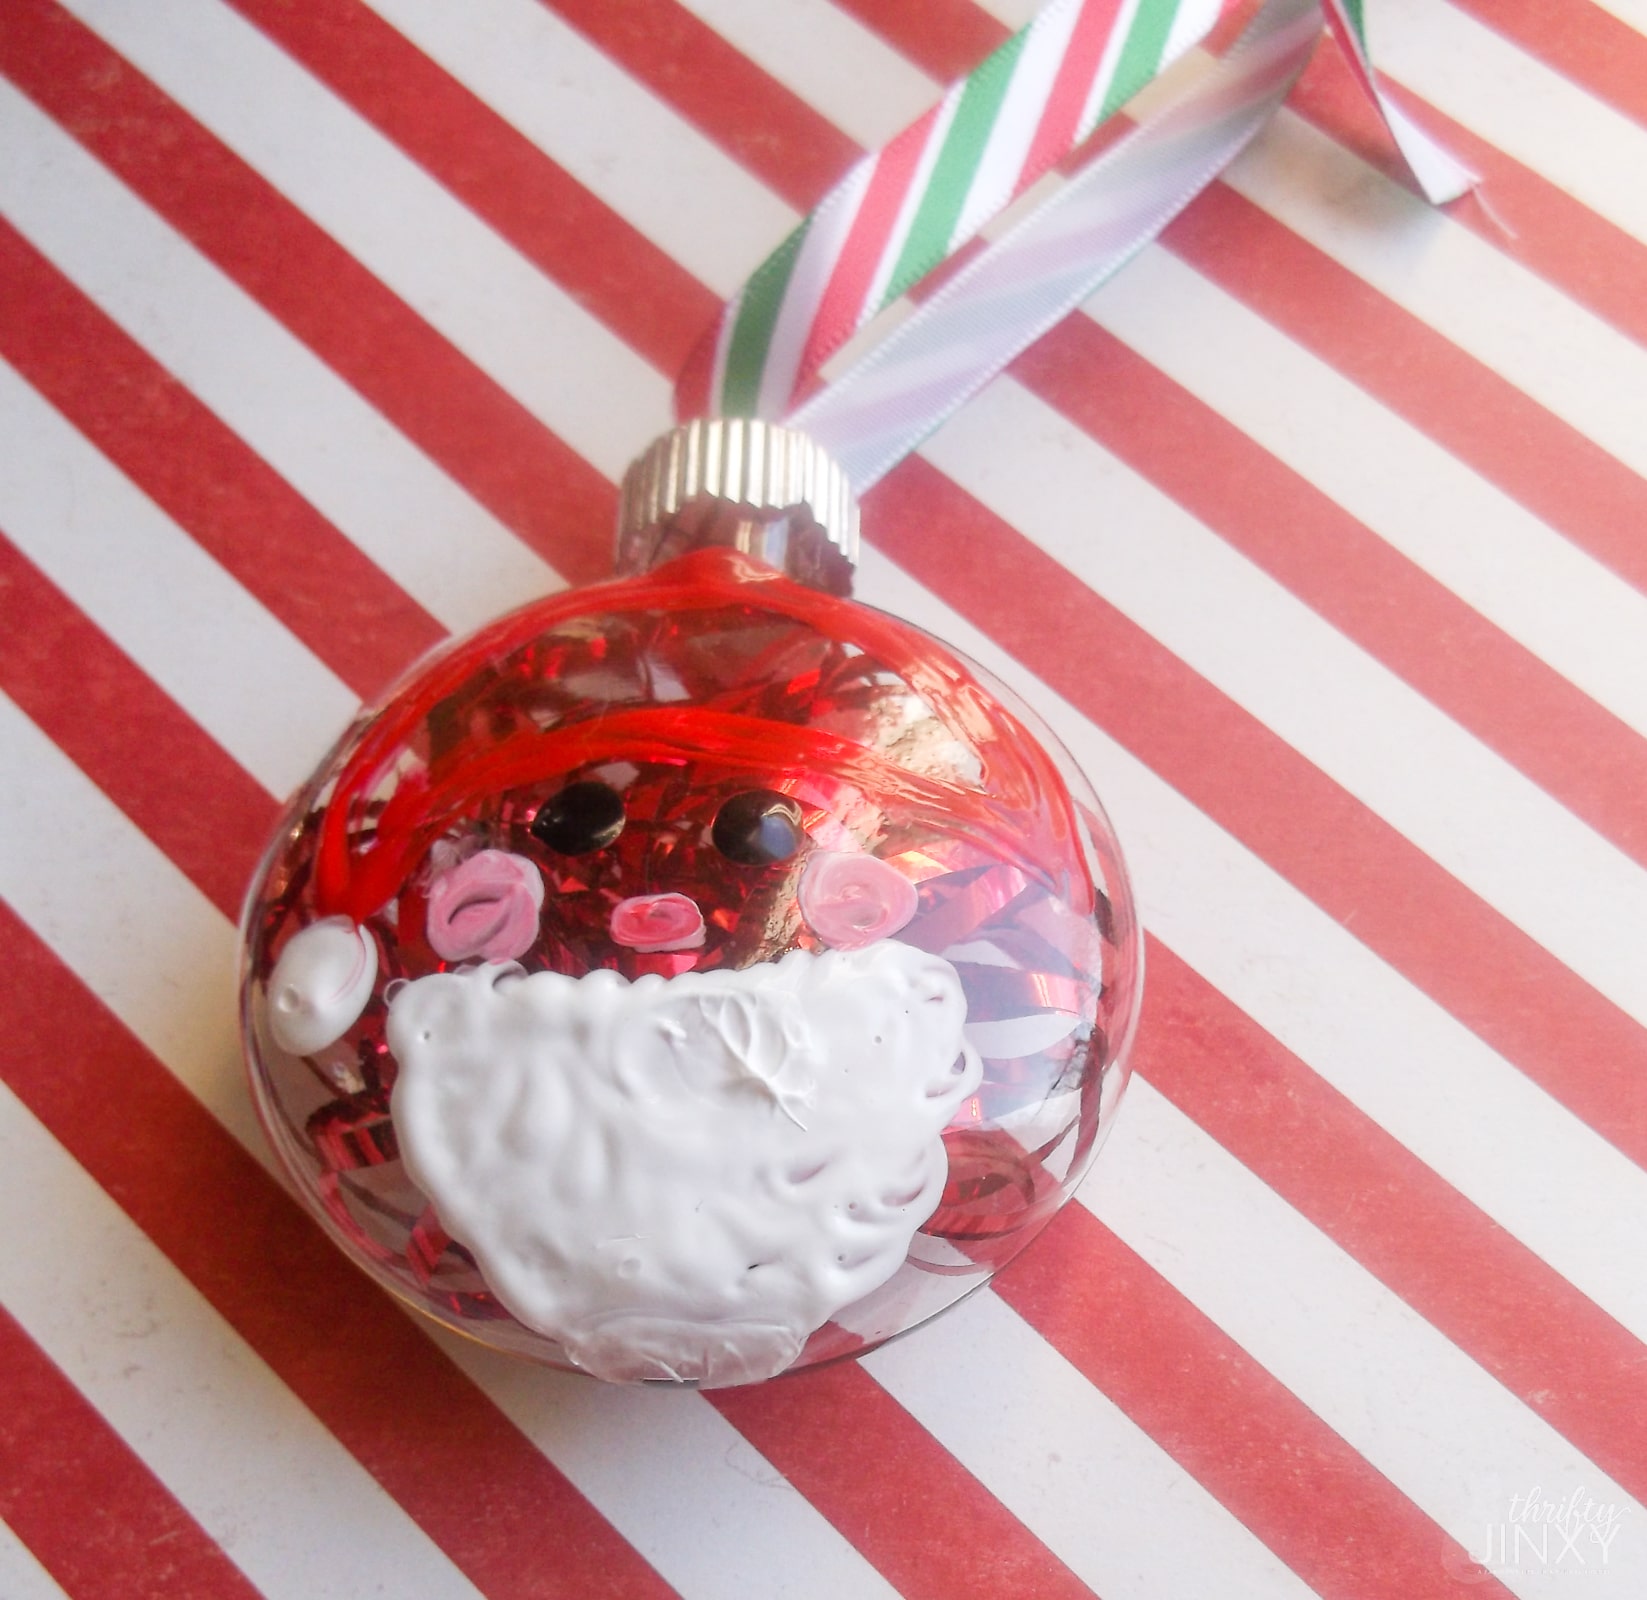
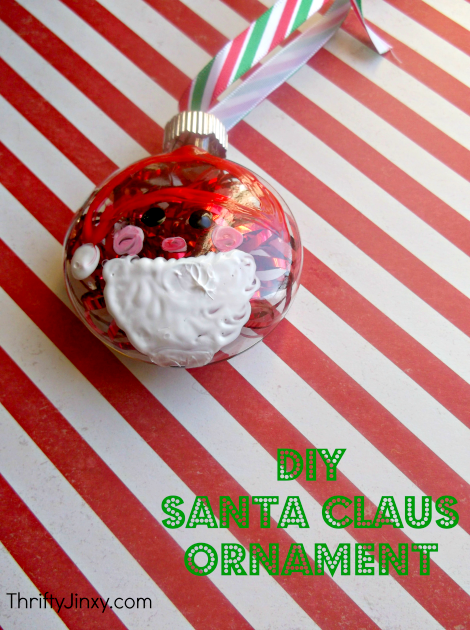
This DIY Santa Ornament is so adorable! It starts with a clear ornament filled with shiny ribbon and uses paint to create Santa himself.

This DIY Santa Ornament is one of our favorites! It’s a fun craft you can do with the kids and it will create memories for the future.
The fun thing about this ornament craft and why it is good for a wide range of ages is that you can really get creative and make your Santa Claus face your own.
Another option if you don’t wants the super littles to get paint all over the place (and themselves) is to paint the Santa faces ahead of time and then let the kids help stuff the ornaments with the confetti ribbon.
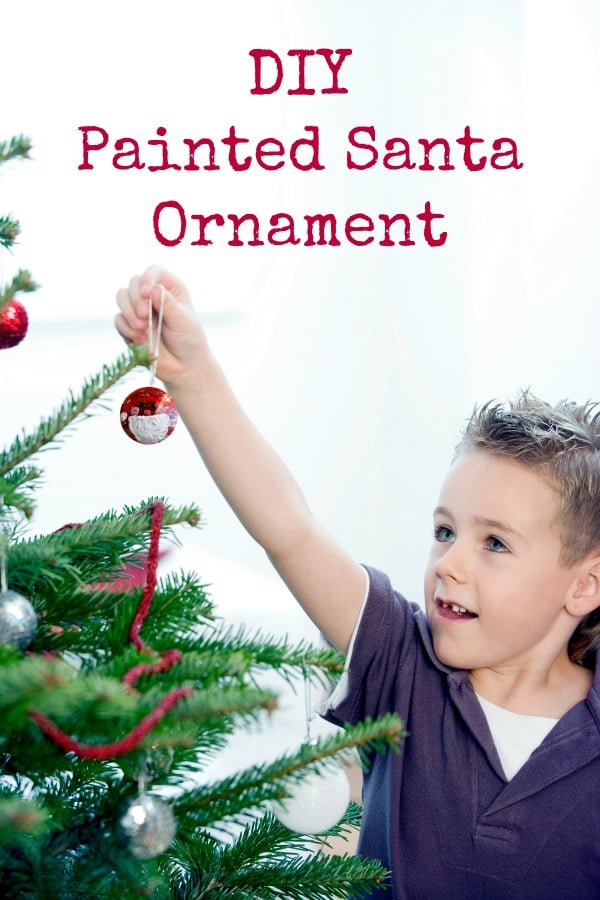
To top it all off, not only is this a fun craft project, but this Santa Claus ornament will look super cute hanging on your Christmas Tree!
Supplies Needed
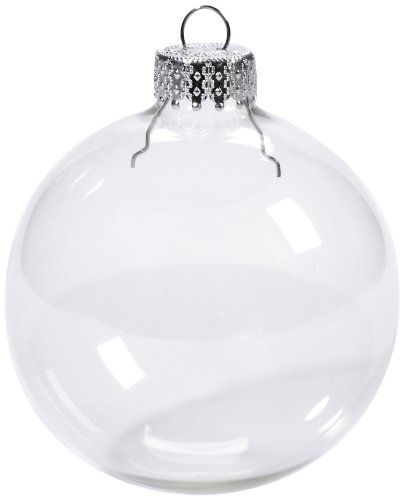
 Clear Glass Ball Ornament
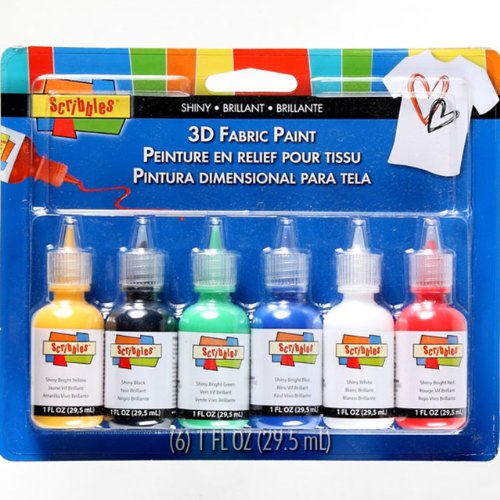
 Dimensional Paint
 Red Metallic Curling Ribbon With Holographic Sparkles
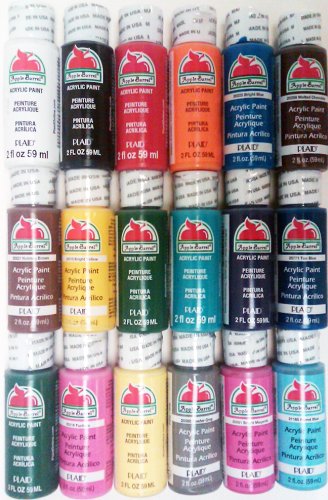
 Apple Barrel Acrylic Paint Set
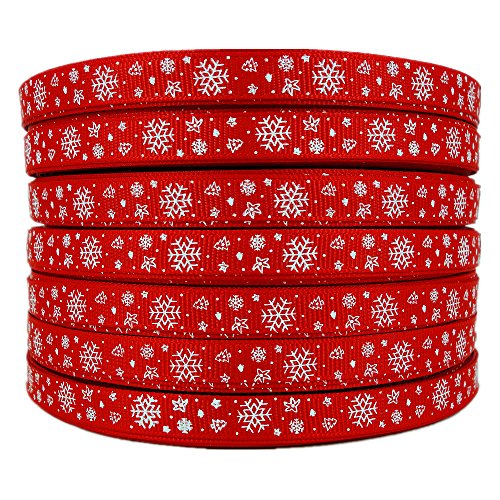
 Red Snowflake Ribbon
&
Clear Glass Ball Ornament Dimensional PaintRed Metallic Curling Ribbon With Holographic SparklesApple Barrel Acrylic Paint SetRed Snowflake Ribbon

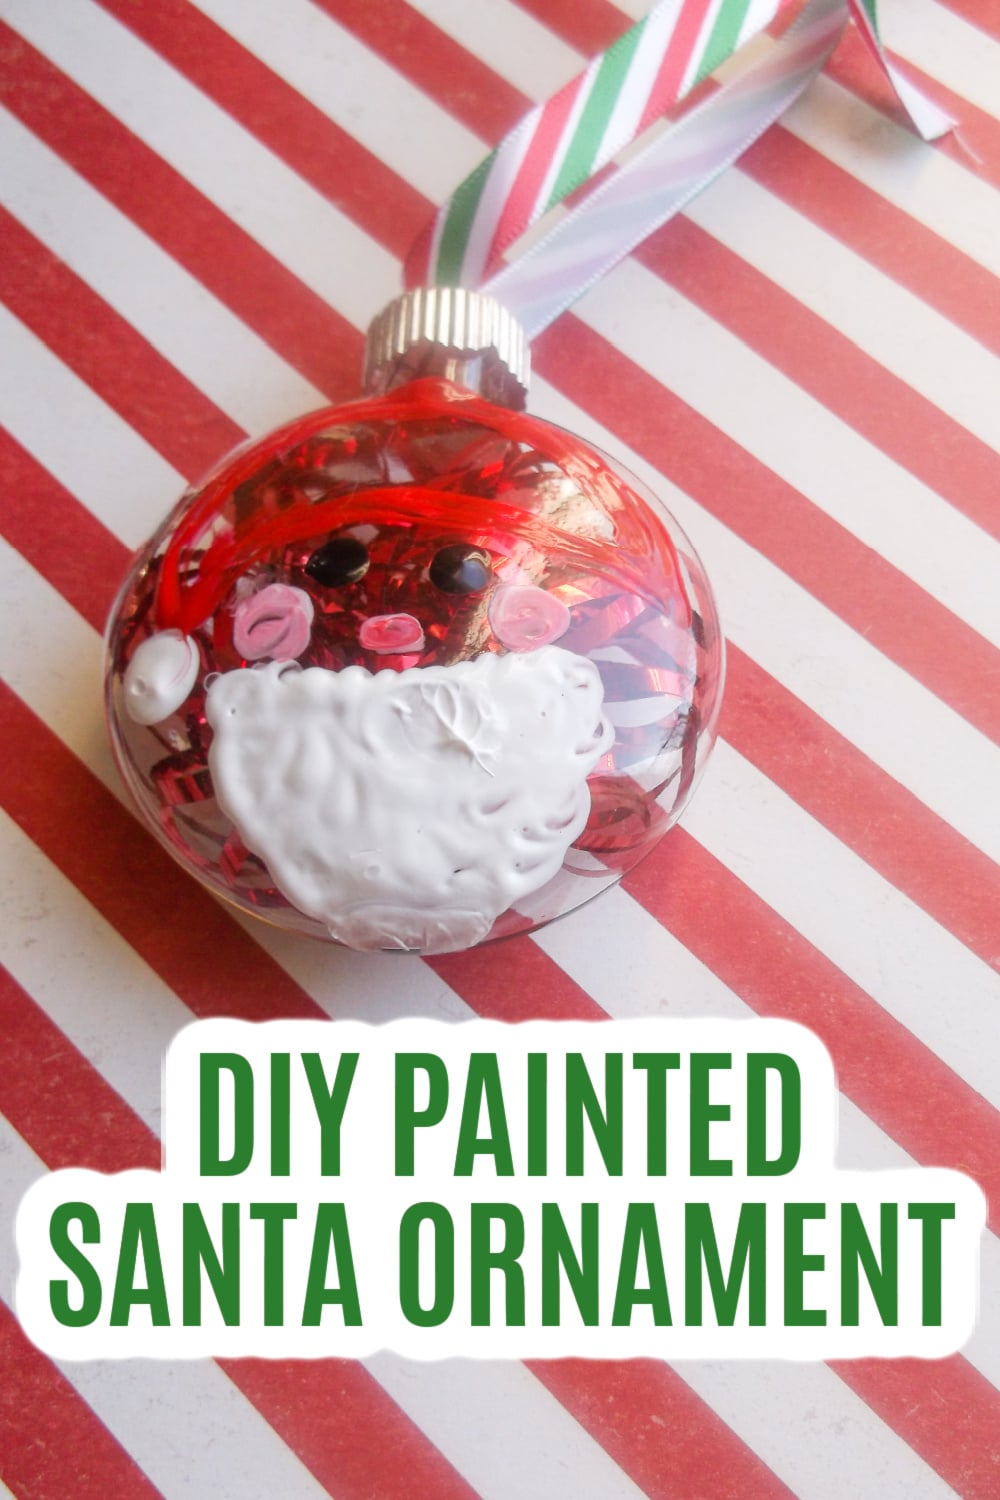

DIY Santa Claus Ornament
Equipment
- Paintbrush
Supplies
- Clear Ornament
- Red Christmas Confetti Ribbon or thin package ribbon
- Red and white puffy paints
- Black red, pink craft paint
- Christmasy Ribbon for hanging
Instructions
- Remove the lid from your ornament
- Fill ornament with red ribbon
- Replace the lid
- Start with santa's big fluffy white beard! Use white puffy paint and draw in a circular motion to provide a curly effect.
- Next, use red puffy paint to shape the hat (don't worry - he can have a sloppy hat!)
- Add two eyes for santa
- The red nose is next
- And finally add Santa's famous cold rosy cheeks with pink paint!
- Then just simply let your paint dry, add a ribbon or hook for hanging and hang to admire your work!


Leave a Reply